The first item of business was to attach the template to the newly routed mahogany body. One mistake I didn't make is to go crazy with the double sided tape. This time I cut out four small squares of tape and used them to attach the template. I also used a bit of tape along the edges just to keep things stable.
I started with the control cavity. There was no reason to wear out my router bits to get rid of all that material so I used forstner bits to hog out most of the material:
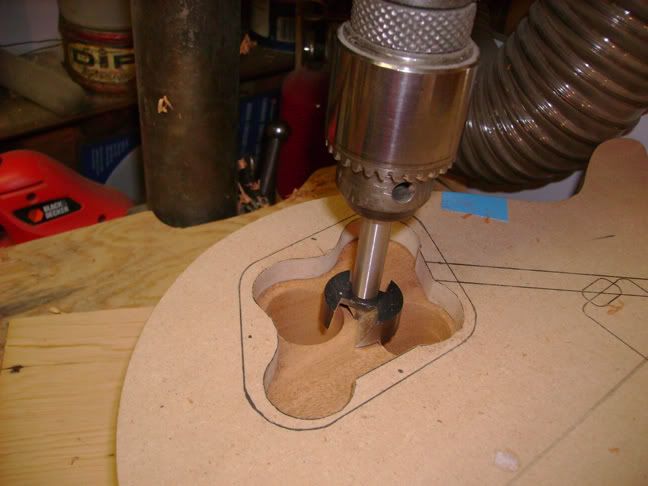
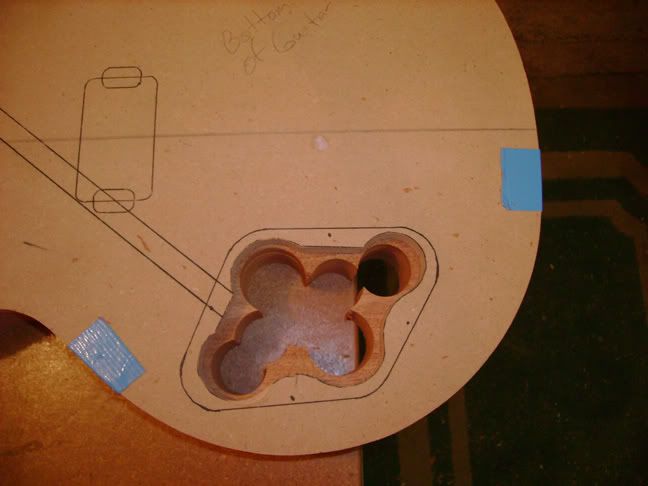
Once I got a bunch of the material out it was time to break out the template routing bit with the top mounted bearing and start finishing the cavity:
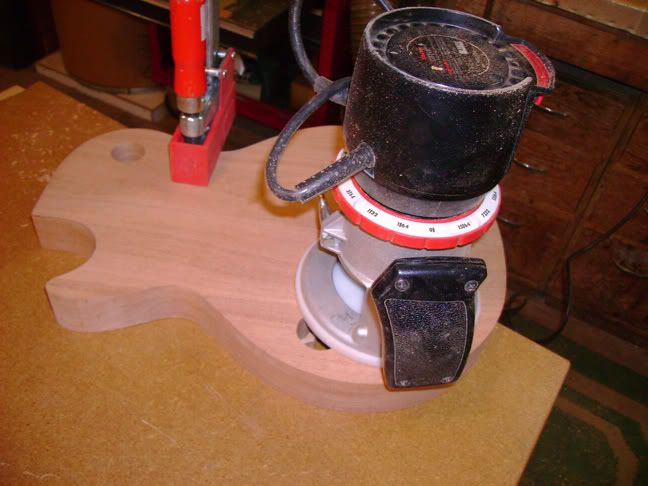
Just like when I cut out the body the router bit wasn't quite long enough to finish the job.I finished the job with a table router with a template router bit with the bearing mounted on bottom.
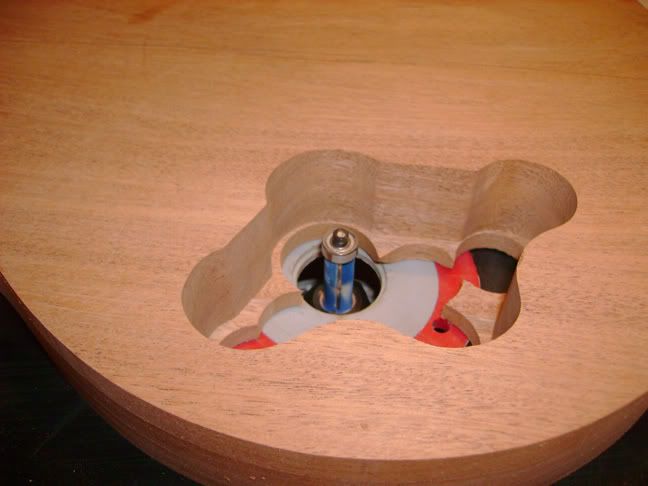
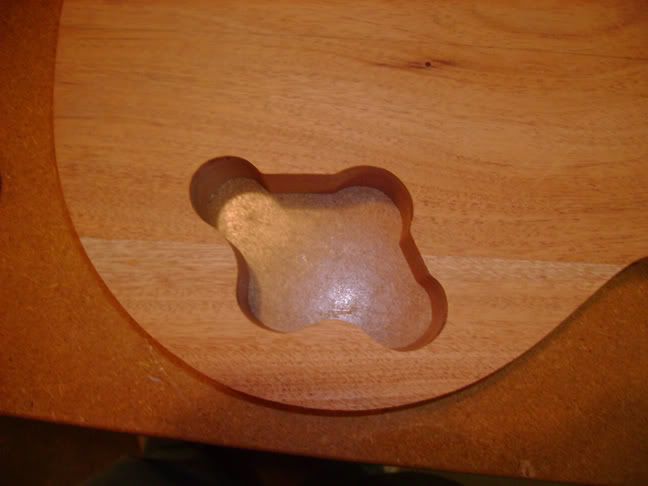
Here's what the control cavity looks like finished.
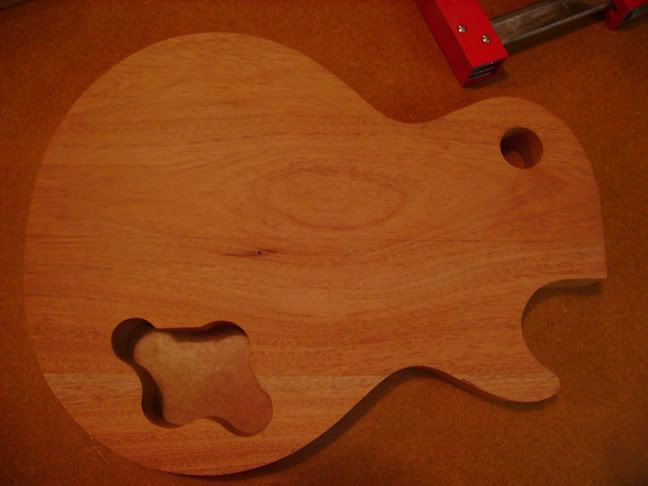
For the pickup switch cavity I just used the same 1 3/8" forstner bit I'd used to cut the template. I fit the bit inside the template hole and then just drilled down with the drill bit. This technique worked perfectly.
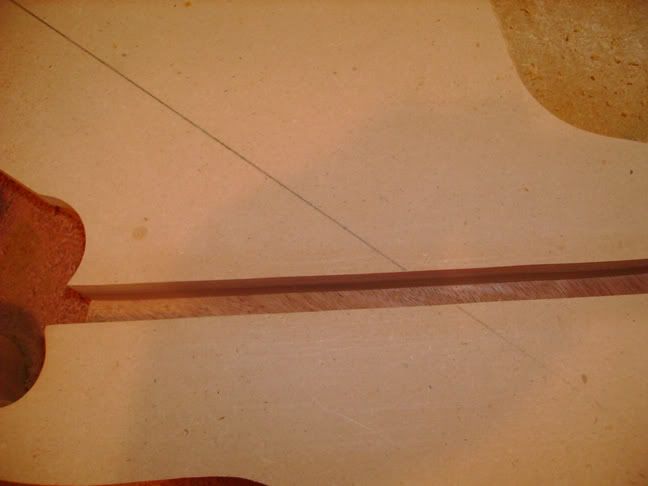
Next came the wiring channel that runs between the pickup switch cavity and the control cavity. I used a seperate template for this. The cavity is approximately a half inch deep and gets covered up when the maple top is glued on.
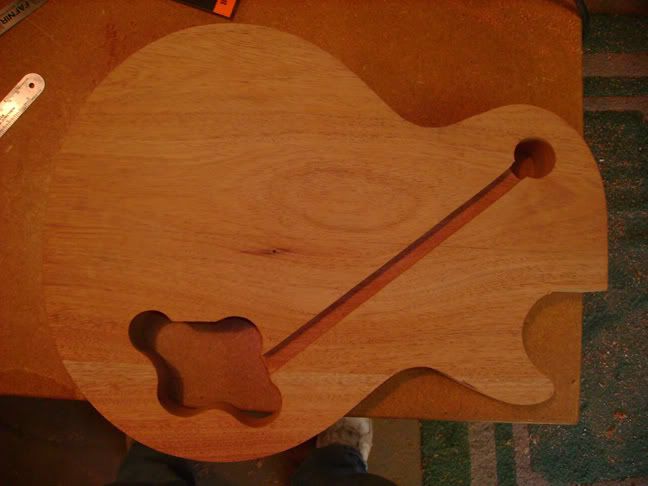
I was really happy with how the routing went today. The cavities are perfect.
1 comment:
Life is full of many challenges. Challenges that will make you or break you depending on how you handle it. Visit my site for more updates. God Bless to your site.
n8fan.net
www.n8fan.net
Post a Comment