I was very excited about how the blank came out of the glue. The side that will be used for the back of the guitar is well matched and honestly looks like one piece of wood. The other side is a different matter completely. Here's a pic of it just out of the clamping process:
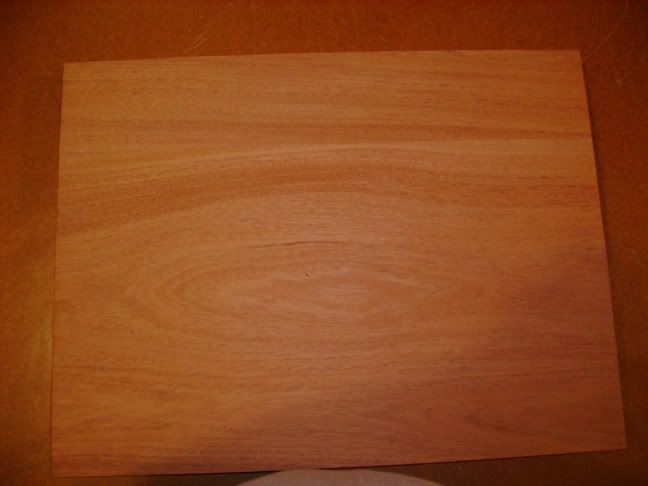
Can you find the seam? Remember this is three pieces glued together.
So how do you cut these things anyway? First I attached the routing template to the body blank. For this I used double sided tape. For cutting out the templates I used 3M mounting tape but decided it wasn't strong enough when one of the templates slipped a bit. I went to Home Depot and browsed around and ended up with some stuff that's made to keep welcome mats and outdoor carpet from slipping.
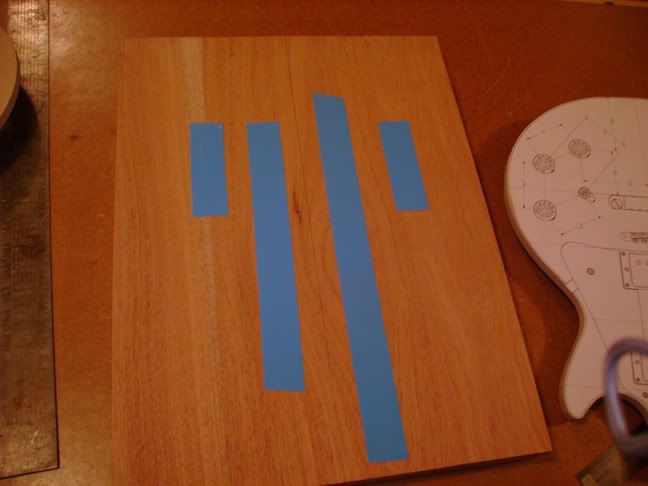
Here's the template attached to the board. I worked with the positioning to try and get the best possible wood grain on what will eventually be the body.
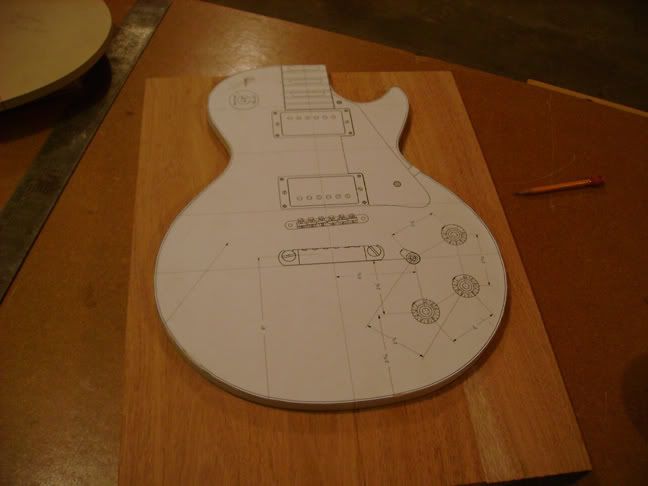
I decided to rough out the body by first cutting off most of the wood with a band saw. I try to keep about a quarter inch from the template. I sawed some relief cuts in the places where the body curves. This will help me to be able to cut the curves with the band saw.
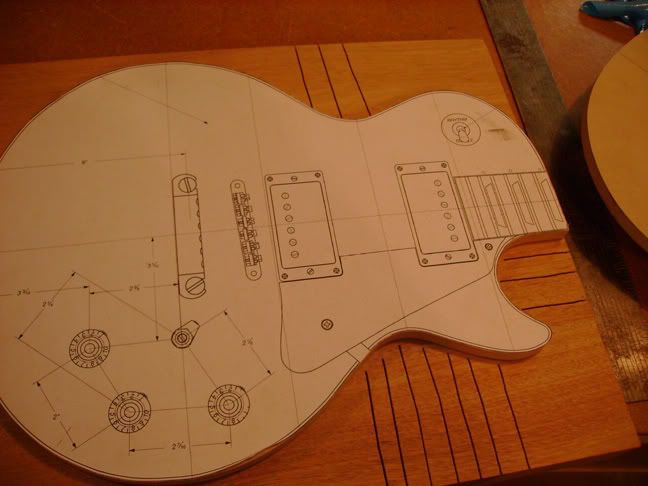
Here is the body roughed out.
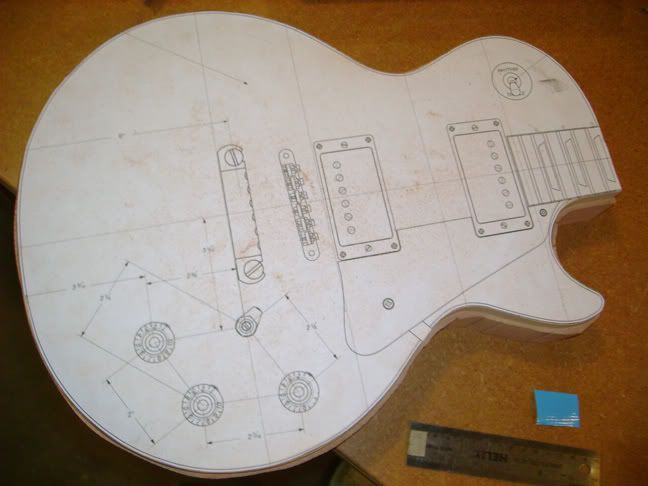
Here's where the templates really start earn their keep. To cut a precisely shaped copy of the template on the actual wood for the body you use a router. For this type of cut you use a template router bit. The template router bit has a bearing that rests on the template as you route. The cutter is the exact size of the bearing and makes a perfect cut. There are two types of template router bits one has the bearing on top and the other that has the bearing on bottom. In this picture I'm using a bit purchased for this purpose from StewartMac.com. This is the bit with the bearing mounted on top of the cutter.
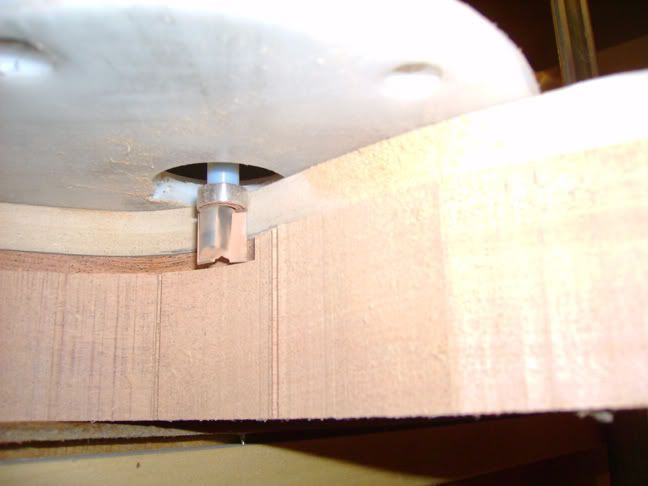
Look closely and you can see the bearing resting on the template. It's important to go very slow when performing these types of routes. It is also important not to try and cut too much wood. I try to limit my cut to a quarter inch down. Here is the body after cutting out the first and second passes.
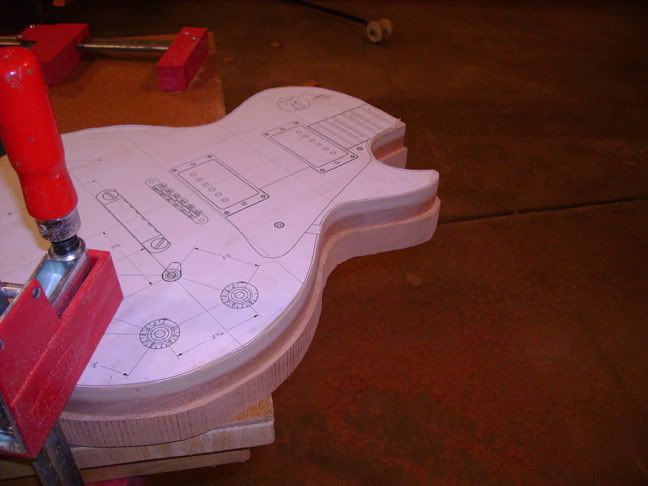
Now all I have to do is lower the bit and cut around the body again, and again, and again...... After a few passes the template is removed and you just use the body as a template. In this way you can cut even lower. I did find out the routing is tricky when you go around the horn. On one pass I tipped the router a bit because there isn't a lot for it to rest on. When I did this it gouged out the horn slightly. It's nothing major and will sand out but I wasn't happy. I developed a technique for the other passes where I put my hand on the bottom of the router right above the part of the template the router was resting on. This helped keep the router flat and cutting straight.
I have a a couple of gripes with the router bit I bought from StewartMac.com. The blade is very sharp and cuts fine but it's a little short. I couldn't make it long enough in my router to cut the entire width of the body. Now it's possible that this is a limitation of my router but I still think the bit should be longer. Another problem with the bit is it uses a teflon tube to hold the bearing in place. To me this seems like a squirrelly way to hold the bearing. Other bits use a piece of metal held in place by an allen bolt that rests on top the bearing. Here are a couple of pics that illustrate how much wood was left after I'd reached the limits of the router bit:
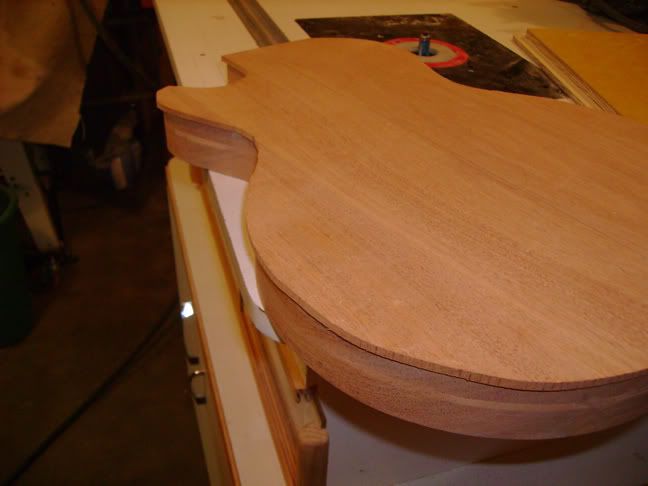
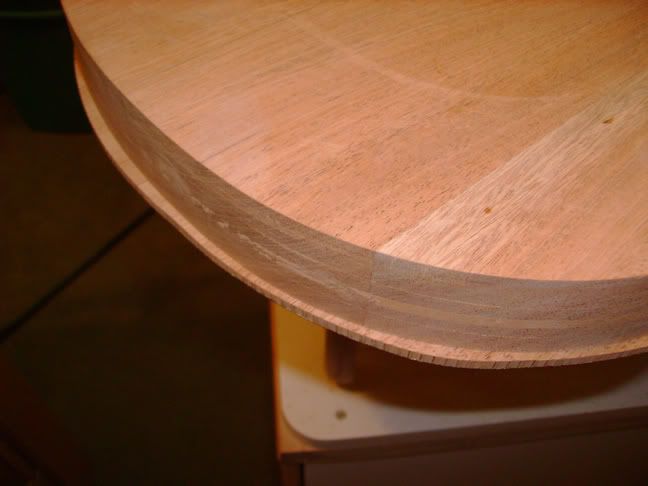
To be fair the bit performed well and didn't chatter even though it as a 1/4" shaft. (More professional routers can use 1/4" or 1/2" shafted bits. The 1/2" bits are generally considered more solid performers.)
Fortunately I also have access to a table router. It does the same thing as the hand held but it uses a router that's fixed in place with a bit that points up out of the table. I fitted the other type of template router bit with the bearing on bottom into the table router and then used them to cut the remaining wood off the body.
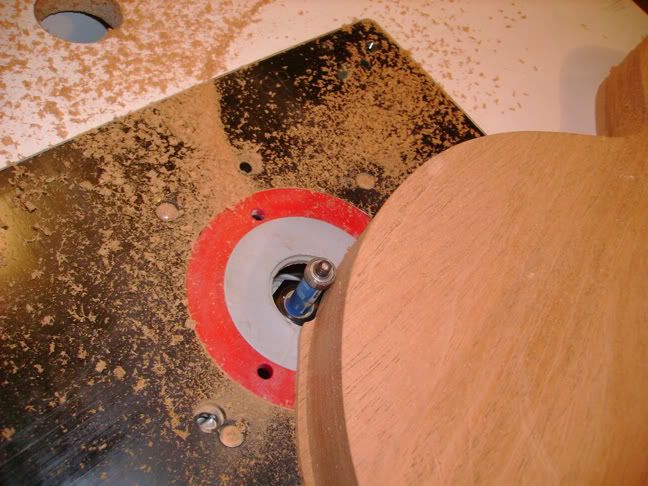
Here's a pic of the body completely cut out.
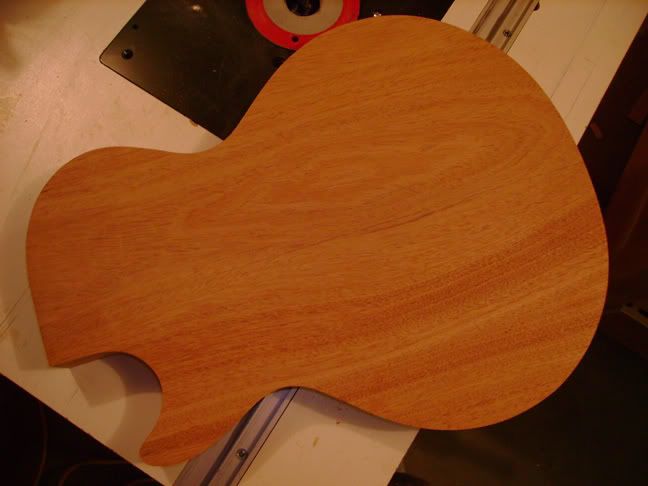
I had one other problem with the double-sided tape I used to hold the template to the body. When it was time to remove the template I couldn't get it off. It turns out the tape is a lot more powerful than I imagined. I ended up having to use a paint spatula and pry bar to get the thing loose. Even then there was tape residue on the template and the body. Fortunately I was able to get the residue off by wiping it down with a naptha soaked rag. When prying the the pieces apart I did make some small gouges in the template and the body wood. Fortunately the gouge is in the part of the body that has the maple top glued on top so it will not show. Still I decided to fill the gouges with some plastic wood and sand it down.
Next up is routing the cavities.
No comments:
Post a Comment