To build a guitar you must first have a way to cut out the parts. In the case of a Les Paul you need to cut out the body, neck, a mortice (or neck pocket), tenon (the part of a neck that fits in the mortice), and various control cavities.
A 1959 Gibson Les Paul is constructed using a body that consists of a 1.75 inch mahogany body with a 5/8 inch maple cap on top. The neck is made of quartersawn mahogany.
To help with the build I purchased a set of technical drawings from StewMac.com. These drawings detail all the measurements and shape for a 1959 Les Paul. There are also plans on the web drawn by John Catto. I downloaded John's plans and took the file over to Kinkos where they have a large format printer. I made several copies of the StewMac plans and the Catto plans so I could compare them and use the copies to help me build my templates. The copies were dead on perfect size.
Most builders (who don't have CNC machines to do everything for them) use routing templates to cut the body shape into the mahogany and maple. You also use templates for routing out control cavities, pickup cavities, mortice, and tenon.
As I begin my build I have had to decide what to do about templates. My original plan was to buy pre-cut templates from a builder on the net. However, I remember reading a message board post where the builder stated that making the templates was educational and kind of fun. I decided to attempt to build my own templates. If it didn't work then I could always buy the commercial variety.
I began to compare the Stew Mac plans with the Catto plans. It turns out the plans aren't exactly the same. This is not a big deal as they probably took their measurements off different guitars. (Back then the same model guitar had a little bit of variation as they were mostly hand built.) Ultimately I decided to go with the Stew Mac plan simply because it had all the neck drawings included in the plan. The Catto plan is excellent (especially for the price, thank you John!) but since this is my first build I wanted to go with the most detailed plan.
I went down to Home Depot and bought a decent size piece of 1/2" MDF. My plan was to use the MDF to make the template.
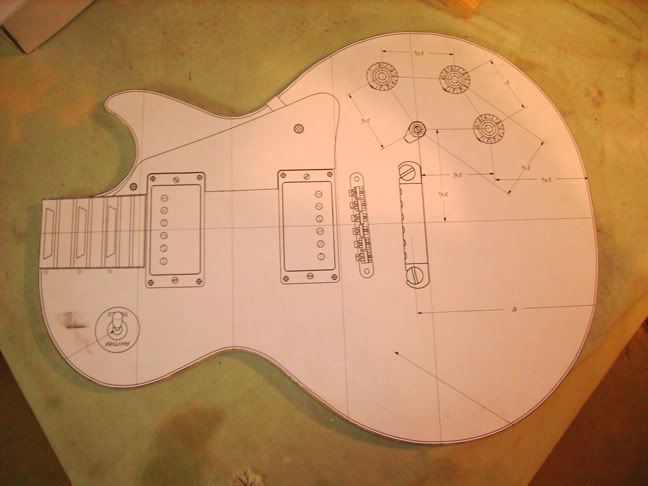
The next challenge was how to get the Stew Mac plan onto the MDF. There are a couple of methods for accomplishing this. Previously I explained that I had been down to Kinkos to make some copies of the plans. While there I had a copy made of just the body. The copy is the exact same dimensions as the Stew Mac plan.
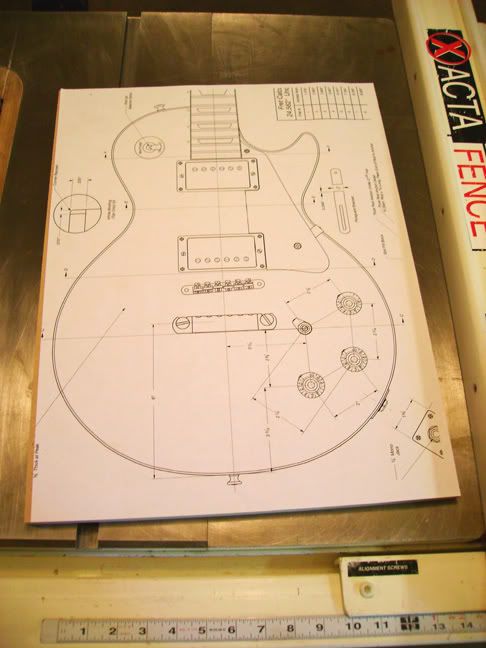
I came up with two different ways to get the shape of the guitar onto the MDF. The first was to lay the new copy of the Stew Mac plan on the MDF with the middle attached to the MDF with double sided tape. then I would place a piece of carbon paper between the plan and the MDF and then trace the shape. The second was to either glue or tape the plane to the MDF.
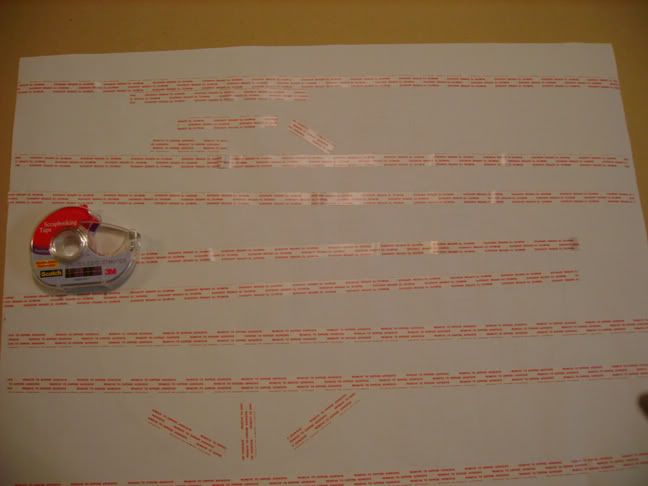
I decided to go with plan number two go with double-sided tape to attach the plan directly to the MDF. Here's what the back looks like with the tape:
I then attached the plan to the MDF.
Since the band saw was out of commission I decided to use a scroll saw to cut out the template.
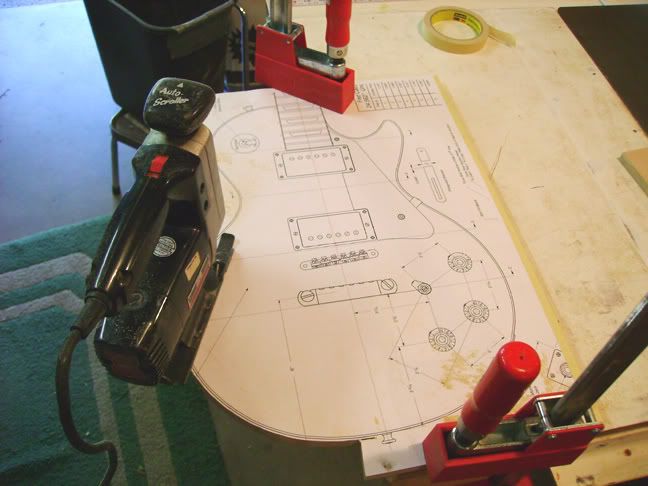
As you can see in the pic I tried to leave about an 1/8" around the border of the template. I figure it's better to rough cut then sand things into shape. Here's a photo of where I finished the rough cut:
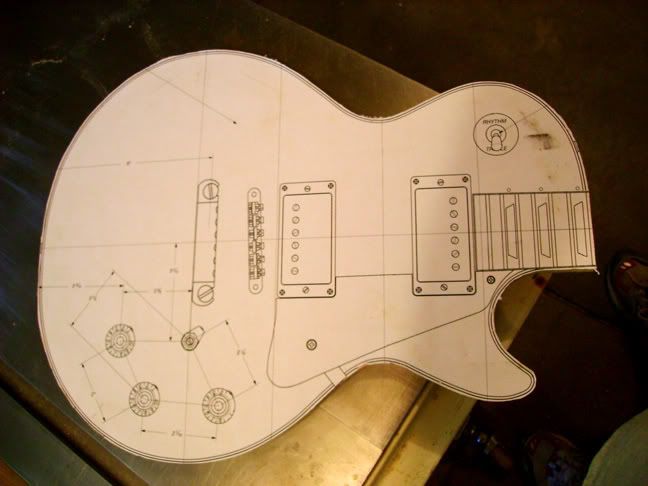
Now I needed to touch up the roughed out MDF. I figured that I should use a razor blade to trim out the outline so that I can sand down to the edge of the Stew Mac plan. You can see how part of the edge in this pic is trimmed with a razor and part isn't:
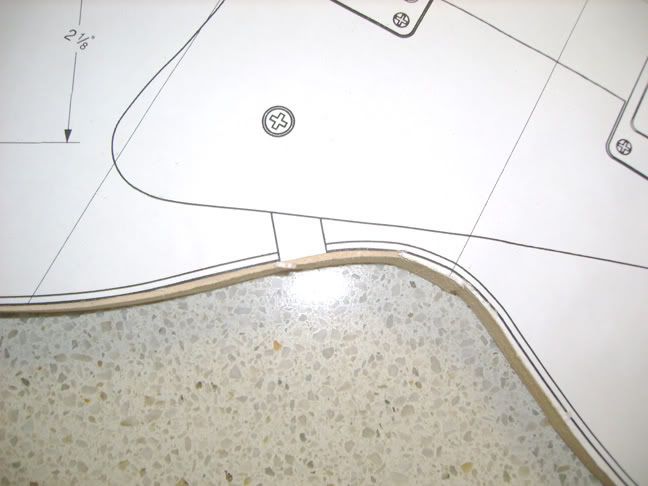
I decided to use a disk sander to smooth out the rough edges of the MDF. I was careful to try and stay with the body contours. The key to this was to use a really light touch with the MDF barely touching the disk sander. Another benefit to the disk sander is it corrected any edge errors the scroll saw may have made when it wasn't perfectly upright.
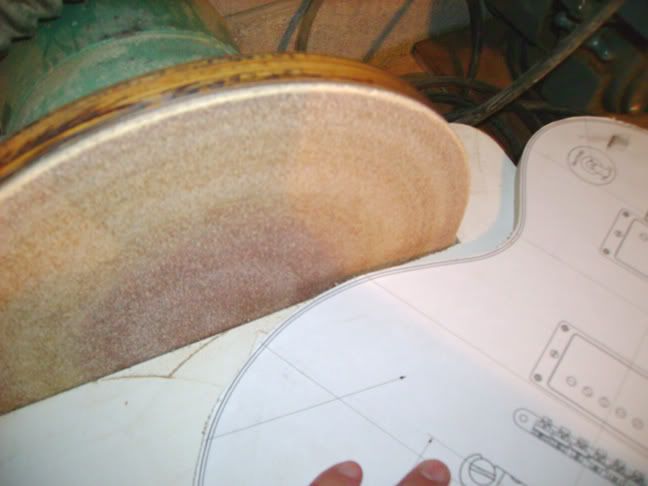
The disk sander wouldn't get the waist curves or or horn of the guitar so I used an oscillating spindle sander. This tool has various sizes of spindles so you can come close to matching the curves. Again a really light touch must be used as the spindle sander will really take off the material if you aren't careful with the pressure. Check the different size of the spindle in these pics:
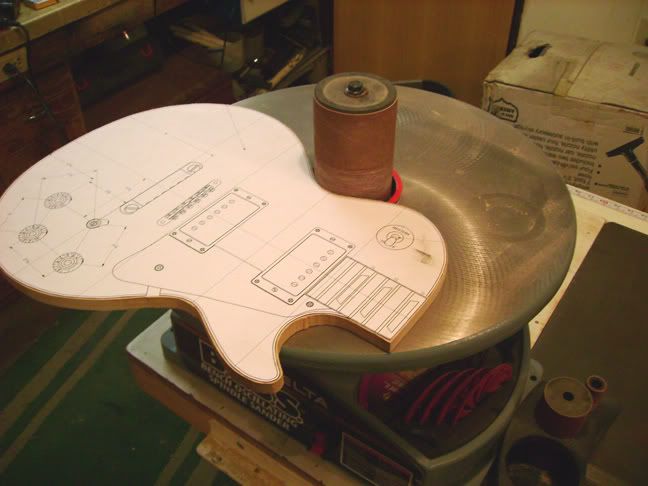
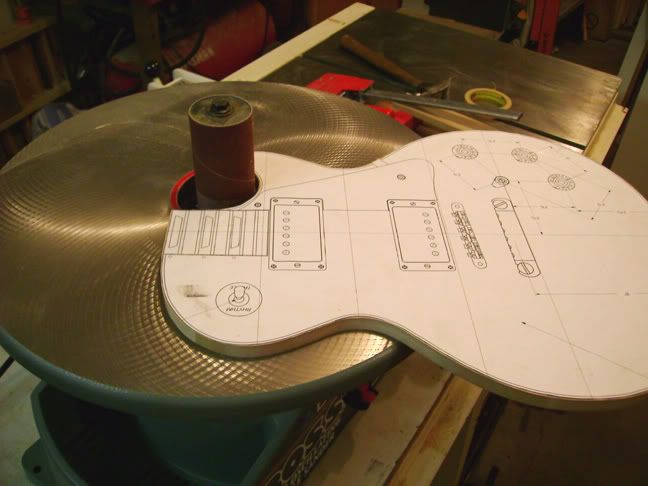
I finished up the job by hand sanding the template. This removed any remaining burrs. I did sand into the plan a bit in a couple of areas but blended the errors in nicely. I figure it's not a huge deal as most of these guitar weren't exactly the same shape. I did pay special attention to where the neck meets the body as that has to be straight.
Here are pics of the finished work featuring the front and the back:
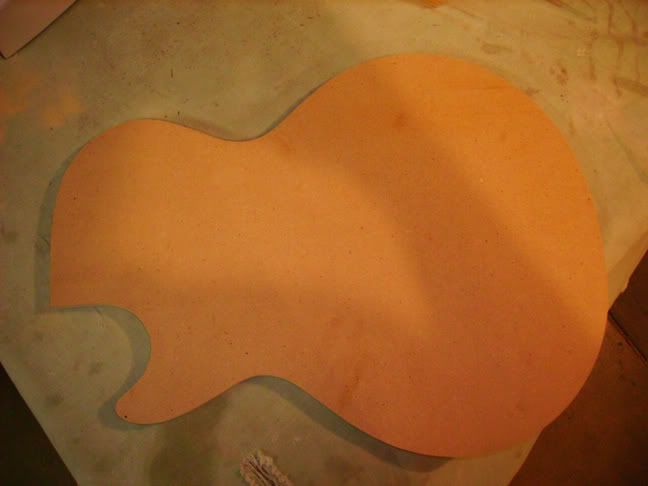
If I had to do it over I would have glued the plan onto the MDF using a roller to apply the glue evenly. I found that the parts of the edge where I didn't have double sided tape tended to get a bit ratty when I was working with the various sanding devices. This would not have happened if I would have glued. The double sided tape did hold things without slipping but I think the glue would have been better.
I will probably use this template to make another template out of some solid kind of board. MDF isn't exactly the sturdiest material. I've also considered trying to use acrylic for some of the templates.
Next up making a template for routing the control cavity, wiring channel, and pickup selector cavity.
1 comment:
hi!
do you know where i can fint the J.Catto's drawindgs dwg or dxf?
Thanks
Post a Comment