July 12, 2009

July 4th Holiday Was Good To Me
I had a chance to inlay the fretboard. I used a similar setup to last time I attempted this process although I used a precision square as a fence for my Dremel. I also used some straight bits that I got from StewMac.com. Oh lest I forget I also got an air pump that hooks onto the precision router base and blows air onto the area I'm inlaying and clears out the dust so you can see.
Here's my inlay setup:
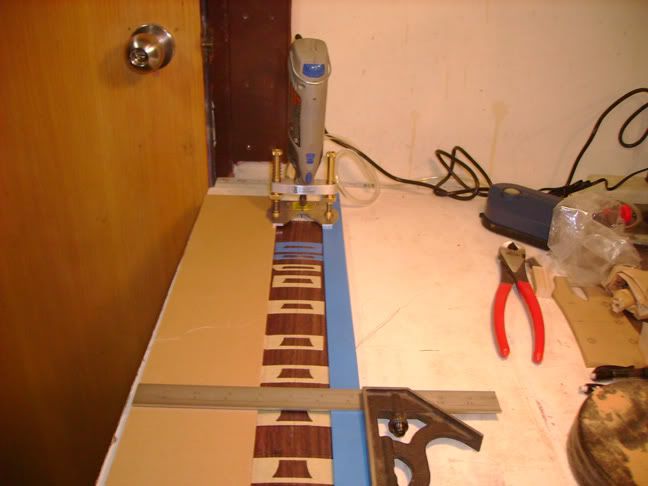
I I used strips of acrylic as rails on which the Dremel router base could rest. The acrylic strips were secured to the table with double sided tape.
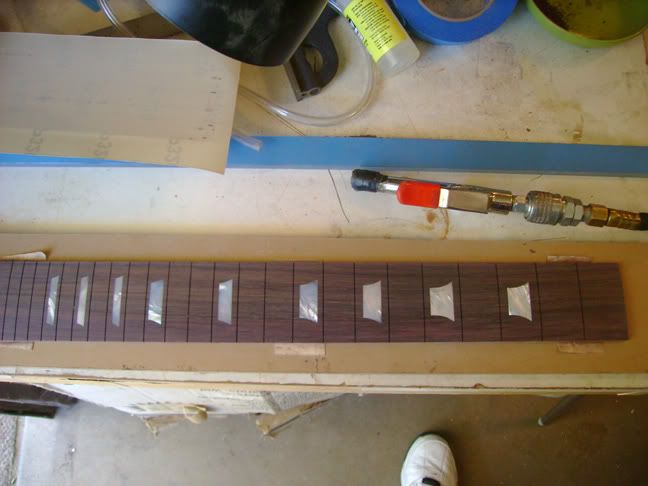
Here is a test fit of the inlays:
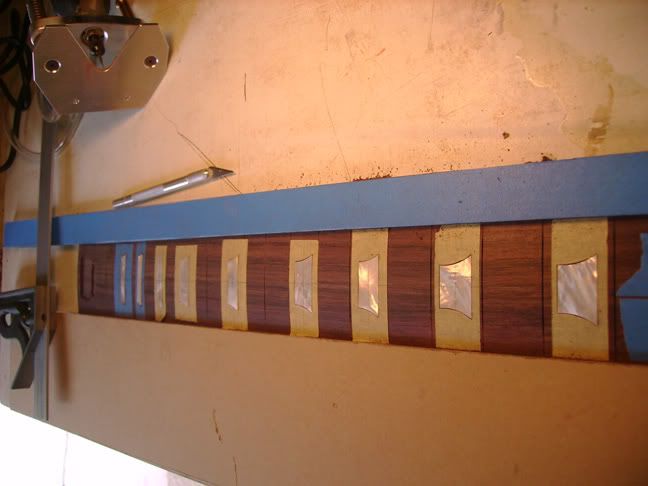
Everything fit well so I glued in the inlays with two part epoxy. In the next pic you can see how the inlays stick up a bit:
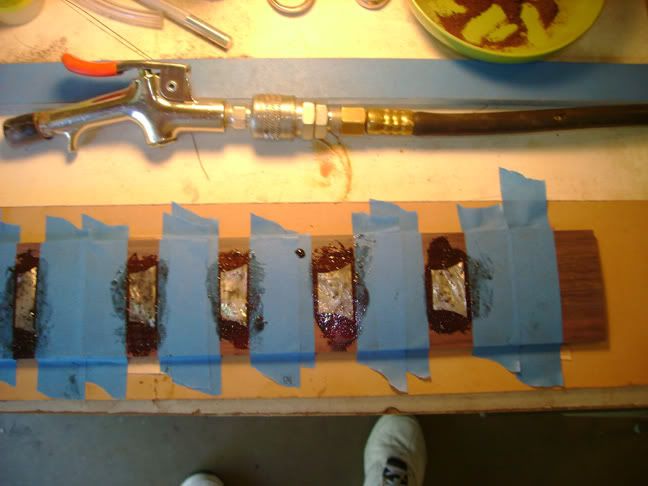
The next step was to sand the inlays flush with the fretboard using my twelve degree radius block with 120 gritt adhesive sandpaper.
Once the inlays were flush with the fingerboard I used more epoxy that was tinted from the dust leftover from routing to fill in any gaps that were left from the routing process. Worthy of note is that I learned from the mistakes of the last fretboard and taped ever the fret slots before spreading the glue around the top of the inlay. This ensured that I didn't have to clean glue from the fret slots.
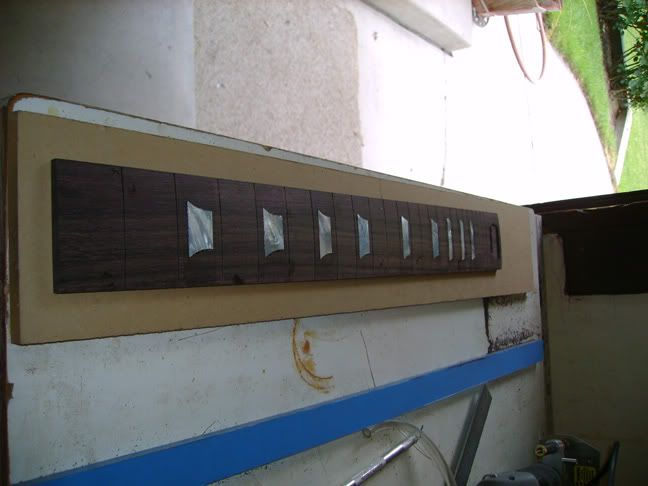
Here's the finished product sanded with 320 grit sandpaper:
Tomorrow I will taper the fretboard and maybe even install the frets. I hope to have the binding on by Tuesday.
Here's my inlay setup:

I I used strips of acrylic as rails on which the Dremel router base could rest. The acrylic strips were secured to the table with double sided tape.
Here is a test fit of the inlays:

Everything fit well so I glued in the inlays with two part epoxy. In the next pic you can see how the inlays stick up a bit:

The next step was to sand the inlays flush with the fretboard using my twelve degree radius block with 120 gritt adhesive sandpaper.
Once the inlays were flush with the fingerboard I used more epoxy that was tinted from the dust leftover from routing to fill in any gaps that were left from the routing process. Worthy of note is that I learned from the mistakes of the last fretboard and taped ever the fret slots before spreading the glue around the top of the inlay. This ensured that I didn't have to clean glue from the fret slots.

Here's the finished product sanded with 320 grit sandpaper:

Tomorrow I will taper the fretboard and maybe even install the frets. I hope to have the binding on by Tuesday.
Subscribe to:
Posts (Atom)