Here's my inlay setup:
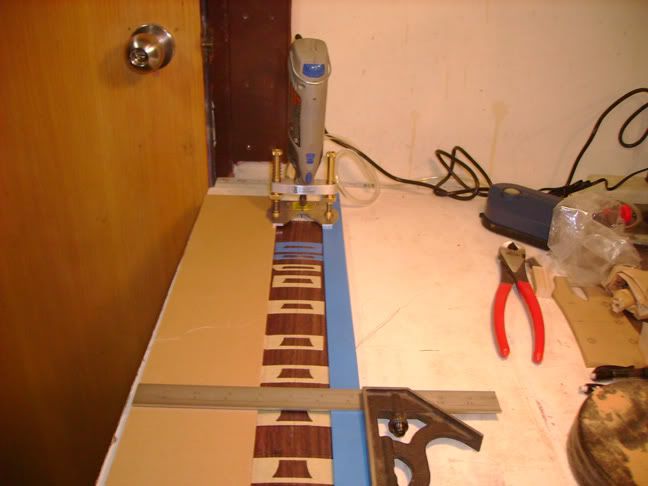
I I used strips of acrylic as rails on which the Dremel router base could rest. The acrylic strips were secured to the table with double sided tape.
Here is a test fit of the inlays:
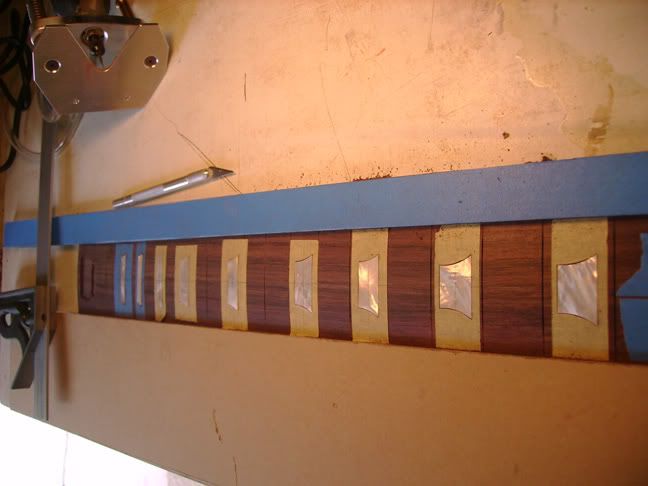
Everything fit well so I glued in the inlays with two part epoxy. In the next pic you can see how the inlays stick up a bit:
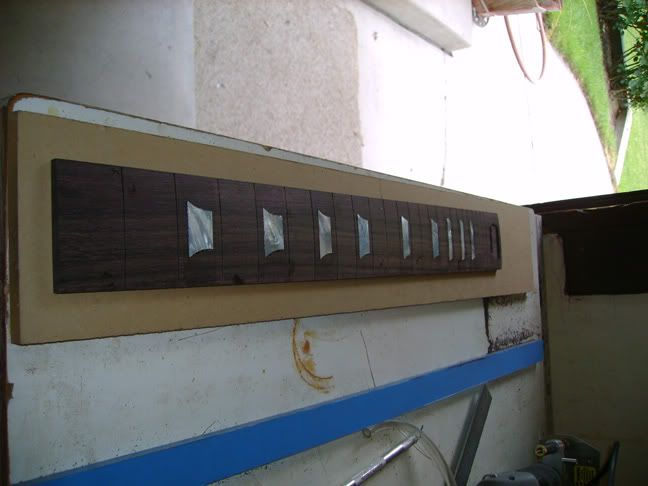
The next step was to sand the inlays flush with the fretboard using my twelve degree radius block with 120 gritt adhesive sandpaper.
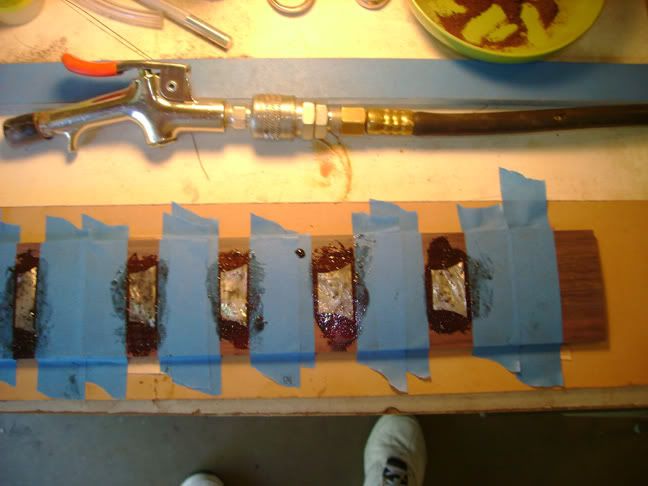
Once the inlays were flush with the fingerboard I used more epoxy that was tinted from the dust leftover from routing to fill in any gaps that were left from the routing process. Worthy of note is that I learned from the mistakes of the last fretboard and taped ever the fret slots before spreading the glue around the top of the inlay. This ensured that I didn't have to clean glue from the fret slots.
Here's the finished product sanded with 320 grit sandpaper:
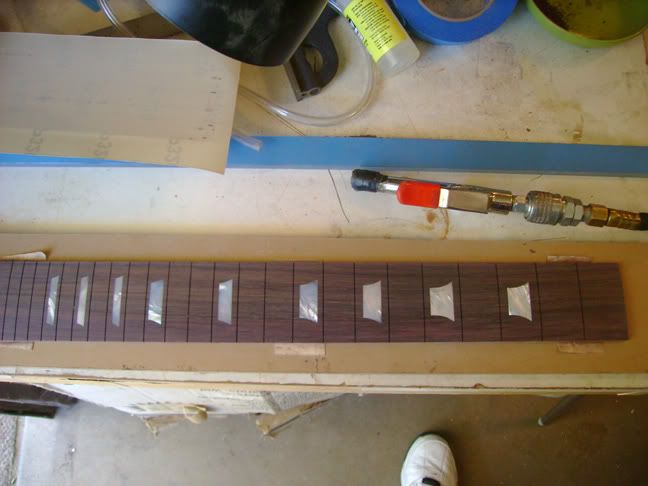
Tomorrow I will taper the fretboard and maybe even install the frets. I hope to have the binding on by Tuesday.
9 comments:
WOW. Simply WOW.
I can't wait to see the finished product!
Let me gush a little. This is such a great blog. I've been reading it for the last two hours and I've learned a lot. It is amazing how much content there is in here.
Documenting your work so thoroughly probably adds a ton of time to the project - but I really appreciate it.
I especially empathize with the parts where you make a mistake. :) Thanks for including those. I'm just starting and I frequently mess up and have to decided between fixing it, leaving it, or starting over.
Thanks!
Thanks! I know things are slow but I'm slowly making progress. I actually bought a tele body and neck to practice spraying. I just finished and will be attaching parts tomorrow. Then it's time to get the Les Paul finished.
Dude, you are the man!
I am just now starting my Project.
After buying numerous striped guitar bodies and completely redoing them I am ready to tackle one from scratch.
Your posts are well worth the time reading. I am using the StewMac 59 plans as well. But adding my own take on the shape of the guitar and head stock. I will be checking back regularly to see your progress.
What up?
How the build going? I haven't seen anything lately.
Hi. What happened to you?
where did u buy those strips of acrylic???
I bought the acrylic at a store in Salt Lake Cith that sells stuff for the marketing industry. They stock a lot of stuff used in the construction of displays. I would think you can get acrylic at most craft stores. Home Depot also carries it.
Eric
Just curious as to your progress
Post a Comment