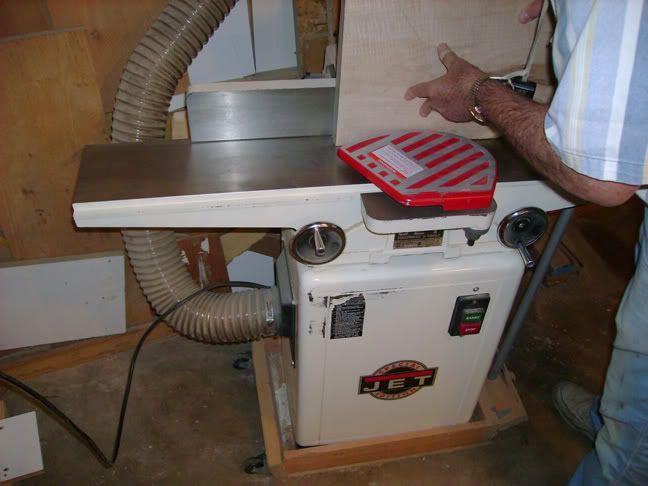
The piece of maple I have is ragged on both edges. I need to get rid of rid of the ragged stuff and true up the edges. So the first thing I did is run one edge of the maple through a jointer. The jointer planes off a small amount of the wood and makes the edge straight. Here's my dad running the piece through the jointer:
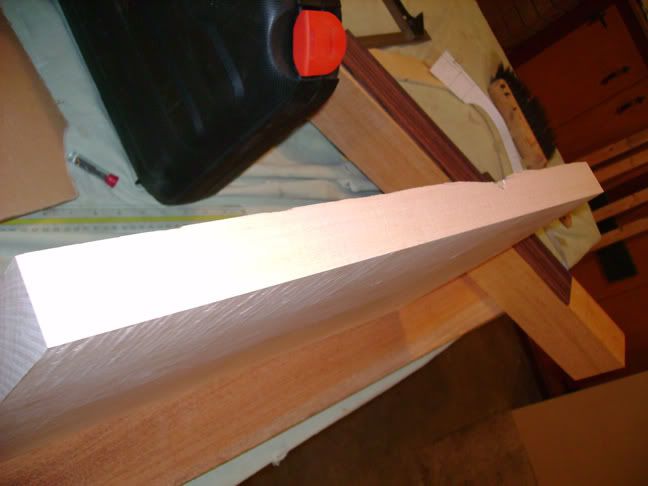
Once one edge was straight I could trim the ragged edges off and cut the board down to the size where it could be resawn. Here's a bad edge:
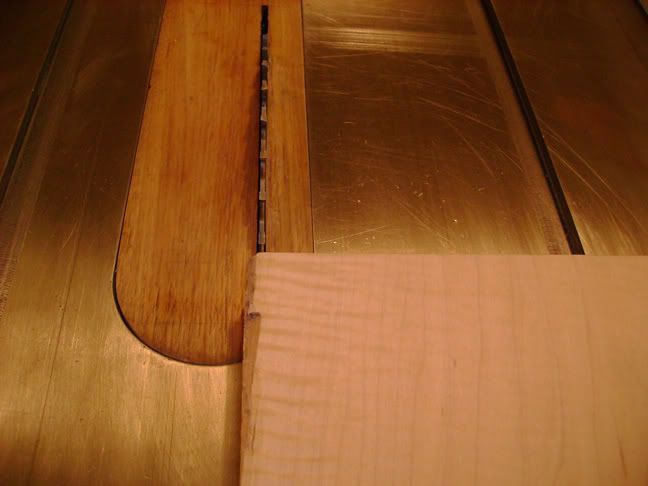
I trimmed up the maple to approximately seven inches wide by twenty inches long. The the edges of the maple went through the jointer again to make the both perfectly straight. Now I had a perfectly rectangular board with all the bad material trimmed off. Now the board needs to be resawn to become two pieces. We do this on the band saw. You can see the fence the board rest against. To resaw you put the board on it's side and place it against the band saw fence. then you slowly run the board so that it is split lengthwise. Here's a pic of the setup:
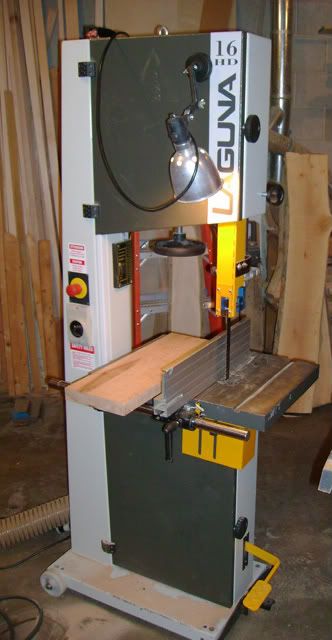
Sorry I don't have a pic of the resaw process but you can get the idea if you look at the saw.
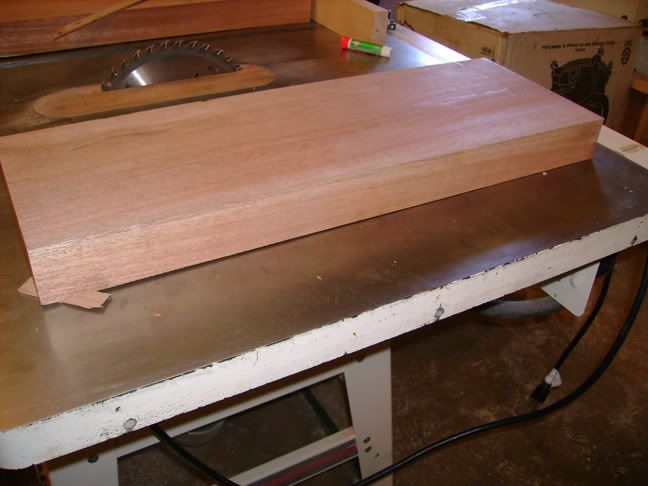
Once the maple was resawn it was time to take care of the mahogany. If you remember the last blog my mahogany was about 60" long. I started the process by trimming the board into three equal lengths on the table saw. I knew when I bought the board that it was a little warped. I'd hoped when I cut the board that some of the warp would diminish with the smaller lengths Unfortunately when the boards were cut they were still slightly warped. The way you could tell the boards were warped is that when placed on a flat surface the board would not sit flat. You could push on a corner and the corner would go down. To fix this I super glued shims to the bottom of each board. The shims made the board sit flat . Then each board was run through a surface planer with the shim side down. Once run through the planer the top edge of the board becomes straight. Here's what the board with shims glued on looks like:
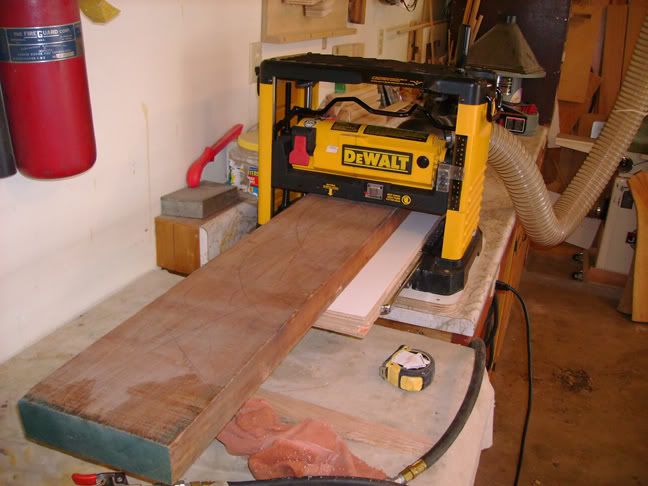
Once the top edge of the board is planed you flip it over and then plane the other side. This way you can achieve perfect thickness throughout the boards length. To be honest there was a slight warp still left in the board after I finished planing but I'm not building a rocket here so the little bit wasn't a big deal. Here's the setup used for planing:
Once all the planing and trimming were done it was time to run the glueing edge of each piece through the jointer again just to make sure the edge was perfectly flat. Then it was time to glue the pieces.
The glue is evenly spread on each edge of the boards and then they are placed together and clamped Here's the mahogany being glued together:
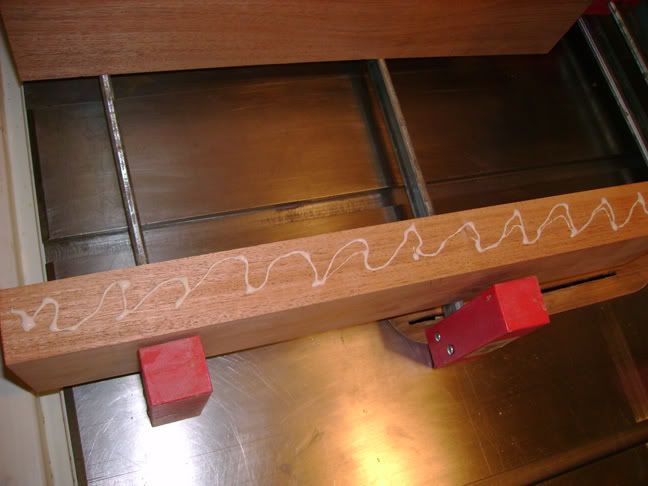
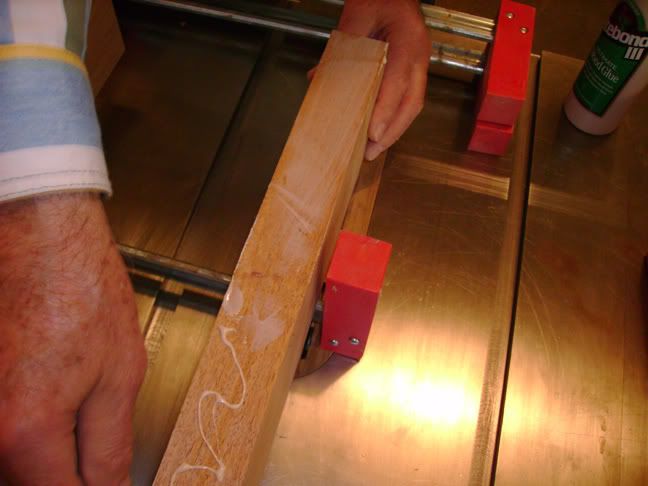
That's Dad's hand by the way. He's helping out on most of the stuff done today. Thanks Dad!
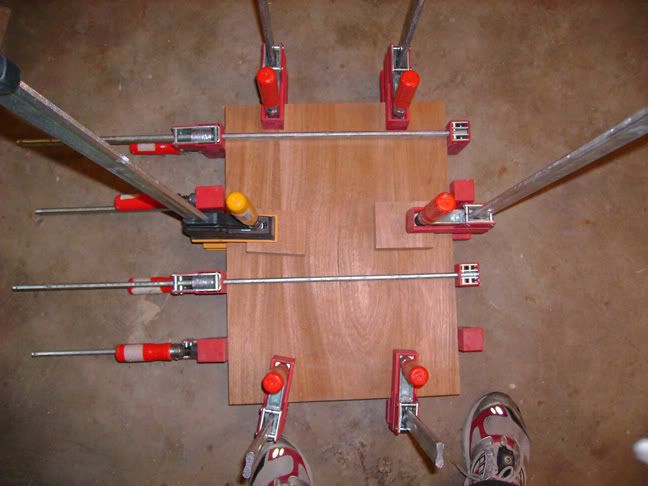
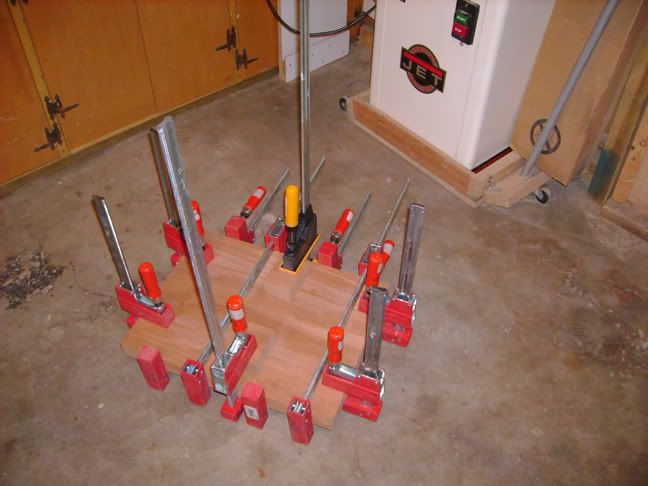
The same is then done with the maple.
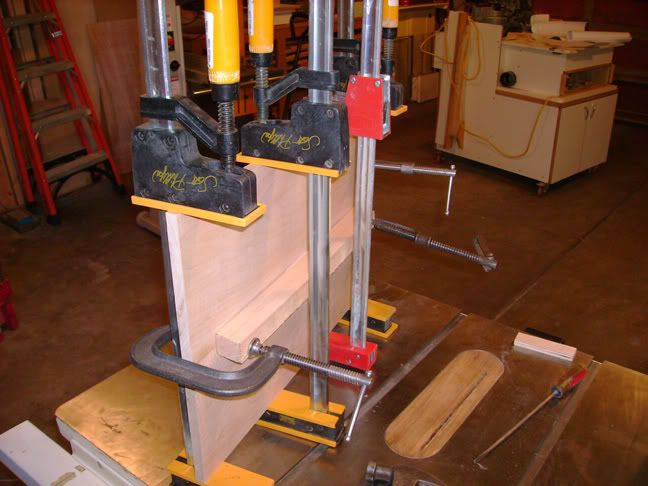
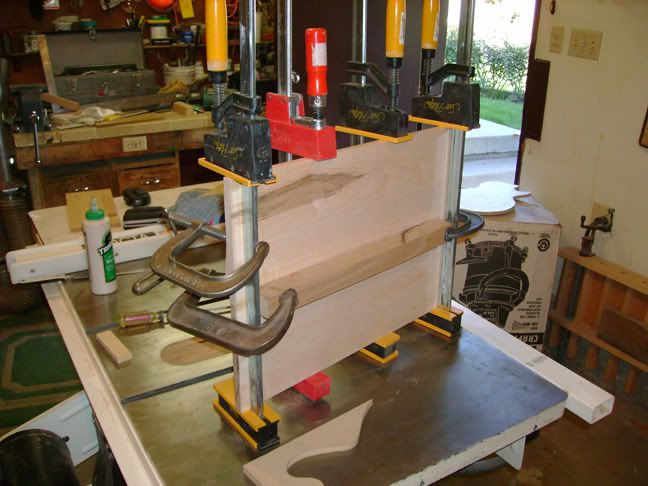
One thing I forgot to mention about the maple is that I bookmatched it. To bookmatch you resaw the board and then open the two pieces like you would a book. This causes the grain on each board to mirror the grain of the other board. This will become evident once the board is stained.
I can't for the life of me figure out what I did with the pics of the boards when they came out of the clamps. I will state that I was very hapy how things turned out. The side of the mahogany that will be the back of the guitar literally looks like it's one piece not three glued together. The maple looks lovely bookmatched.
No comments:
Post a Comment