Ok, maybe I need to back up a bit. The body portion of a Les Paul is actually both mahogany and maple. The majority of the body is a block of mahogany that is made out of one, two, or three pieces. The mahogany portion of the body gives the guitar a warm sound. On top of the mahogany is a piece of maple (actually it's usually two pieces glued together) that is 5/8" at it's thickest point. The maple top helps bring out the treble frequencies in the instrument which help the guitar to sound more articulate. It's the combination of these woods that give the Les Paul its signature sound.
I used the previous template I made to create the routing template. I used double stick tape to attach to attach the template to a piece of mdf and then used a template routing bit in a table router to create the new template.
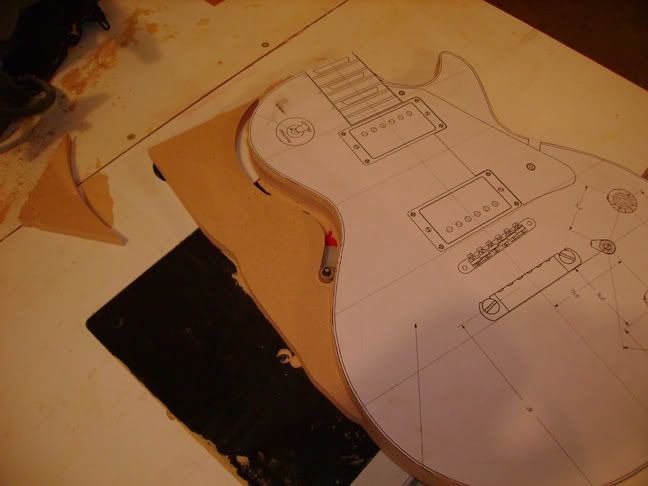
Here I'm routing the template.
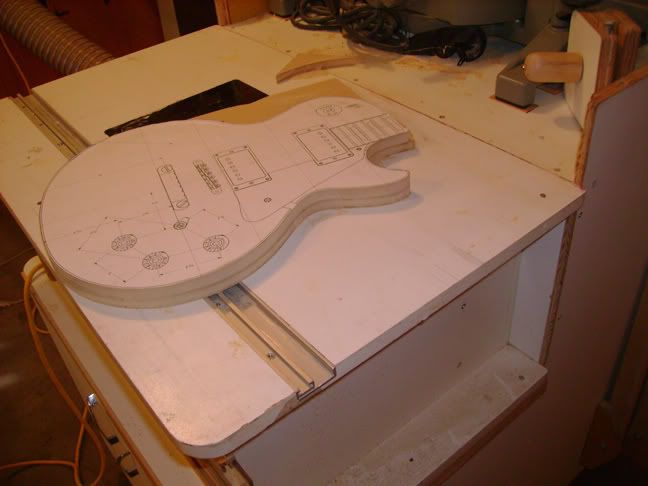
Here I'm finished routing. You can see the two templates stacked on top of each other.
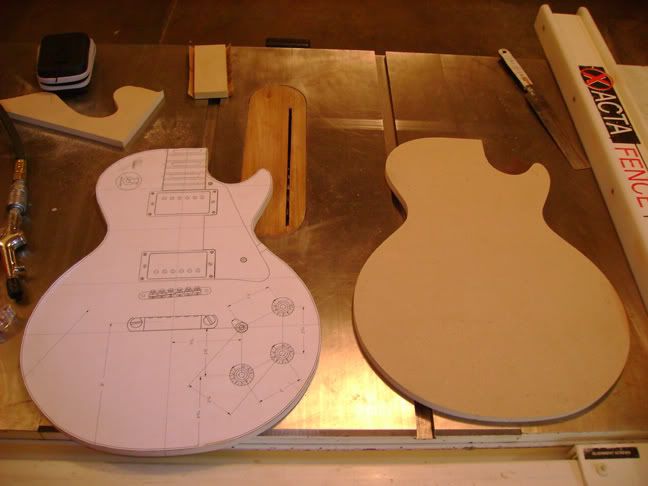
I had made a full size photocopy of the Stew Mac routing scheme and proceeded to attach it to the new template. I wanted to test my new Dremel and Stew Mac rounter base so I started by trying to hog out the control cavity by hand. The router base is really cool but I learned a few important lesson the most important being that you should start with a shallow cut and work your way down. This was actually really good practice in handling the tool as I will be using this setup to do my inlay routing.
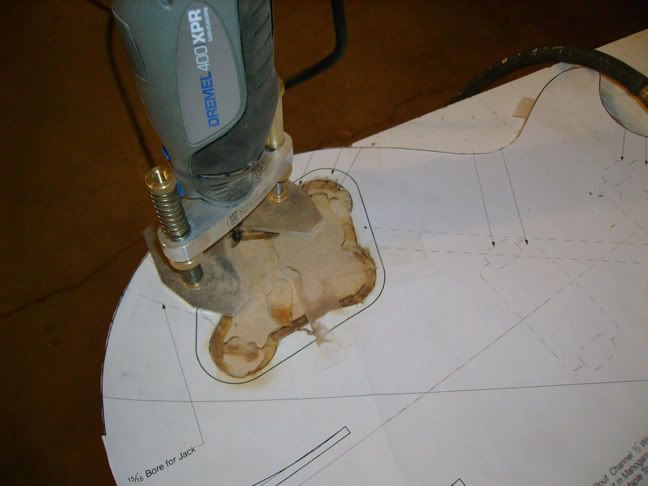
Routing the control cavity with my Dremel and the Stew Mac Precision Routing Base
Eventually it was time to move on to the scroll saw and get the rest out.
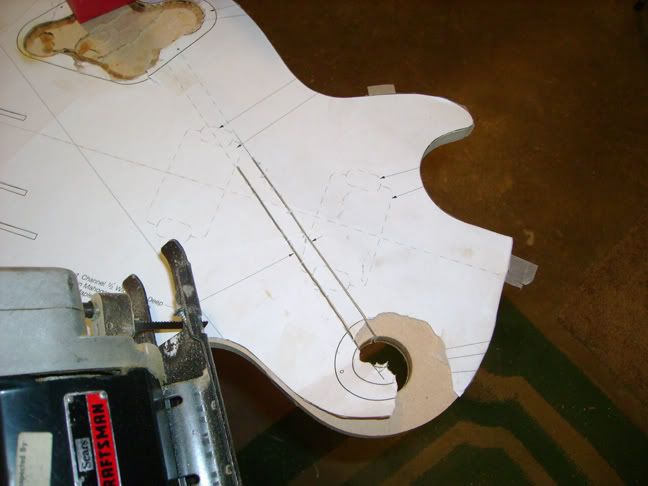
At this time I also used a spade bit to drill out the pickup selector switch hole.
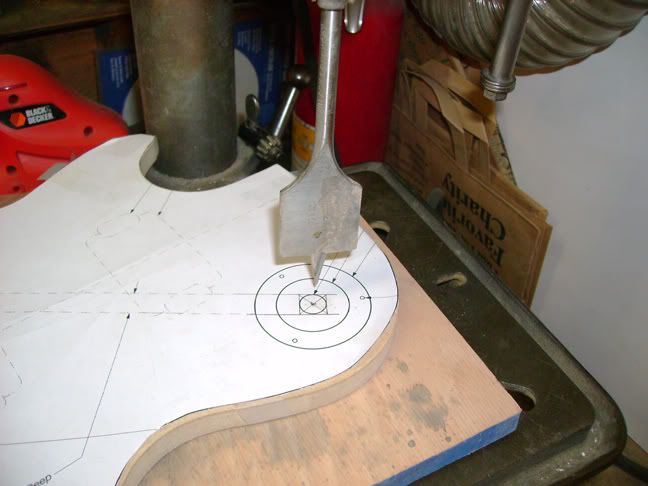
The spade made a perfect hol3 but it wasn't as accurate as I'd hoped because it was a little shaky in the drill press for whatever reason. I think it's because the bit was too long. The hole ended up being a millimeter or two off.
The scroll saw worked great routing the wiring channel as well. I cleaned up the channel with a a thin piece of wood with sandpper around it. I ended up with this:
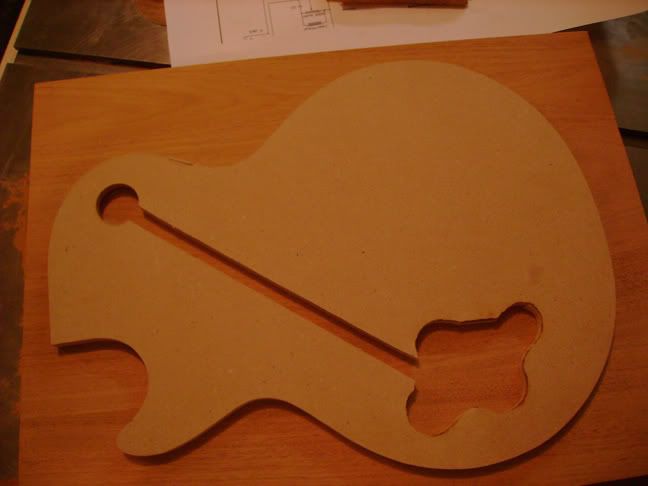
As you can see the control cavity in the above pic was really rough so I smoothed it out with an oscillating spindle sander. This was the perfect tool for the job.
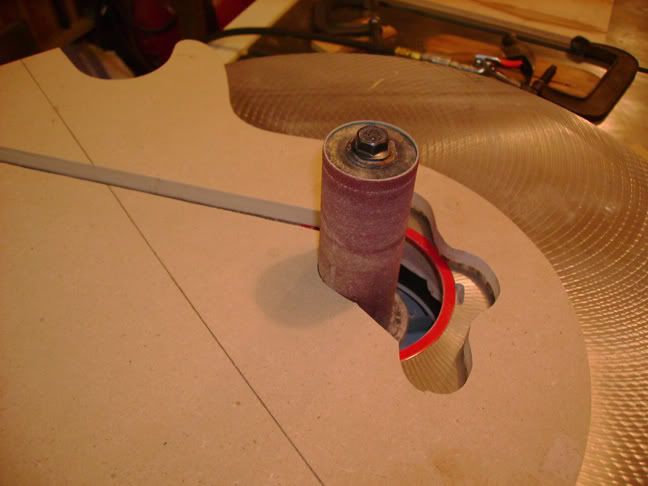
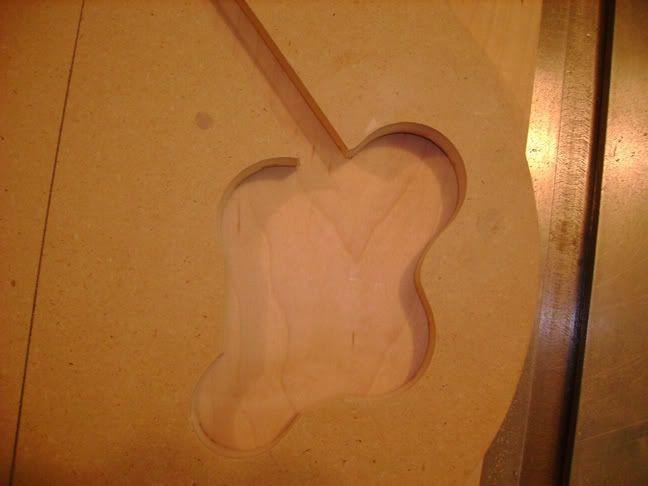
Unfortunately due to my incompetence with the Dremel the cavity didn't come out an exact replica of what was on the plans. I think a regular control cavity cover will work just fine on it but I'm still deciding if it will bug me enough to make an entirely new routing template with a more accurate control cavity. Up next are the mortice template for the neck routing and the template for routing the tenon. I'm thinking of doing these out of acrylic.
1 comment:
Thanks for posting this. Learned alot.
Post a Comment