I decided to keep the original template for the wiring channel. In addition to the reason mentioned above I really wanted to do a new template for three more reasons:
1. The selector switch cavity hole was off by a couple of millimeters. I blame it on the spade bit and a lousy method for finding the center of the circle.
2. The control cavity ended up too big in places. While it would have worked I just wanted it to be better.
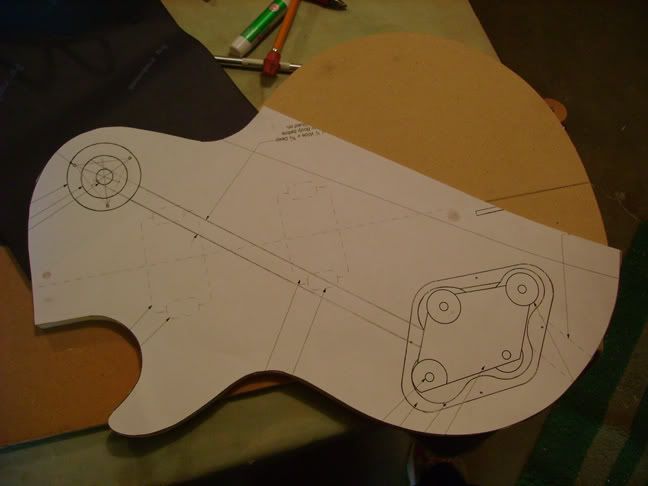
3. I felt like making another template would give me some good practice.The first thing I did was route a body shape in MDF using the first template as a guide. Then with drops of crazy glue at strategic points I attached a photocopy of the Stew Mac routing portion of the plans to the MDF.
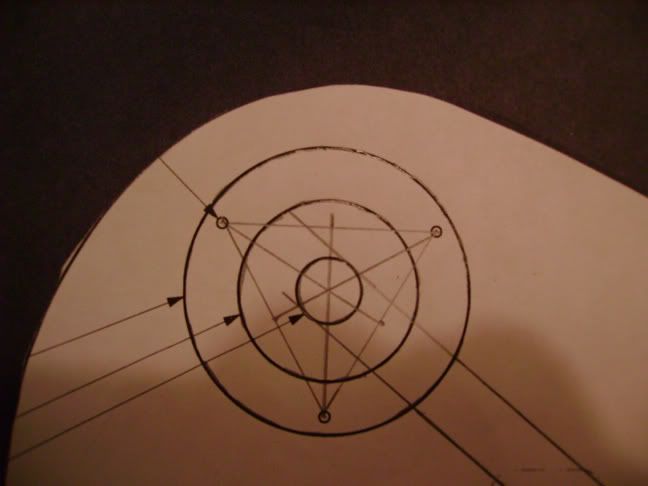
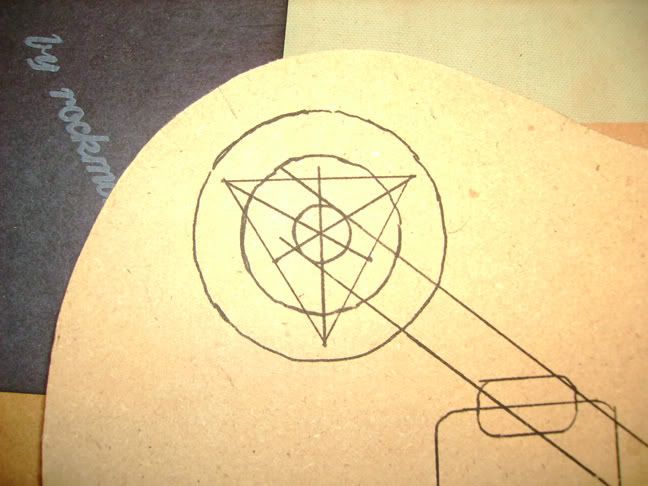
As mentioned in the previous submission I did a crappy job finding the center of the pickup selector cavity for drilling. This time I used the coverplate screw holes on the plan to find the exact center. You can see how I did this in the photo.
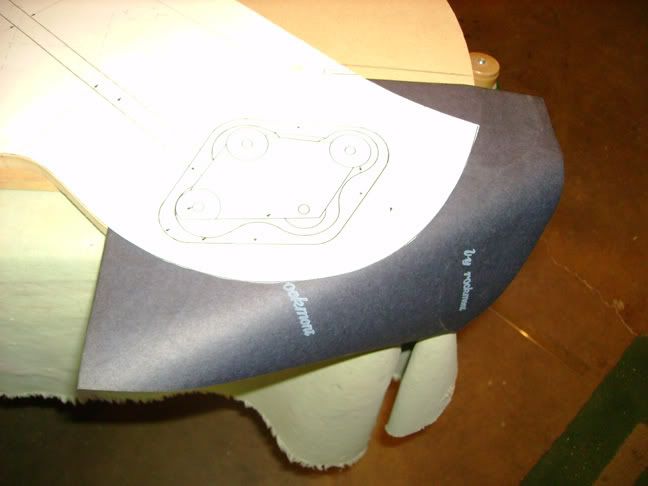
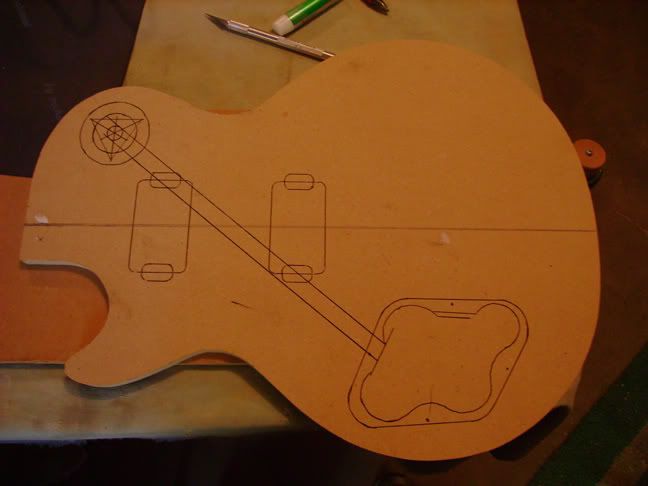
In the last template I kept the plans on top of the body when I started boring out the wood of the control cavity. This method wasn't the best as the paper would fray and I'd go to far. This time I did something different. I placed carbon paper under the cavity and then followed the lines with a pencil. It worked so well I decided to do all of the lines with the carbon paper and then removed the paper template. It came out looking like this:
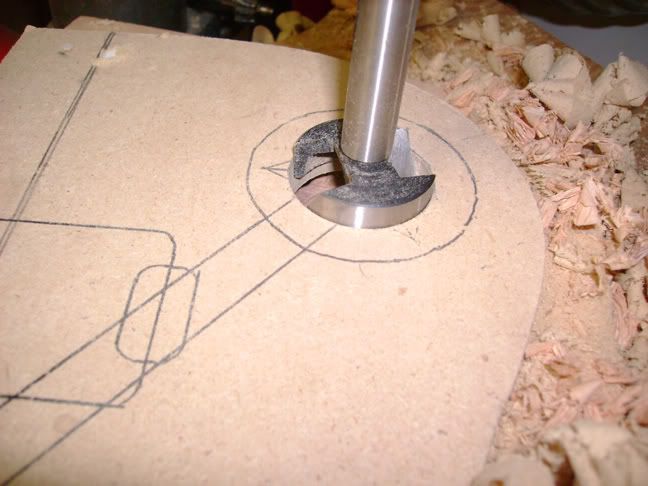
This time I decided to use a forstner bit instead of a spade bit to drill the control switch hole. The forstner bit has a much smaller centering pin which allowed me to place it dead center. Also the forstner behaves better in the drill press for whatever reason.
For the control cavity instead of using a sabre saw I decide to drill out most of the material with two different forstner bits.
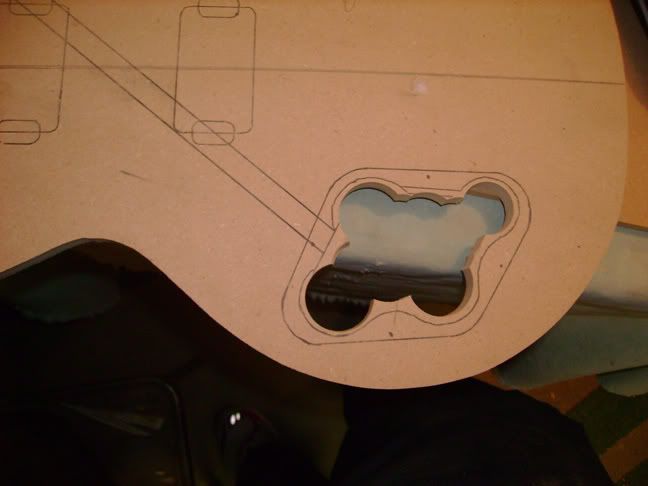
Then, like I did with the first template, used an oscillating spindle sander to carefully cut off the rest. This method worked perfectly and with a tiny bit of hand sanding I got this:
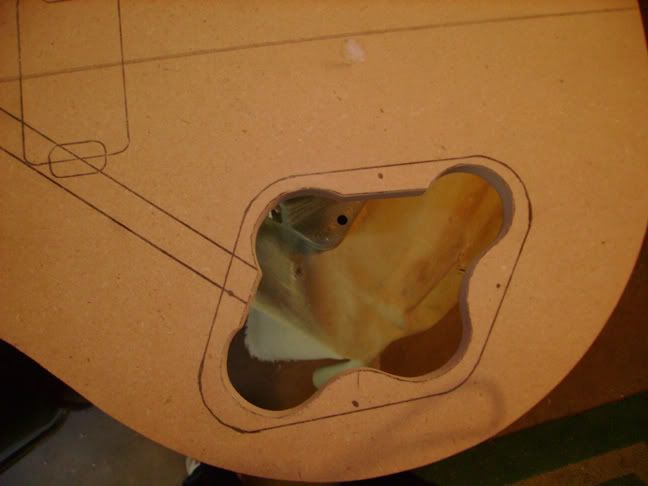
I forgot to take a pic of the template finished but I will say that this one is dead on accurate (ok that may be a slight exaggeration) and I'm much happier. Transfering the plan with carbon paper worked great.
Hopefully my mistakes and successes will help others who are contemplating a build. I still have to build the mortice and tenon templates but that should go quick. By the end of the weekend I expect that I'll start building the actual guitar.
No comments:
Post a Comment