I wanted to get the body to the point where I can start carving the top. There are three things in the way of doing the carving: routing the binding channel, routing the body to accept the angle of the neck, and routing the mortice for the neck. I can carve the body without routing the neck mortice if I want so I'm putting off the decision as long as possible.
For my readers that don't have a lot of guitar knowledge binding is a strip of plastic, wood, or cellulose that encircles the guitar body and sometimes the fretboard. Mostly binding is decorative although it can help protect the edges of the body. Most Les Paul guitars have binding only on the top edge of the guitar body. However Les Paul Customs also have binding on the bottom of the guitar and Les Paul Studios do not have any binding at all. The '59 Les Paul is they type that has binding only on the top.
I bought Cream ABS binding from Stewart Mac. The Les Paul binding is .060" thick. In order to get this thickness after sanding you actually want to buy a thicker binding. The binding I purchased is .090" thick. It will be scraped down to the proper thickness once it's glued to the body. The binding I bought is also pretty tall and will be scraped down to the proper heights as well.
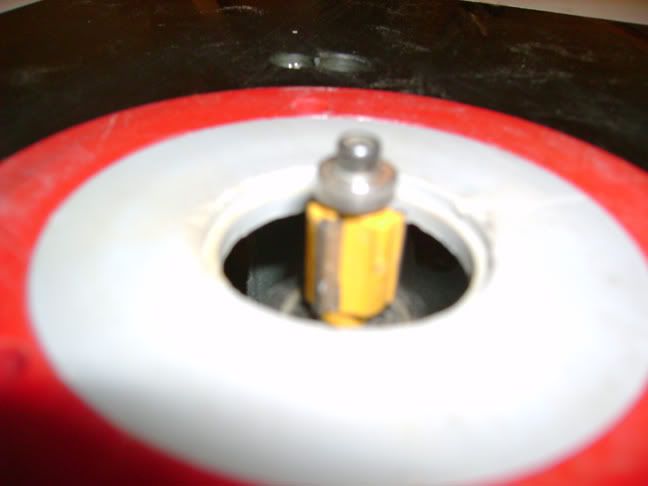
There are a few different ways to cut the binding channel. I chose to use a template router bit with a bearing that is smaller than usual. In this case I used a 1/2" router bit with a 3\8" bearing. This setup will produce a 1/16" channel. I did some test cuts on scrap wood and the channel this produced ended up being more like 3/32". When I set the binding in the channel it fit right in and was just slightly too wide. I figure when it's scraped down it will be almost perfect.
Here are some pics:
First is the bit. Sorry it's fuzzy. You can see the 3/8" bearing on the 1/2" bit:
When starting this type of cut you want to go slowly. This means you don't cut the full depth of the channel at first. I started by routing a shallow channel and then increasing the depth of the cut a little at a time.
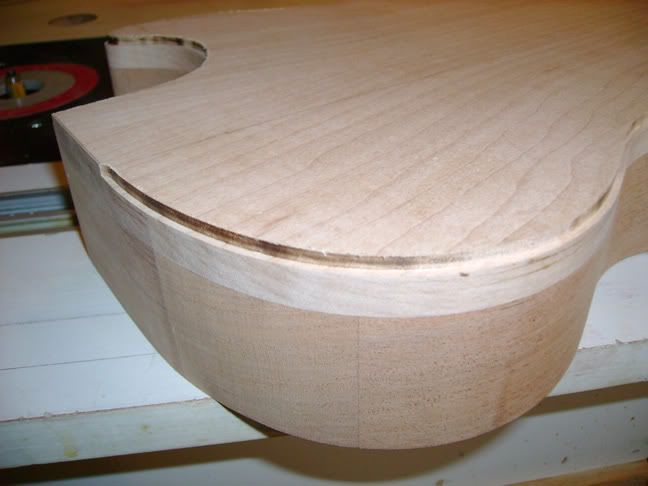
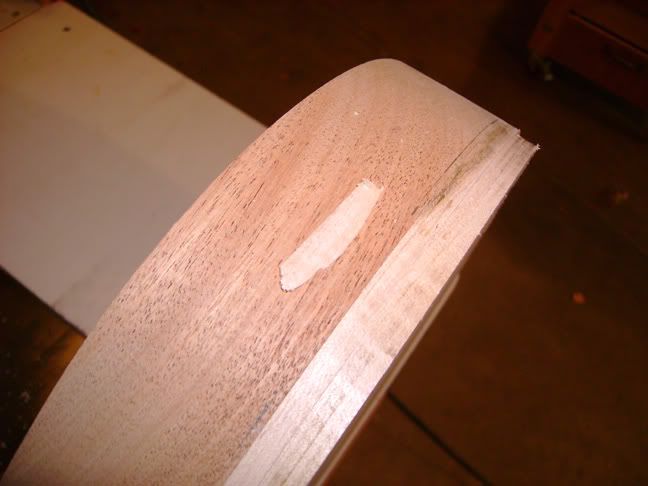
In an earlier post I wrote about the wood sometimes tearing out. This happened when I was routing the channel. Fortunately the tearout happened at a depth that will not affect the binding channel and will be carved away. Here's a pic of the wood that was torn out. I placed it next to the place where it came out although you can't see the hole.
I kept adjusting the router depth until I reached 5/8" which is supposed to be the height of the maple top. My top is just shy of 5/8" so I just routed down into the mahogany a bit until the 5/8" was reached.
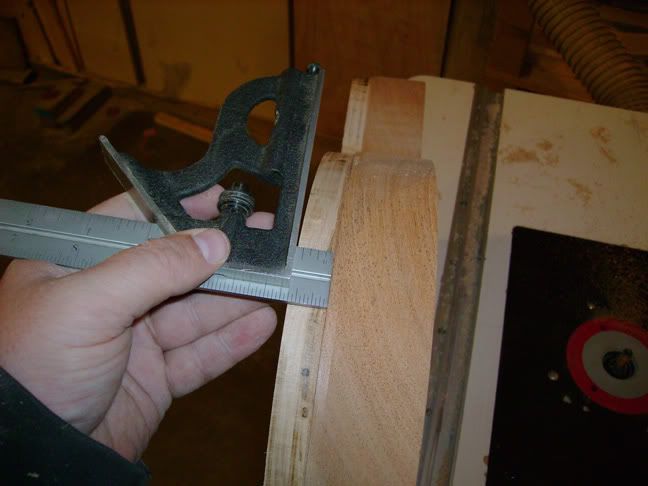
Here are some more pics of the completed channel:
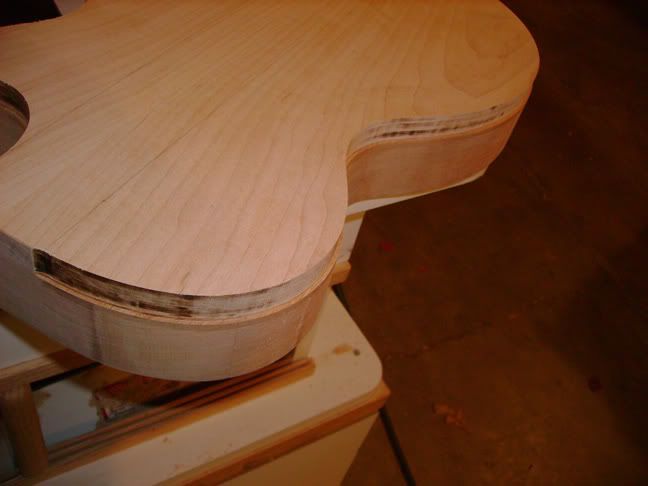
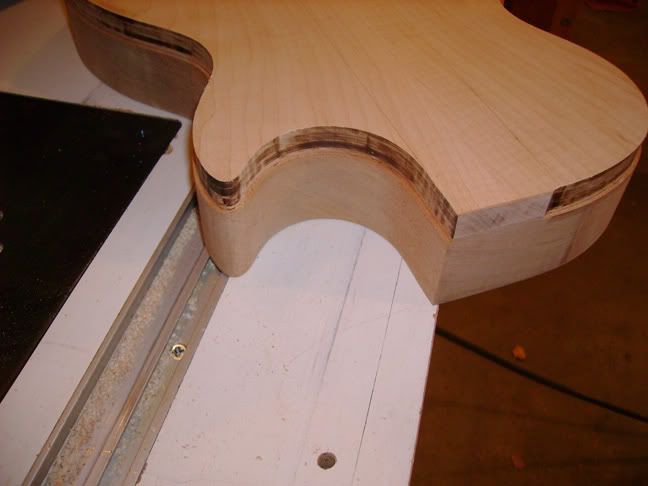
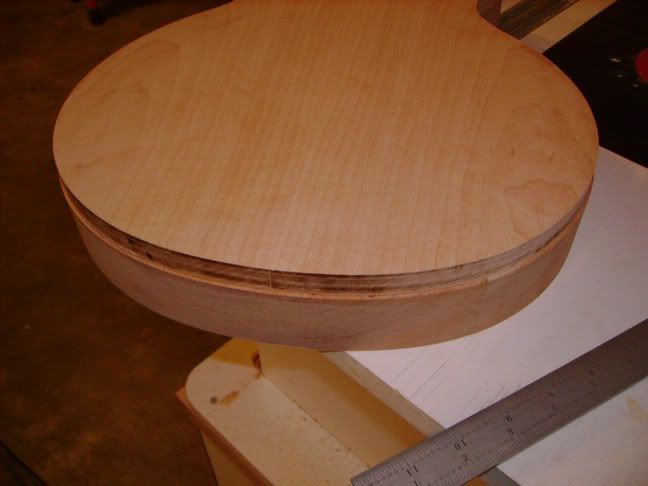
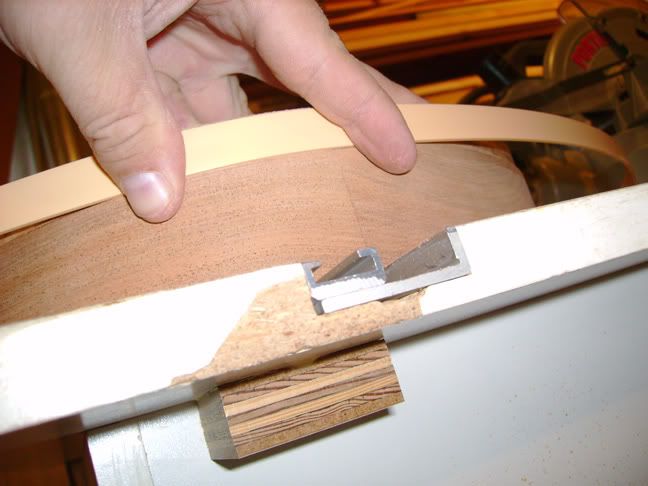
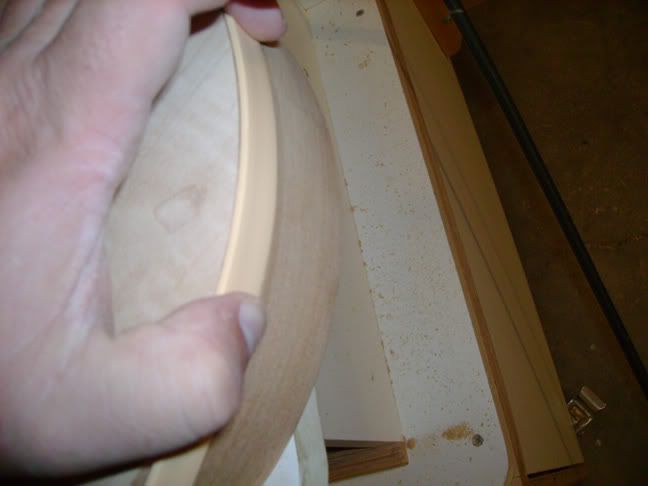
Here are a couple of shots of me holding the binding in the channel. It sits just slightly wide of the channel which is perfect.
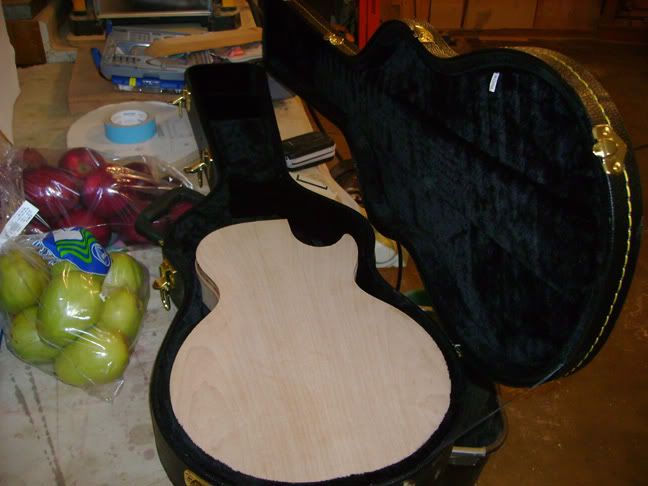
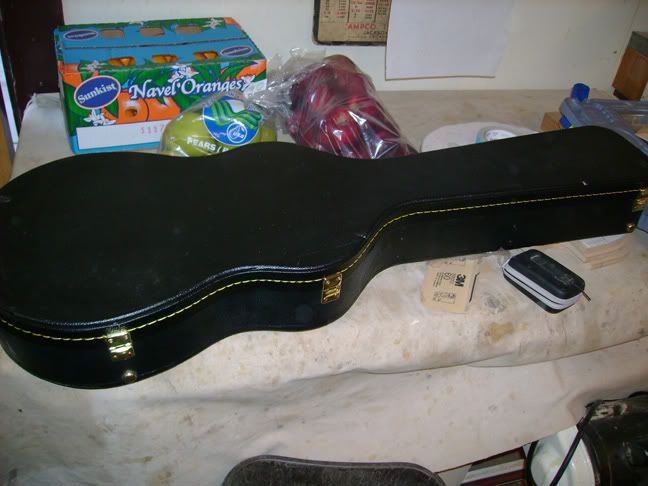
In related news I started feeling a need to protect the body of the guitar. I felt that just having it laying around on the work bench while I was doing other things was probably a recipe for disaster as mahogany dents easily. So I got online and found a really cheap case that fits Les Pauls at Guitar Center for $49. When I went over to Guitar Center to pick one up I found they didn't have any in stock. As I was walking out I noticed that in the entrance they had a bunch of used cases that they were selling for $20 each. I dug around in the pile of cases and ended up finding a slightly used version of the case that I originally wanted. Even better when I opened it up and checked in the storage compartment I found a perfectly good Korg chromatic tuner. Being an honest dude I brought the tuner to the attention of the door greeter. He went with me to the cashier and told her about the tuner. She notified the manager and they decided to give me the tuner with the case. So for $20 I got a cheap but servicable case and a decent tuner. No this will not be the case for the finished guitar.
1 comment:
What a fantastic site and file cabinet full of both information and observations about build a Les Paul from scratch. Is there any possible way of seeing the entire website? If it would be ok, I'd like to download it all so I can follow it in build my Les Paul. This is the best source I've ever seem on doing this. The jigs are priceless, the comments light and funny, but definitely on the money. Thank you so much for the great photography, and words. I am so happy to have found this site!
Post a Comment