I routed the top and body from the same template so you'd think they would come out exactly the same shape. This of course didn't prove to be the case. They were very close though. I figured I'd line them up the best I could and then take care of any discrepancies through sanding. Next time I think I will attach a roughly cut out piece of maple to a perfectly cut out mahogany body and then use the mahogany body as the template to route the maple. I think this would ensure that they line up perfectly together and save me a lot of sanding in the end.
I got some Titebond 3 glue that I had left over from an amp cabinet build and proceeded to spread it on the mahogany body. I just put enough on to cover the body liberally.
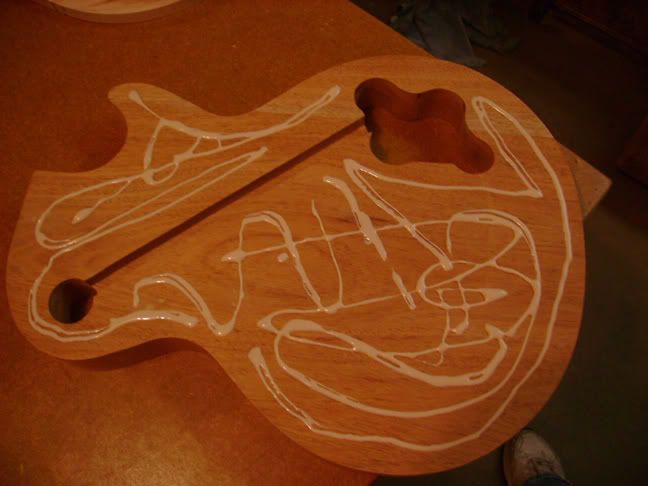
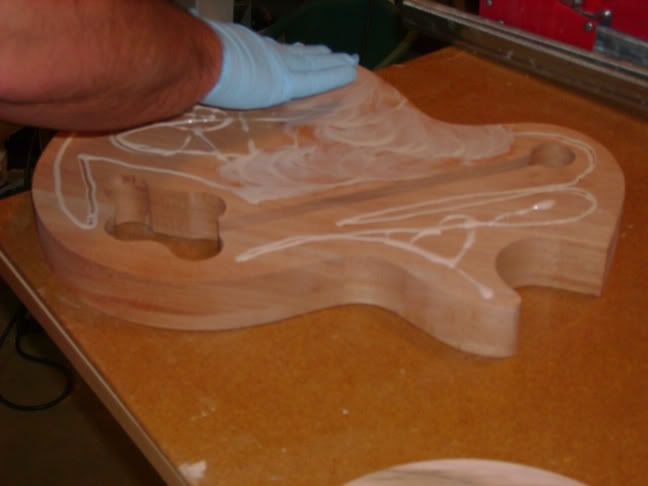
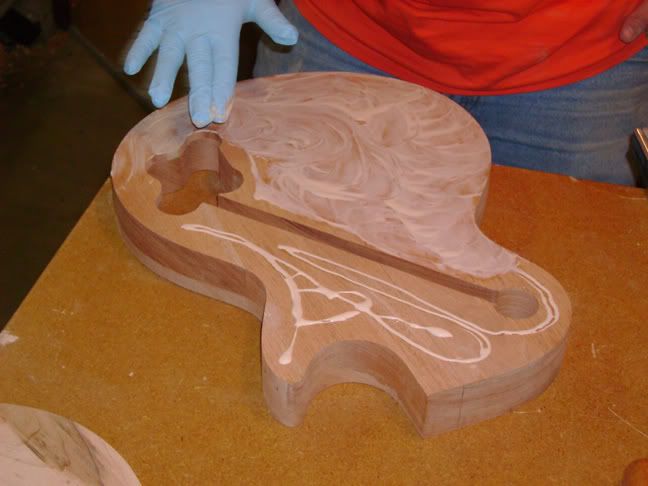
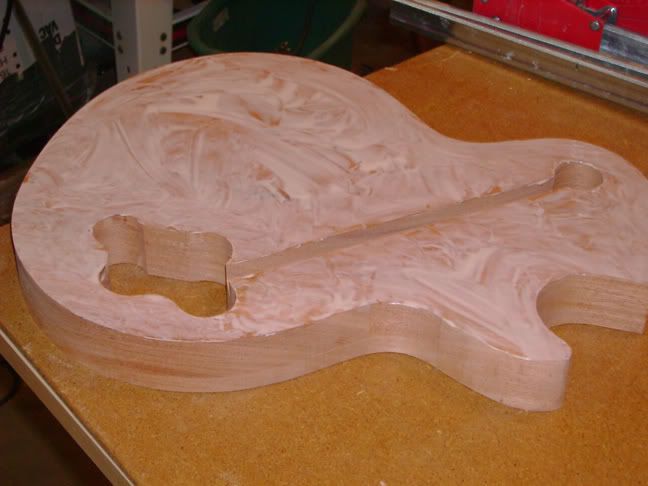
Then I put the maple top on top of the mahogany, clamped it, and presto I've successfully mated the top to the body. Wait. What is going on here? There isn't any glue squeezing out from the seem where the two pieces meet.
Whenever you glue two pieces of wood together you should have something called squeeze-out. Squeeze-out is the excess glue that leaks out from the seems. If you don't see any squeeze-out you probably haven't used enough glue.
Figuring I didn't use enough glue I unclamped the pieces of wood and pried them apart. What I saw surprised me. The mahogany actually soaked up a bunch of the glue and what glue was left didn't cover much of the maple. Not only did I not use enough glue I REALLY didn't use enough glue. So I slathered a bunch more glue on the mahogany body and then slathered a bunch on the maple top then stuck them together and clamped.
Wahoooooooo, squeeze-out galore!
Ummmmmmmm, why do I have so much squeeze-out? Seriously it's not stopping. Uh oh, it's now all over the clamps and the table and the........
Ok, I put too much glue on which is better than not enough glue but a whole lot more messy.
So I got a rag and started wiping up the excess glue. While doing this I realized something. Remember the wiring channel that runs between the control cavity and the pickup selector switch? Well that channel (now more of a tunnel really seeing as I covered it up with the maple top) was now filling up with the excess glue and if I didn't find a way to clean it out I would never be able to run the wires.
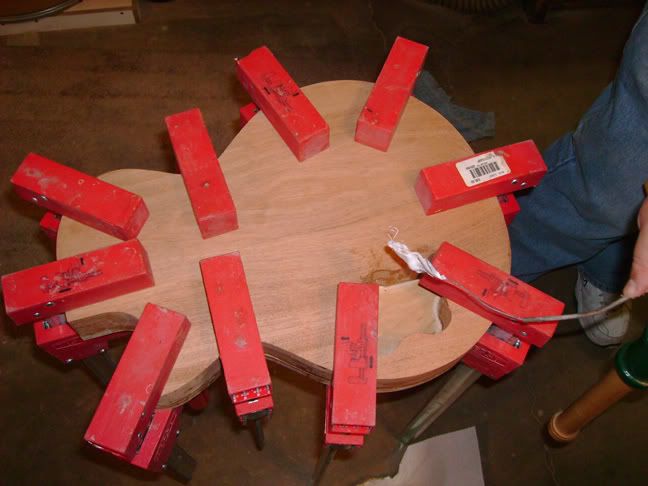
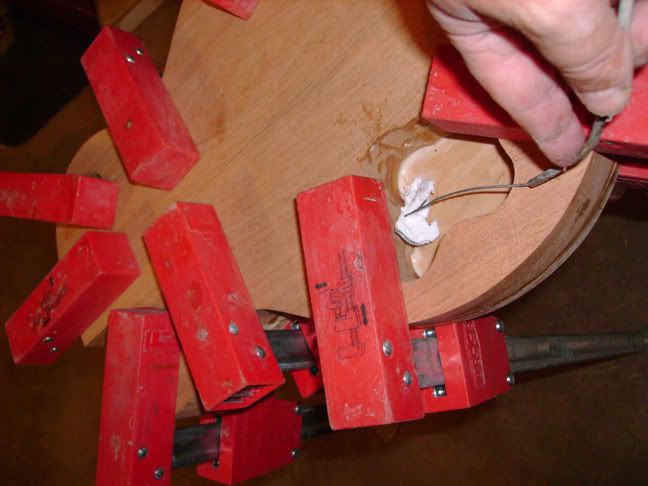
There's no way I could get a rag into the channel because it's approximately a half inch wide and a half inch tall. I had to find a solution. Fortunately I'm the proud owner of a Remington Wingmaster shotgun. Part of owning a gun is knowing how to clean it. To clean a gun you use a rod with a piece of cloth or paper attached to one end that is thrust into the barrel. I figured I could do something similar to clean out the wiring channel. Snooping around the garage I found an old choke cable from some car. The cable was flexible enough I could get it in the channel and had a small but sturdy piece of wire jutting out of it at one end. My plan was to cut up a rag into small pieces, hook these pieces to the wire end of the choke cable, and then thrust the wire with the cloth on the end in and out of the channel.
This method ended up working pretty well. I must have used fifteen different pieces of cloth to clean up the mess in the channel. Here's what my impromptu channel cleaner looked like:
Here's a pic of the mahogany body and maple top clamped together:
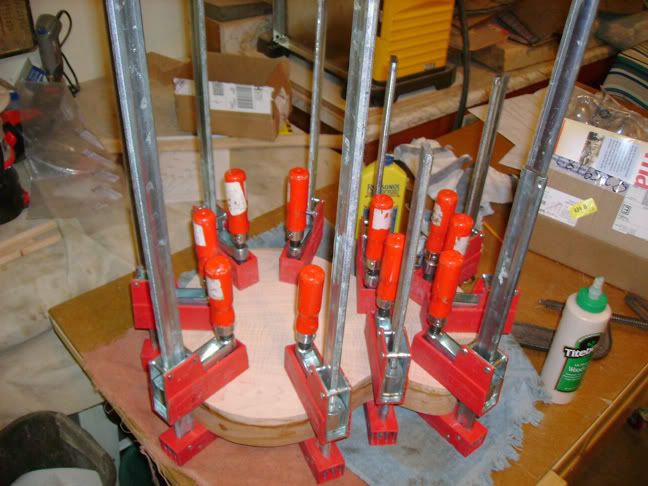
One other thing about gluing. It is possible to apply too much pressure with the clamps and squeeze out too much glue. I was careful to get the clamps tight but not too tight.
I left the guitar overnight. Unfortunately I do not have pictures when I took the guitar out of the clamps. I thought I'd wiped away all the sqeeze-out but it continued to ooze out for quite a while. When I took the clamps off I had a mess on the side of the body. No big deal because I had to true up the edges of the body because the mahogany body and maple top didn't fit perfectly together to begin with. I used a sanding wheel and the trusty oscillating spindle sander to remove the excess glue and match up the edges. I'm glad I had these tools because hand sanding would have taken forever due to all the squeeze-out.
I'll take a pic of the finished body for the next blog. Currently I'm building a jig to route the neck angle into the body. Hopefully I'll get to that in the next couple of days.
No comments:
Post a Comment