October 30, 2008

Finally Get to Do Some Cutting!

So anyway today is a day I've been waiting for for quite some time. I get to actually cut the mahogany body blank.

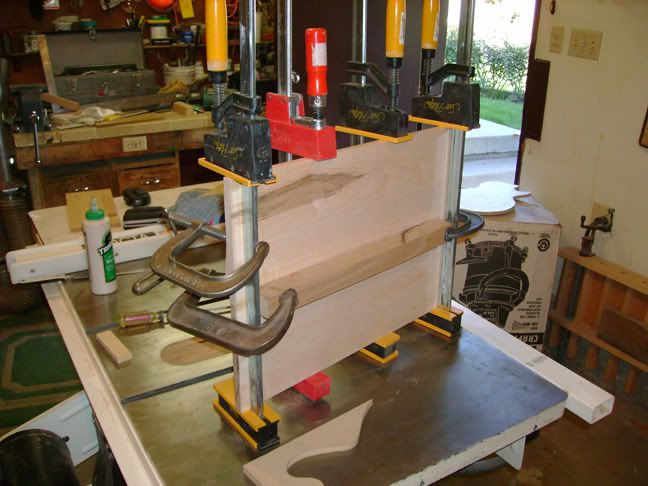
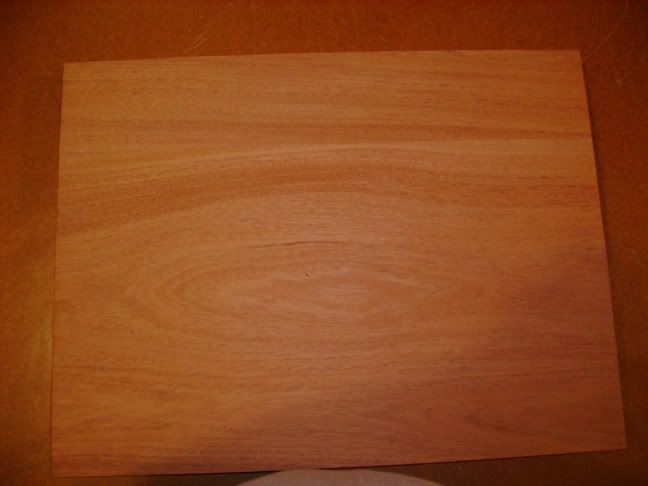
I was very excited about how the blank came out of the glue. The side that will be used for the back of the guitar is well matched and honestly looks like one piece of wood. The other side is a different matter completely. Here's a pic of it just out of the clamping process:
Photobucket

Can you find the seam? Remember this is three pieces glued together.


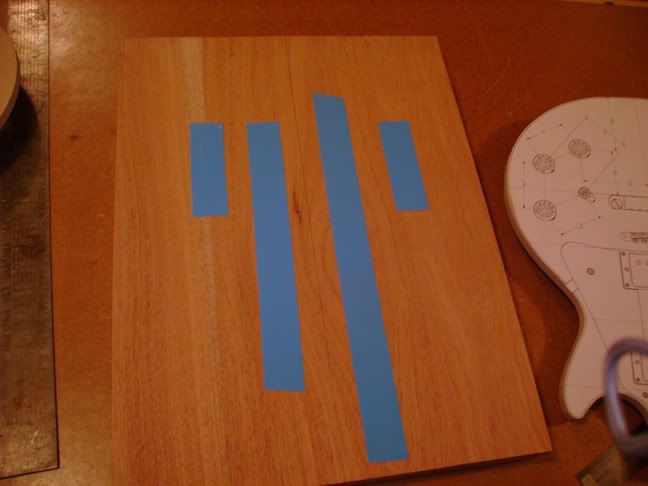
So how do you cut these things anyway? First I attached the routing template to the body blank. For this I used double sided tape. For cutting out the templates I used 3M mounting tape but decided it wasn't strong enough when one of the templates slipped a bit. I went to Home Depot and browsed around and ended up with some stuff that's made to keep welcome mats and outdoor carpet from slipping.
Photobucket

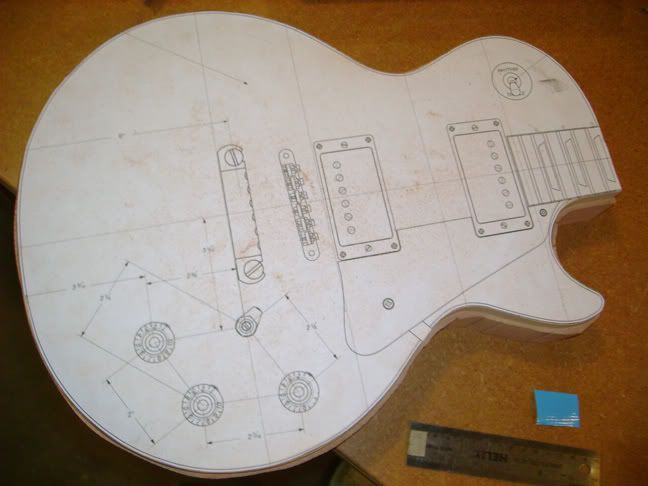
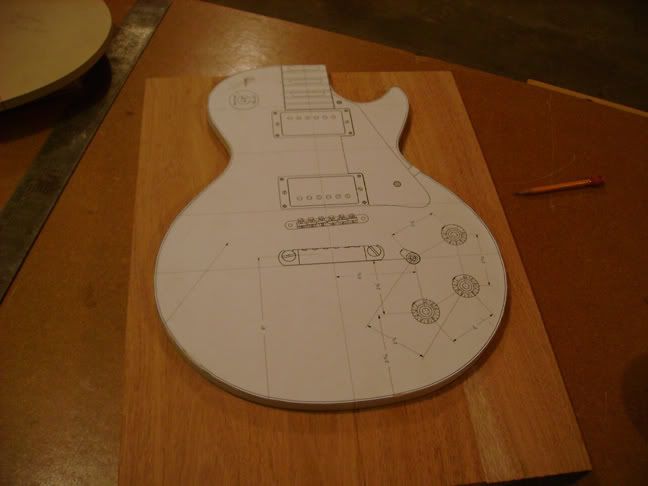
Here's the template attached to the board. I worked with the positioning to try and get the best possible wood grain on what will eventually be the body.
Photobucket

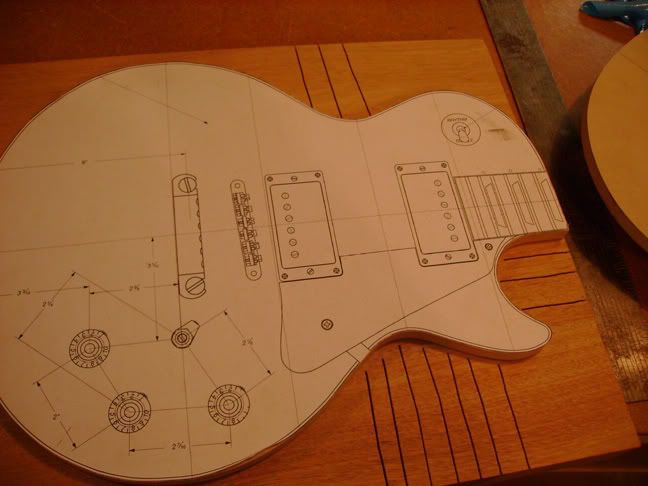
I decided to rough out the body by first cutting off most of the wood with a band saw. I try to keep about a quarter inch from the template. I sawed some relief cuts in the places where the body curves. This will help me to be able to cut the curves with the band saw.
Photobucket

Here is the body roughed out.
Photobucket

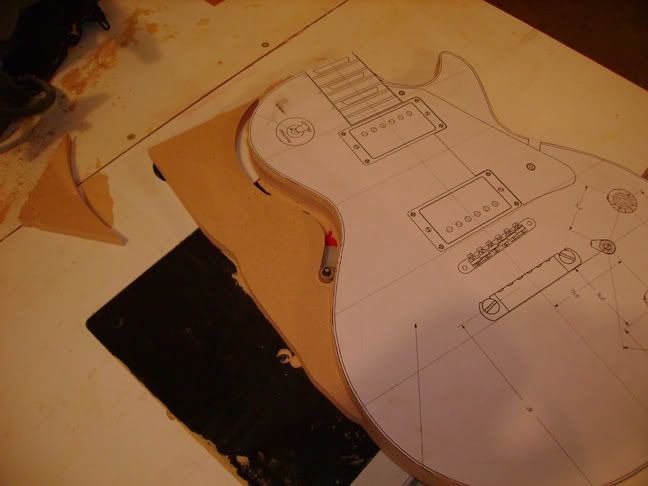
Here's where the templates really start earn their keep. To cut a precisely shaped copy of the template on the actual wood for the body you use a router. For this type of cut you use a template router bit. The template router bit has a bearing that rests on the template as you route. The cutter is the exact size of the bearing and makes a perfect cut. There are two types of template router bits one has the bearing on top and the other that has the bearing on bottom. In this picture I'm using a bit purchased for this purpose from StewartMac.com. This is the bit with the bearing mounted on top of the cutter.
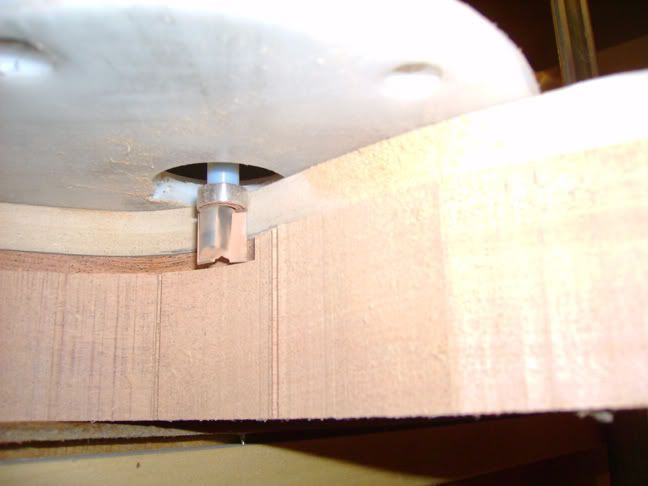
Photobucket

Look closely and you can see the bearing resting on the template. It's important to go very slow when performing these types of routes. It is also important not to try and cut too much wood. I try to limit my cut to a quarter inch down. Here is the body after cutting out the first and second passes.
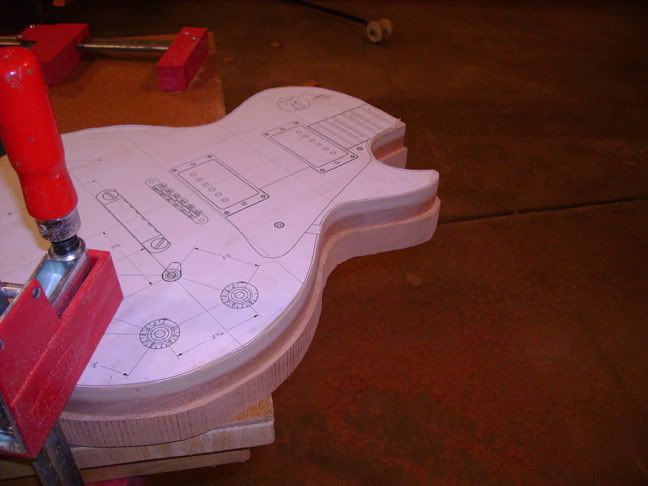
Photobucket

Now all I have to do is lower the bit and cut around the body again, and again, and again...... After a few passes the template is removed and you just use the body as a template. In this way you can cut even lower. I did find out the routing is tricky when you go around the horn. On one pass I tipped the router a bit because there isn't a lot for it to rest on. When I did this it gouged out the horn slightly. It's nothing major and will sand out but I wasn't happy. I developed a technique for the other passes where I put my hand on the bottom of the router right above the part of the template the router was resting on. This helped keep the router flat and cutting straight.

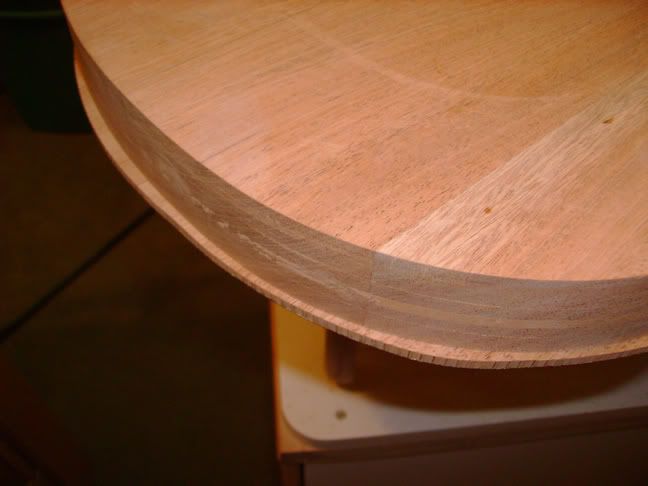
I have a a couple of gripes with the router bit I bought from StewartMac.com. The blade is very sharp and cuts fine but it's a little short. I couldn't make it long enough in my router to cut the entire width of the body. Now it's possible that this is a limitation of my router but I still think the bit should be longer. Another problem with the bit is it uses a teflon tube to hold the bearing in place. To me this seems like a squirrelly way to hold the bearing. Other bits use a piece of metal held in place by an allen bolt that rests on top the bearing. Here are a couple of pics that illustrate how much wood was left after I'd reached the limits of the router bit:
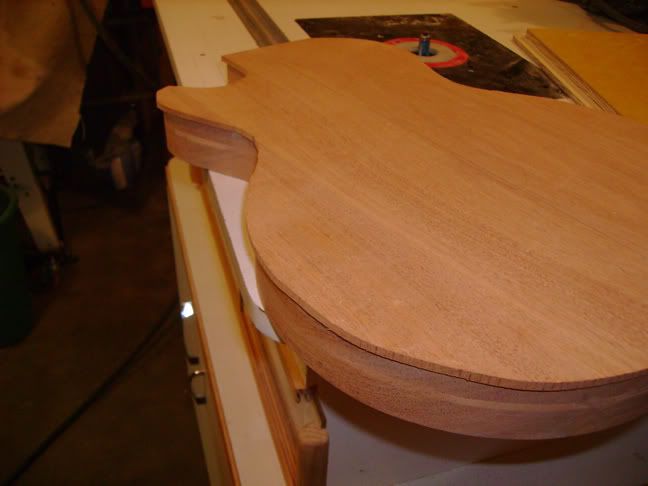
Photobucket
Photobucket

To be fair the bit performed well and didn't chatter even though it as a 1/4" shaft. (More professional routers can use 1/4" or 1/2" shafted bits. The 1/2" bits are generally considered more solid performers.)

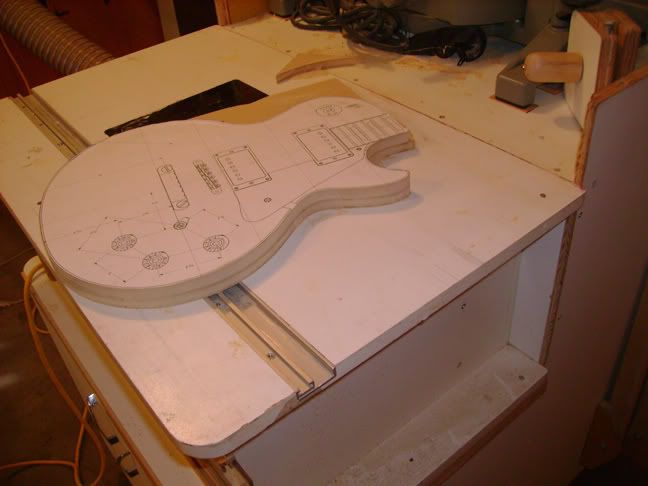
Fortunately I also have access to a table router. It does the same thing as the hand held but it uses a router that's fixed in place with a bit that points up out of the table. I fitted the other type of template router bit with the bearing on bottom into the table router and then used them to cut the remaining wood off the body.
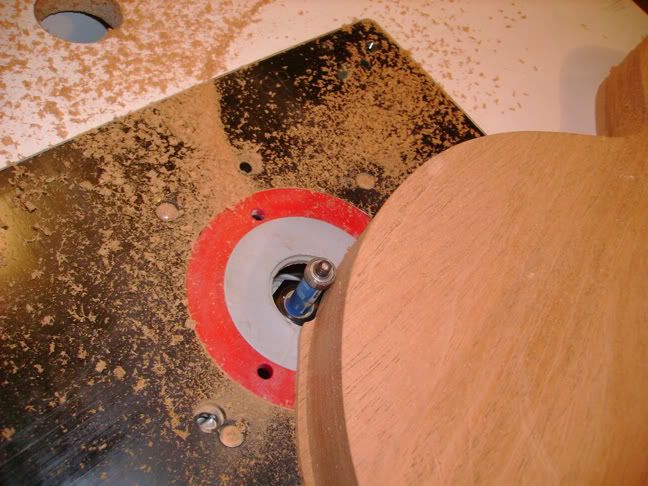
Photobucket

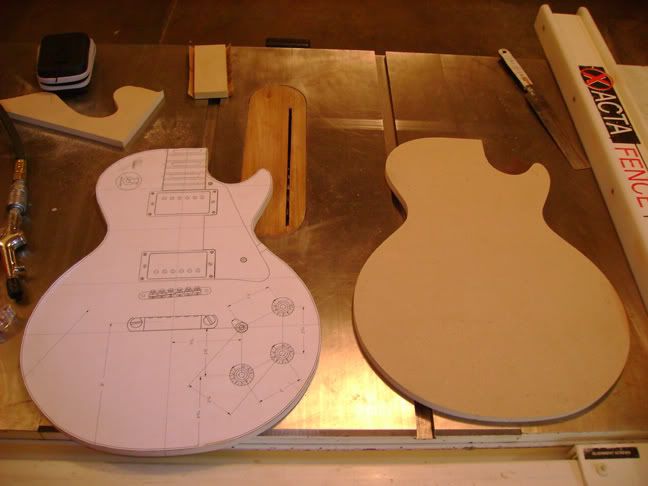
Here's a pic of the body completely cut out.
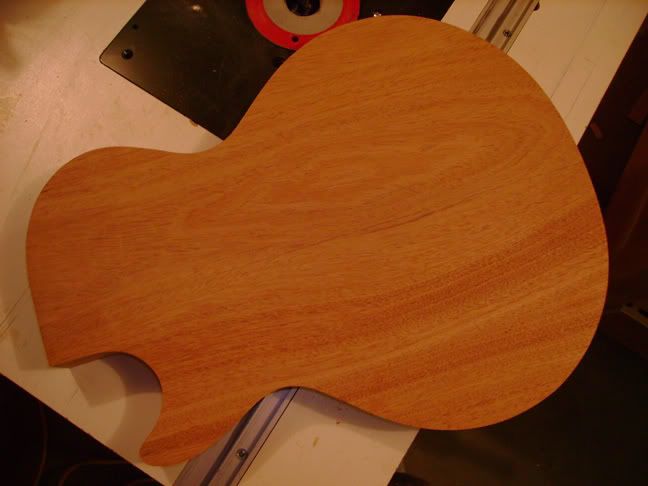
Photobucket

I had one other problem with the double-sided tape I used to hold the template to the body. When it was time to remove the template I couldn't get it off. It turns out the tape is a lot more powerful than I imagined. I ended up having to use a paint spatula and pry bar to get the thing loose. Even then there was tape residue on the template and the body. Fortunately I was able to get the residue off by wiping it down with a naptha soaked rag. When prying the the pieces apart I did make some small gouges in the template and the body wood. Fortunately the gouge is in the part of the body that has the maple top glued on top so it will not show. Still I decided to fill the gouges with some plastic wood and sand it down.

Next up is routing the cavities.
October 29, 2008

Preparing the Mahogany Body and Maple Top

Ok so I have the wood now what to do with it? Several things need to happen. Both the mahogany and maple need to be run through the jointer (makes the edges straight for glueing), trimmed, and planed to thickness. Once this is done the maple needs to be resawn (the big block needs to be cut in half so that it becomes two boards) and glued together.

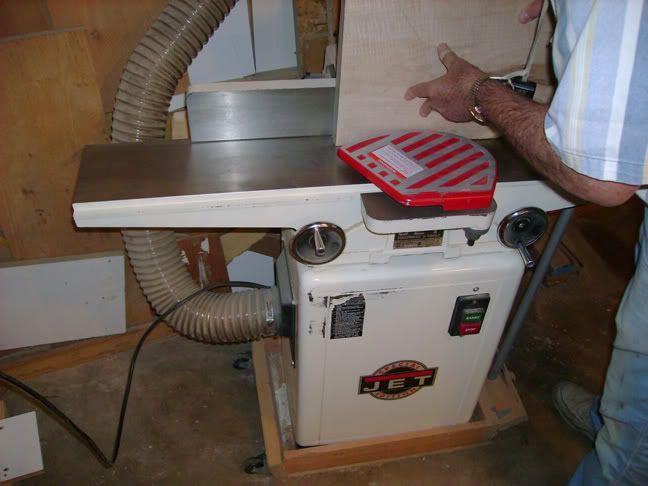
The piece of maple I have is ragged on both edges. I need to get rid of rid of the ragged stuff and true up the edges. So the first thing I did is run one edge of the maple through a jointer. The jointer planes off a small amount of the wood and makes the edge straight. Here's my dad running the piece through the jointer:
Photobucket

Once one edge was straight I could trim the ragged edges off and cut the board down to the size where it could be resawn. Here's a bad edge:
Photobucket
Photobucket

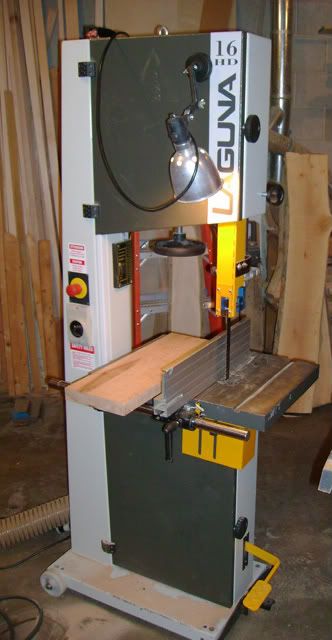
I trimmed up the maple to approximately seven inches wide by twenty inches long. The the edges of the maple went through the jointer again to make the both perfectly straight. Now I had a perfectly rectangular board with all the bad material trimmed off. Now the board needs to be resawn to become two pieces. We do this on the band saw. You can see the fence the board rest against. To resaw you put the board on it's side and place it against the band saw fence. then you slowly run the board so that it is split lengthwise. Here's a pic of the setup:
Photobucket

Sorry I don't have a pic of the resaw process but you can get the idea if you look at the saw.

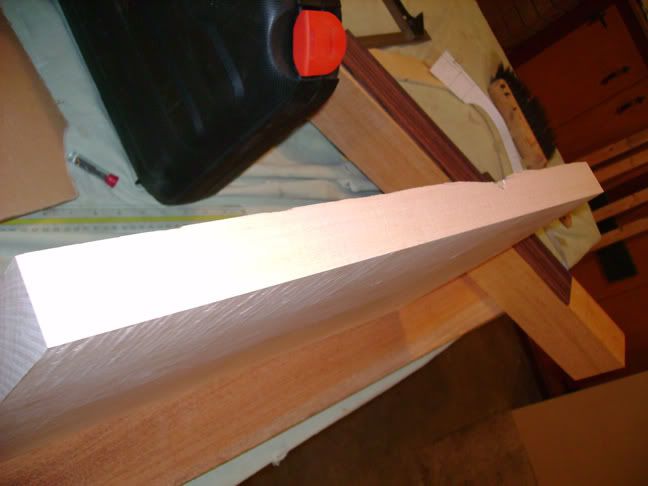
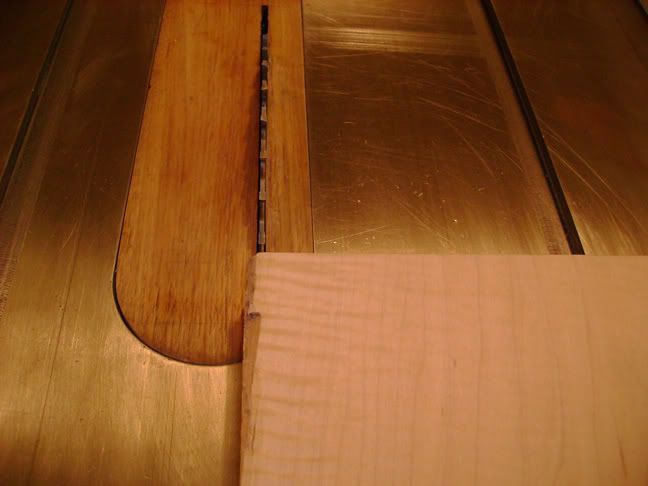
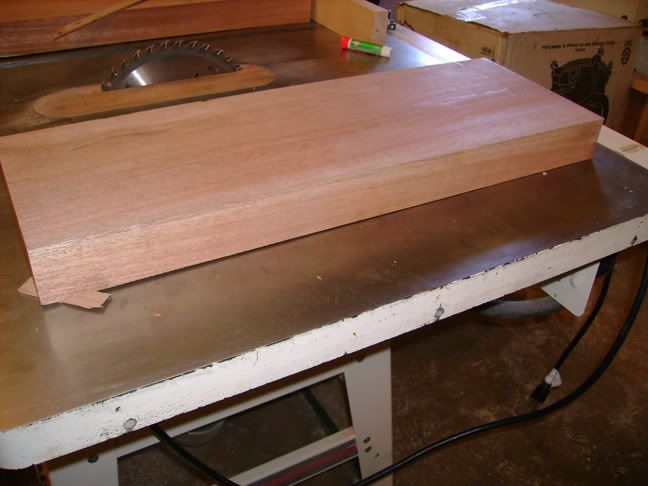
Once the maple was resawn it was time to take care of the mahogany. If you remember the last blog my mahogany was about 60" long. I started the process by trimming the board into three equal lengths on the table saw. I knew when I bought the board that it was a little warped. I'd hoped when I cut the board that some of the warp would diminish with the smaller lengths Unfortunately when the boards were cut they were still slightly warped. The way you could tell the boards were warped is that when placed on a flat surface the board would not sit flat. You could push on a corner and the corner would go down. To fix this I super glued shims to the bottom of each board. The shims made the board sit flat . Then each board was run through a surface planer with the shim side down. Once run through the planer the top edge of the board becomes straight. Here's what the board with shims glued on looks like:
Photobucket

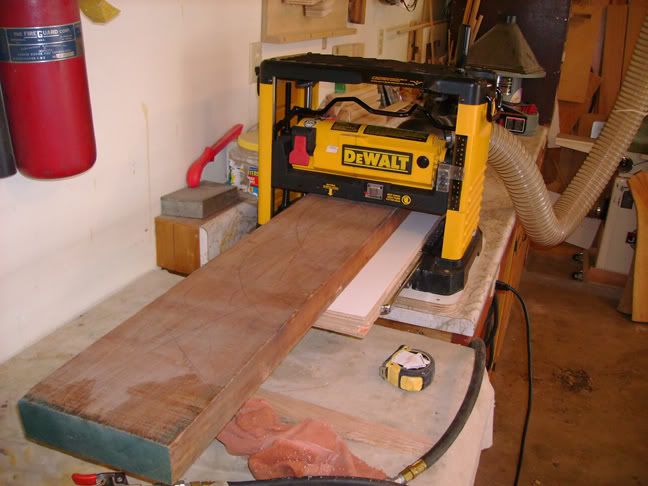
Once the top edge of the board is planed you flip it over and then plane the other side. This way you can achieve perfect thickness throughout the boards length. To be honest there was a slight warp still left in the board after I finished planing but I'm not building a rocket here so the little bit wasn't a big deal. Here's the setup used for planing:
Photobucket

Once all the planing and trimming were done it was time to run the glueing edge of each piece through the jointer again just to make sure the edge was perfectly flat. Then it was time to glue the pieces.

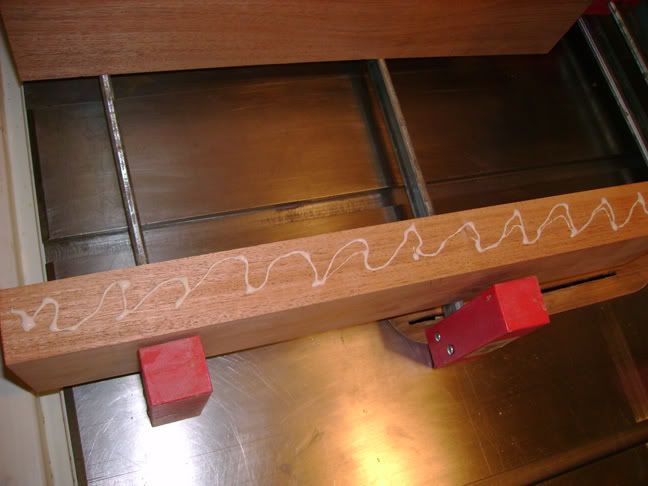
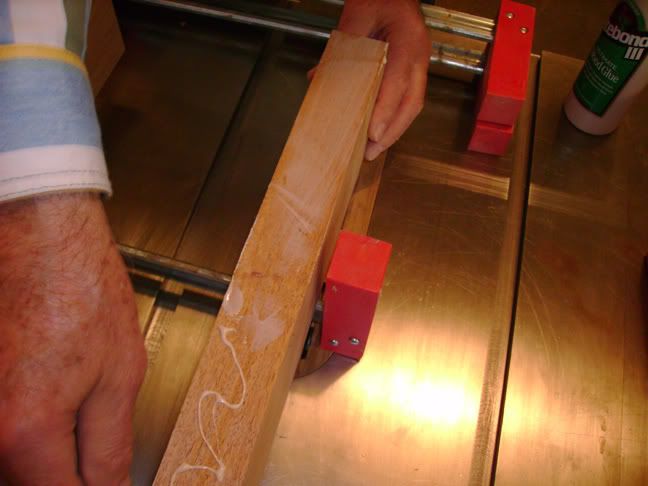
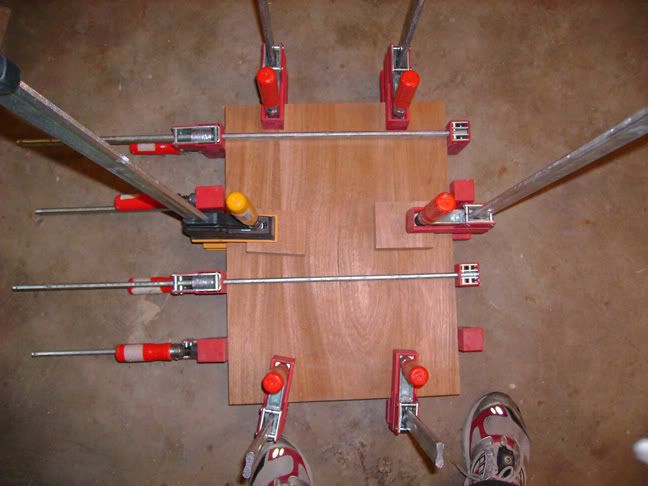
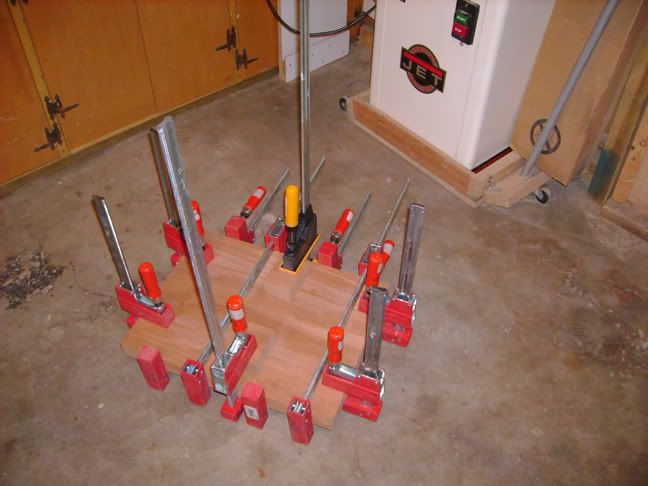
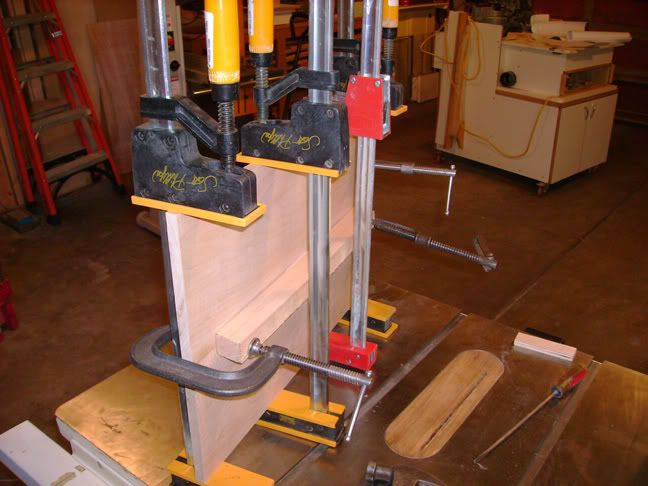
The glue is evenly spread on each edge of the boards and then they are placed together and clamped Here's the mahogany being glued together:
Photobucket
Photobucket
That's Dad's hand by the way. He's helping out on most of the stuff done today. Thanks Dad!
Photobucket
Photobucket

The same is then done with the maple.
Photobucket
Photobucket

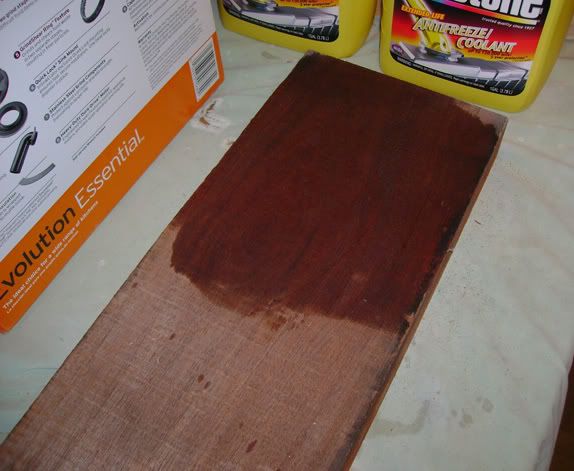
One thing I forgot to mention about the maple is that I bookmatched it. To bookmatch you resaw the board and then open the two pieces like you would a book. This causes the grain on each board to mirror the grain of the other board. This will become evident once the board is stained.

I can't for the life of me figure out what I did with the pics of the boards when they came out of the clamps. I will state that I was very hapy how things turned out. The side of the mahogany that will be the back of the guitar literally looks like it's one piece not three glued together. The maple looks lovely bookmatched.

October 28, 2008

The Quest to Find the Right Wood

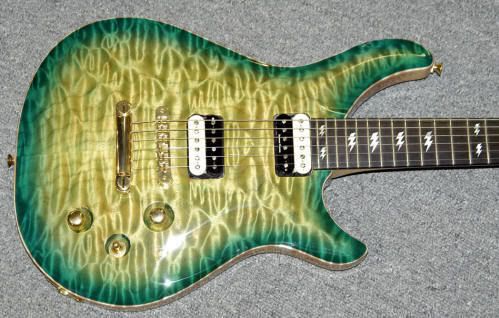
I have been scouring the internet looking for wood for my build. I decided that I needed to give my local wood dealers a shot so I went looking around. As it turns out I was able to take care of the wood for the guitar body. My requirements were a good hunk of Honduran mahogany and a decent piece of maple. Maple is an interesting wood. It can develop a figure in the wood also known as flame. The more figure/flame a top has the more desirable it is. These tops are graded using a system similar to grading the size of a high school using terms like 1A, 2A, 3A, 4A, and 5A. The more "A"s a top has the more it costs. I know the following may make some think I'm nuts but I'm not a huge fan of AAAA maple tops. I think that at times they come off looking garish. Here's an example of a good guitar with a really crazy, highly figured, maple top:

Photobucket

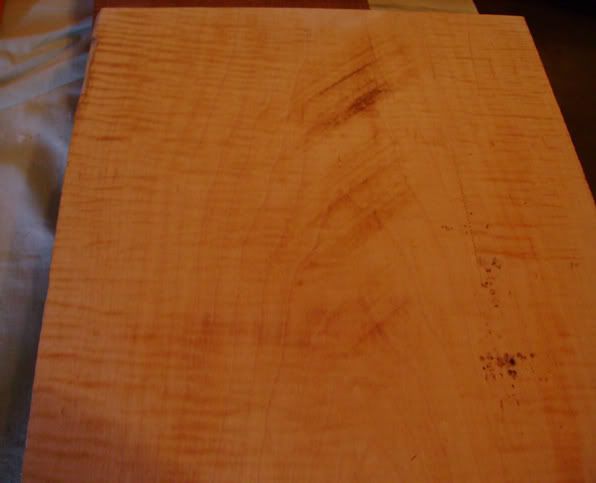
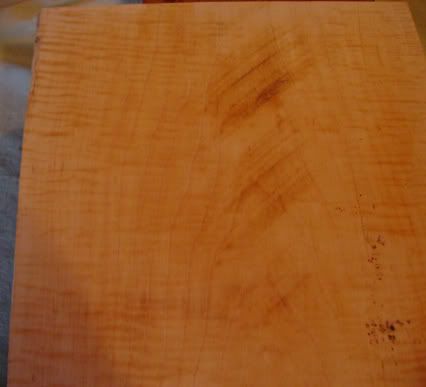
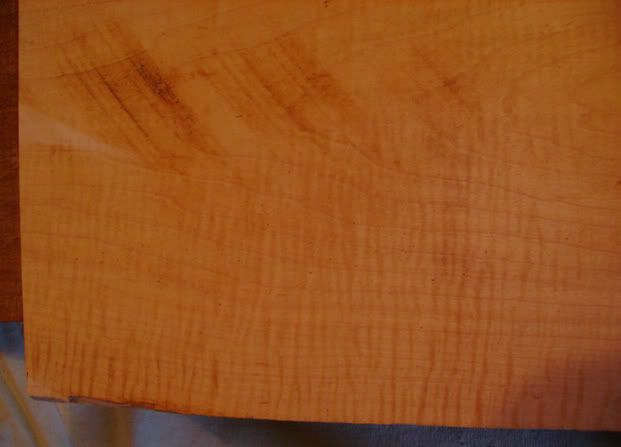
My idea for my first build was to just do a plain top. Plain tops show regular wood grain but do not have any flame. When I got to my local wood emporium I noticed that some of their stock had some figure to it. I decided right then I'd try and split the difference between a plain top and a 5A flame top and get something with some figure. I went over a good bit of lumber and ended up with the following piece of curly maple: (I rubbed some naptha on to bring out the grain)

Photobucket

Photobucket

Here's a better picture of the wood grain. Naptha (main ingredient in lighter fluid) is rubbed on the wood to help bring out the grain. Naptha evaporates quickly and doesn't raise the grain of the wood which causes problems later. This particular grain pattern is called fiddleback and is exactly what is used to make the back of violins. It features a tight flame pattern.

Photobucket

The maple is just shy of two inches thick. It will be resawn (cut in half using a band saw) into two 5/8" boards and then bookmatched.

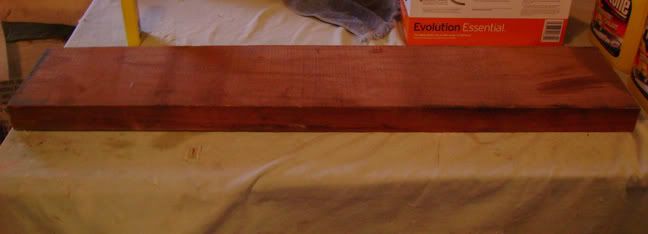
Here is my hunk of mahogany:

Photobucket

Photobucket

The mahogany will be cut into three pieces and then glued together to make one big blank that is big enough to make into a guitar body.

October 26, 2008

Even more templates

Ok. I'm back with a new submission. I decided that I needed to make a new template for routing the control cavity and pickup selector switch cavity. The control cavity and the pickup selector are routed all the way through the mahogany portion of the body but the wiring channel is only routed a half inch deep. It was pointed out to me on a Les Paul message board that this would present a problem.

I decided to keep the original template for the wiring channel. In addition to the reason mentioned above I really wanted to do a new template for three more reasons:

1. The selector switch cavity hole was off by a couple of millimeters. I blame it on the spade bit and a lousy method for finding the center of the circle.

2. The control cavity ended up too big in places. While it would have worked I just wanted it to be better.

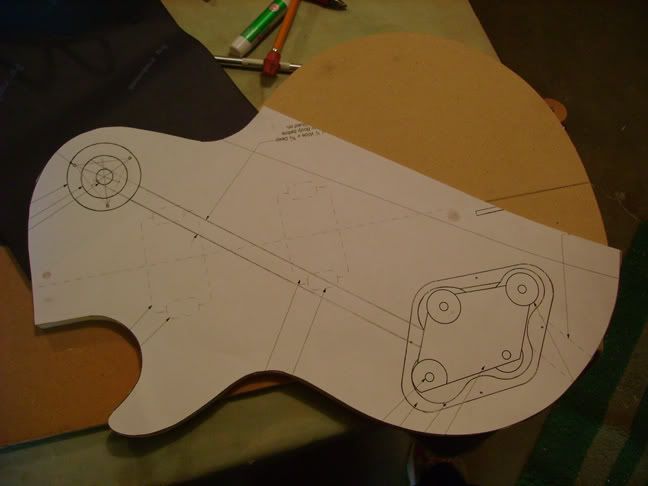
3. I felt like making another template would give me some good practice.The first thing I did was route a body shape in MDF using the first template as a guide. Then with drops of crazy glue at strategic points I attached a photocopy of the Stew Mac routing portion of the plans to the MDF.
Photobucket

As mentioned in the previous submission I did a crappy job finding the center of the pickup selector cavity for drilling. This time I used the coverplate screw holes on the plan to find the exact center. You can see how I did this in the photo.
Photobucket

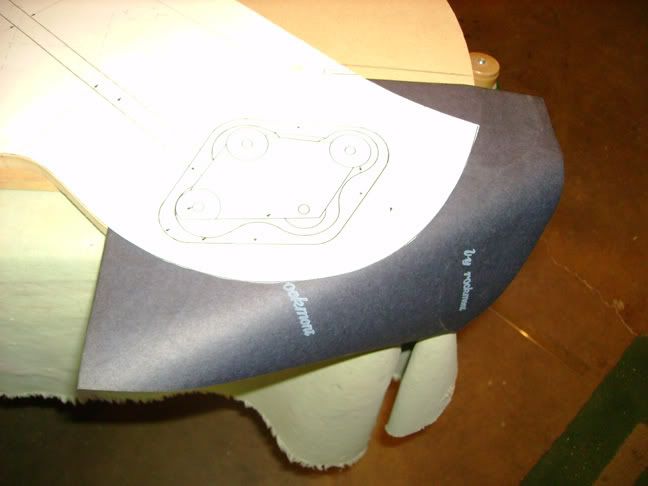
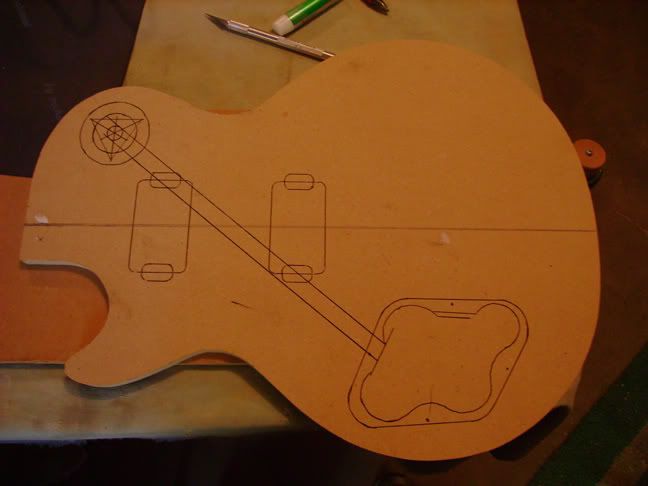
In the last template I kept the plans on top of the body when I started boring out the wood of the control cavity. This method wasn't the best as the paper would fray and I'd go to far. This time I did something different. I placed carbon paper under the cavity and then followed the lines with a pencil. It worked so well I decided to do all of the lines with the carbon paper and then removed the paper template. It came out looking like this:
Photobucket
Photobucket
Photobucket

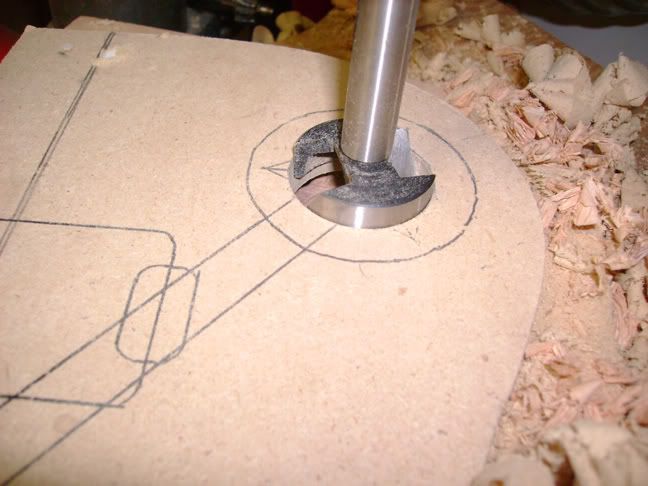
This time I decided to use a forstner bit instead of a spade bit to drill the control switch hole. The forstner bit has a much smaller centering pin which allowed me to place it dead center. Also the forstner behaves better in the drill press for whatever reason.
Photobucket

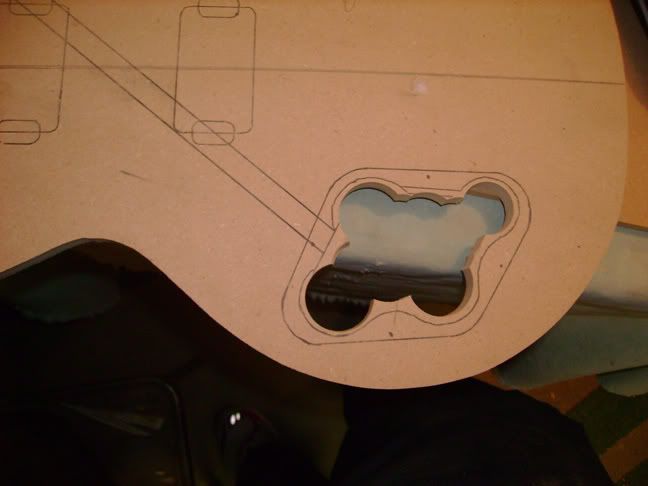
For the control cavity instead of using a sabre saw I decide to drill out most of the material with two different forstner bits.
Photobucket

Then, like I did with the first template, used an oscillating spindle sander to carefully cut off the rest. This method worked perfectly and with a tiny bit of hand sanding I got this:
Photobucket

I forgot to take a pic of the template finished but I will say that this one is dead on accurate (ok that may be a slight exaggeration) and I'm much happier. Transfering the plan with carbon paper worked great.

Hopefully my mistakes and successes will help others who are contemplating a build. I still have to build the mortice and tenon templates but that should go quick. By the end of the weekend I expect that I'll start building the actual guitar.

October 24, 2008

More Templates

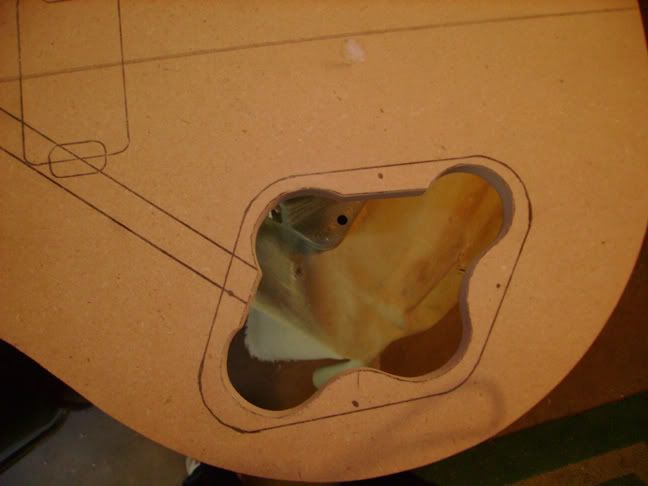
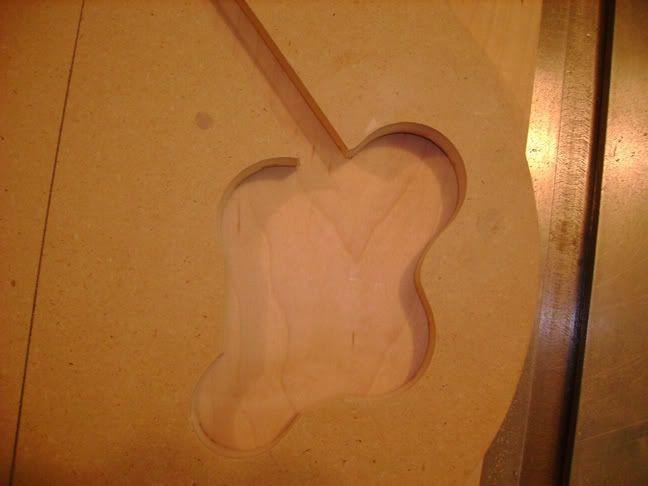
I was excited with my success creating a body routing template. Unfortunately there are more templates that are needed. The Les Paul guitar reqires several different routes in the body that require templates. Today I concentrated on the routes for the control cavity, wire channel, and pickup selector. All of these routes take place in the mahogany portion of the body and are completed before the maple top is glued on.

Ok, maybe I need to back up a bit. The body portion of a Les Paul is actually both mahogany and maple. The majority of the body is a block of mahogany that is made out of one, two, or three pieces. The mahogany portion of the body gives the guitar a warm sound. On top of the mahogany is a piece of maple (actually it's usually two pieces glued together) that is 5/8" at it's thickest point. The maple top helps bring out the treble frequencies in the instrument which help the guitar to sound more articulate. It's the combination of these woods that give the Les Paul its signature sound.

I used the previous template I made to create the routing template. I used double stick tape to attach to attach the template to a piece of mdf and then used a template routing bit in a table router to create the new template.

Photobucket
Here I'm routing the template.
Photobucket
Here I'm finished routing. You can see the two templates stacked on top of each other.
Photobucket

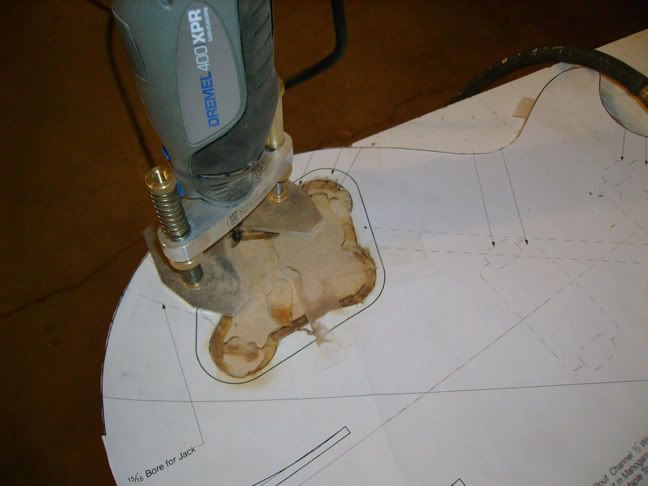
I had made a full size photocopy of the Stew Mac routing scheme and proceeded to attach it to the new template. I wanted to test my new Dremel and Stew Mac rounter base so I started by trying to hog out the control cavity by hand. The router base is really cool but I learned a few important lesson the most important being that you should start with a shallow cut and work your way down. This was actually really good practice in handling the tool as I will be using this setup to do my inlay routing.
Photobucket
Routing the control cavity with my Dremel and the Stew Mac Precision Routing Base

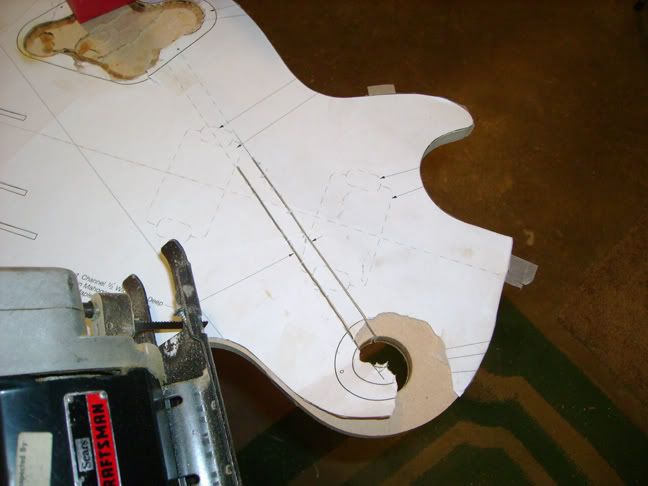
Eventually it was time to move on to the scroll saw and get the rest out.
Photobucket

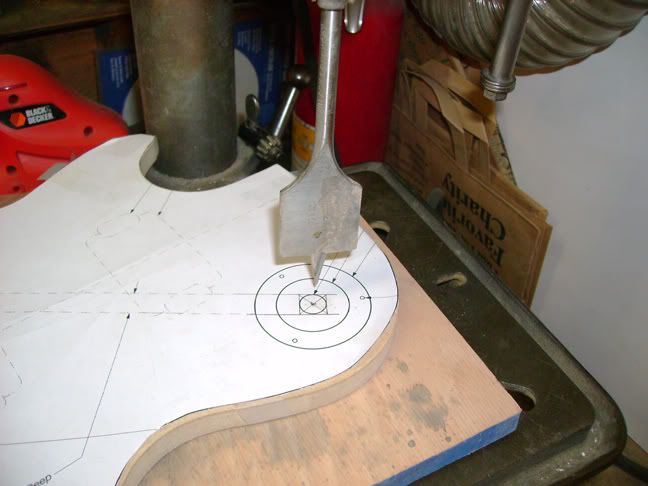
At this time I also used a spade bit to drill out the pickup selector switch hole.
Photobucket

The spade made a perfect hol3 but it wasn't as accurate as I'd hoped because it was a little shaky in the drill press for whatever reason. I think it's because the bit was too long. The hole ended up being a millimeter or two off.

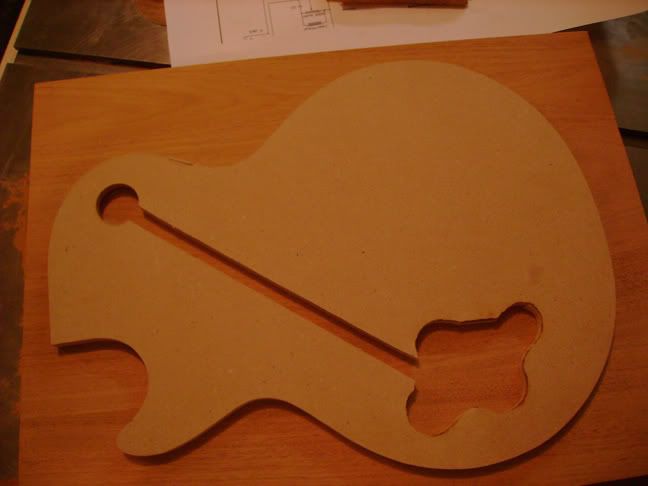
The scroll saw worked great routing the wiring channel as well. I cleaned up the channel with a a thin piece of wood with sandpper around it. I ended up with this:
Photobucket

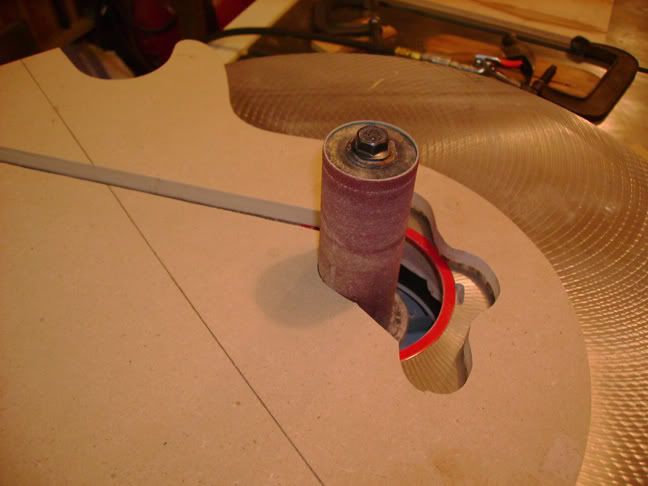
As you can see the control cavity in the above pic was really rough so I smoothed it out with an oscillating spindle sander. This was the perfect tool for the job.
Photobucket
Photobucket


Unfortunately due to my incompetence with the Dremel the cavity didn't come out an exact replica of what was on the plans. I think a regular control cavity cover will work just fine on it but I'm still deciding if it will bug me enough to make an entirely new routing template with a more accurate control cavity. Up next are the mortice template for the neck routing and the template for routing the tenon. I'm thinking of doing these out of acrylic.

October 22, 2008

Where to start?

So how do you build a guitar? I really had no idea up until about a year ago. I was surfing around the net and found some message board sites that catered to people who wanted to build guitars. One of them is dedicated to Gibson Les Pauls. It was these websites that made me realize that I could actually build one of these things. The best part is these sites have some excellent luthiers who are willing to answer questions and help you along.

To build a guitar you must first have a way to cut out the parts. In the case of a Les Paul you need to cut out the body, neck, a mortice (or neck pocket), tenon (the part of a neck that fits in the mortice), and various control cavities.
A 1959 Gibson Les Paul is constructed using a body that consists of a 1.75 inch mahogany body with a 5/8 inch maple cap on top. The neck is made of quartersawn mahogany.

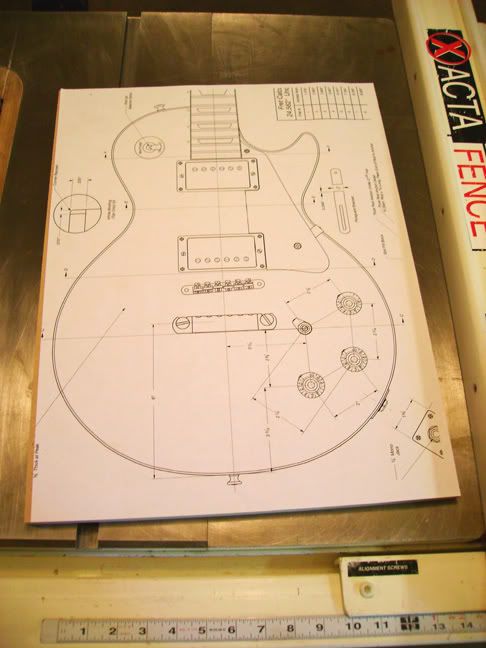
To help with the build I purchased a set of technical drawings from StewMac.com. These drawings detail all the measurements and shape for a 1959 Les Paul. There are also plans on the web drawn by John Catto. I downloaded John's plans and took the file over to Kinkos where they have a large format printer. I made several copies of the StewMac plans and the Catto plans so I could compare them and use the copies to help me build my templates. The copies were dead on perfect size.
Most builders (who don't have CNC machines to do everything for them) use routing templates to cut the body shape into the mahogany and maple. You also use templates for routing out control cavities, pickup cavities, mortice, and tenon.

As I begin my build I have had to decide what to do about templates. My original plan was to buy pre-cut templates from a builder on the net. However, I remember reading a message board post where the builder stated that making the templates was educational and kind of fun. I decided to attempt to build my own templates. If it didn't work then I could always buy the commercial variety.
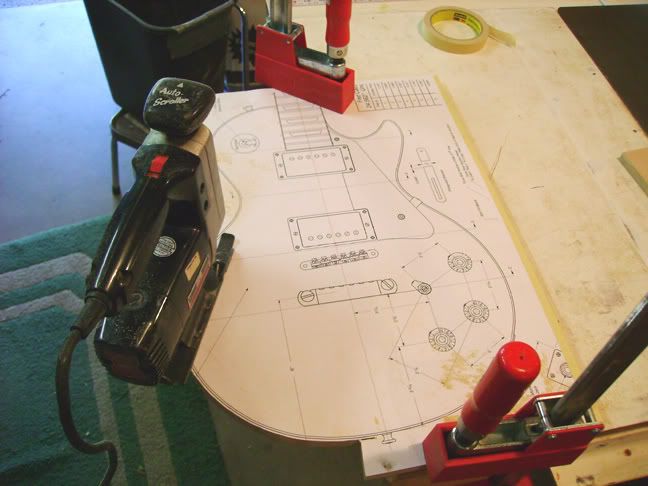
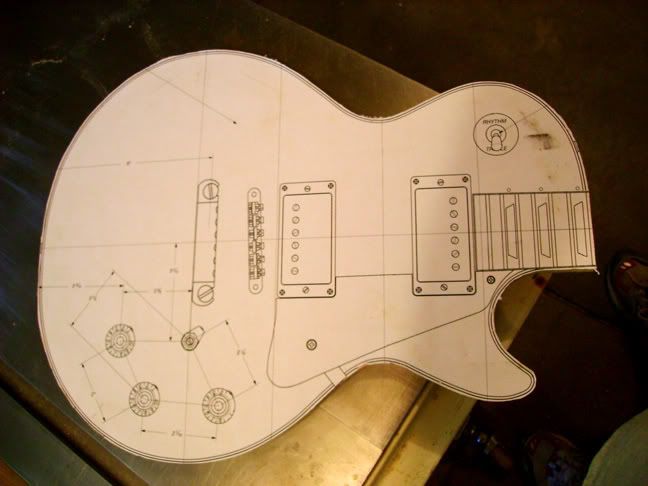
I began to compare the Stew Mac plans with the Catto plans. It turns out the plans aren't exactly the same. This is not a big deal as they probably took their measurements off different guitars. (Back then the same model guitar had a little bit of variation as they were mostly hand built.) Ultimately I decided to go with the Stew Mac plan simply because it had all the neck drawings included in the plan. The Catto plan is excellent (especially for the price, thank you John!) but since this is my first build I wanted to go with the most detailed plan.
I went down to Home Depot and bought a decent size piece of 1/2" MDF. My plan was to use the MDF to make the template.

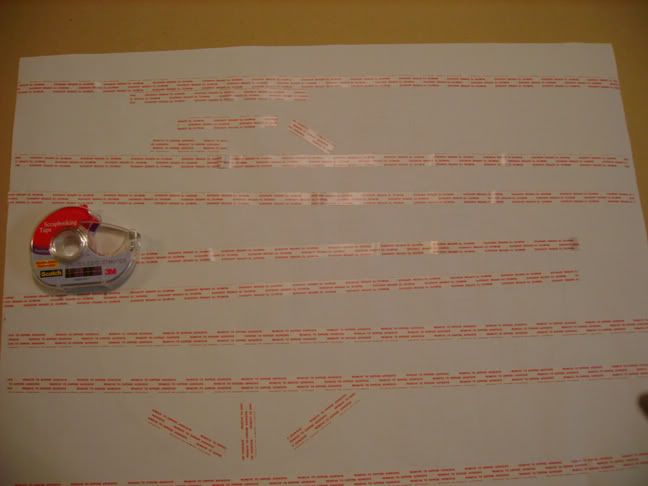
The next challenge was how to get the Stew Mac plan onto the MDF. There are a couple of methods for accomplishing this. Previously I explained that I had been down to Kinkos to make some copies of the plans. While there I had a copy made of just the body. The copy is the exact same dimensions as the Stew Mac plan.


I came up with two different ways to get the shape of the guitar onto the MDF. The first was to lay the new copy of the Stew Mac plan on the MDF with the middle attached to the MDF with double sided tape. then I would place a piece of carbon paper between the plan and the MDF and then trace the shape. The second was to either glue or tape the plane to the MDF.
I decided to go with plan number two go with double-sided tape to attach the plan directly to the MDF. Here's what the back looks like with the tape:

Photobucket

I then attached the plan to the MDF.
Since the band saw was out of commission I decided to use a scroll saw to cut out the template.
Photobucket
As you can see in the pic I tried to leave about an 1/8" around the border of the template. I figure it's better to rough cut then sand things into shape. Here's a photo of where I finished the rough cut:
Photobucket
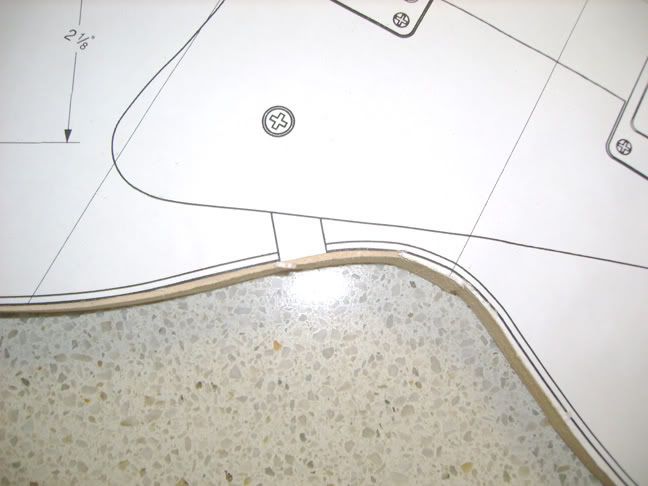
Now I needed to touch up the roughed out MDF. I figured that I should use a razor blade to trim out the outline so that I can sand down to the edge of the Stew Mac plan. You can see how part of the edge in this pic is trimmed with a razor and part isn't:
Photobucket
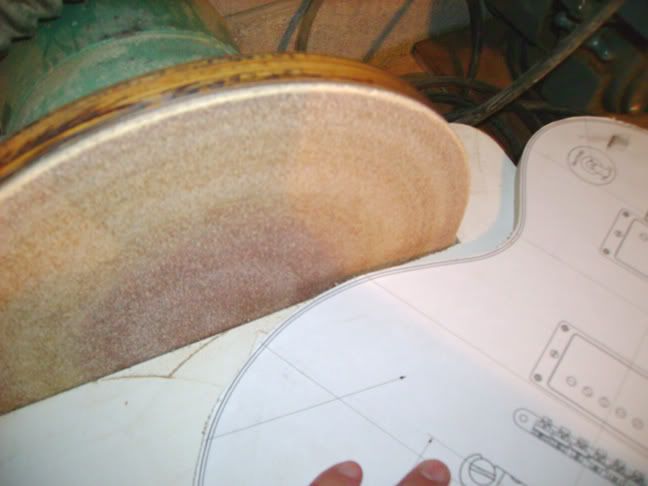
I decided to use a disk sander to smooth out the rough edges of the MDF. I was careful to try and stay with the body contours. The key to this was to use a really light touch with the MDF barely touching the disk sander. Another benefit to the disk sander is it corrected any edge errors the scroll saw may have made when it wasn't perfectly upright.
Photobucket

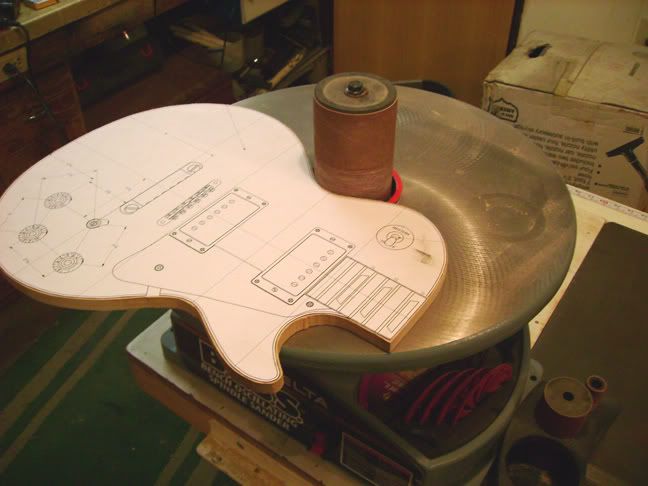
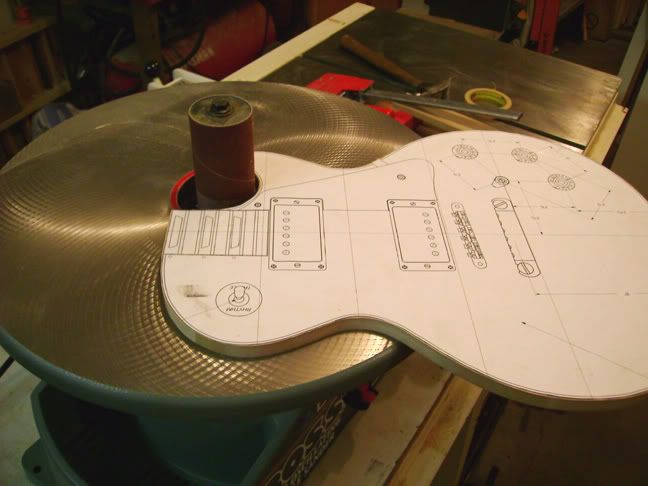
The disk sander wouldn't get the waist curves or or horn of the guitar so I used an oscillating spindle sander. This tool has various sizes of spindles so you can come close to matching the curves. Again a really light touch must be used as the spindle sander will really take off the material if you aren't careful with the pressure. Check the different size of the spindle in these pics:
Photobucket
Photobucket

I finished up the job by hand sanding the template. This removed any remaining burrs. I did sand into the plan a bit in a couple of areas but blended the errors in nicely. I figure it's not a huge deal as most of these guitar weren't exactly the same shape. I did pay special attention to where the neck meets the body as that has to be straight.
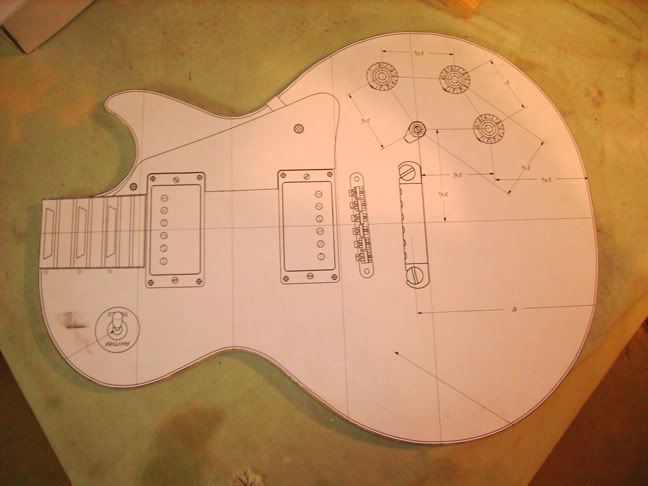
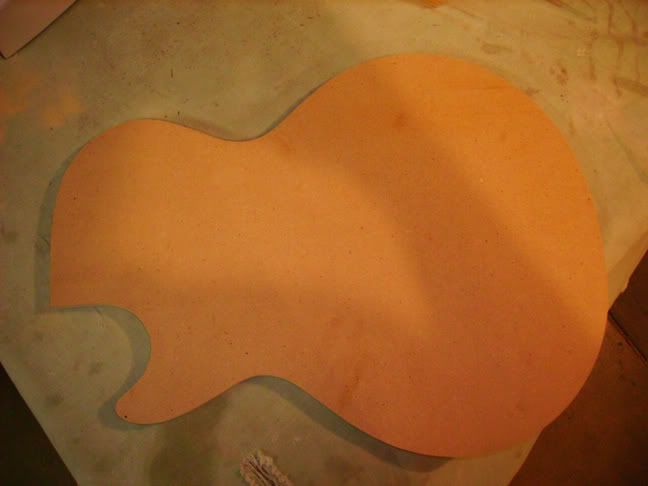
Here are pics of the finished work featuring the front and the back:
Photobucket
Photobucket

If I had to do it over I would have glued the plan onto the MDF using a roller to apply the glue evenly. I found that the parts of the edge where I didn't have double sided tape tended to get a bit ratty when I was working with the various sanding devices. This would not have happened if I would have glued. The double sided tape did hold things without slipping but I think the glue would have been better.

I will probably use this template to make another template out of some solid kind of board. MDF isn't exactly the sturdiest material. I've also considered trying to use acrylic for some of the templates.

Next up making a template for routing the control cavity, wiring channel, and pickup selector cavity.