I had the opportunity to cut the neck tenon. I've been debating how to do it for quite some time. I finally decided just to do it with the table router.
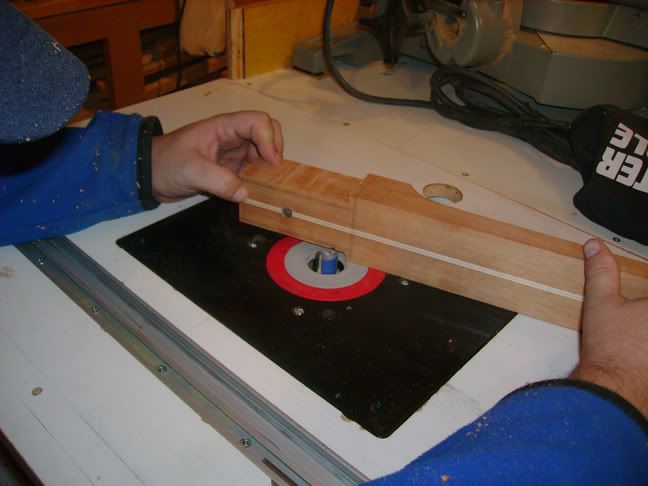
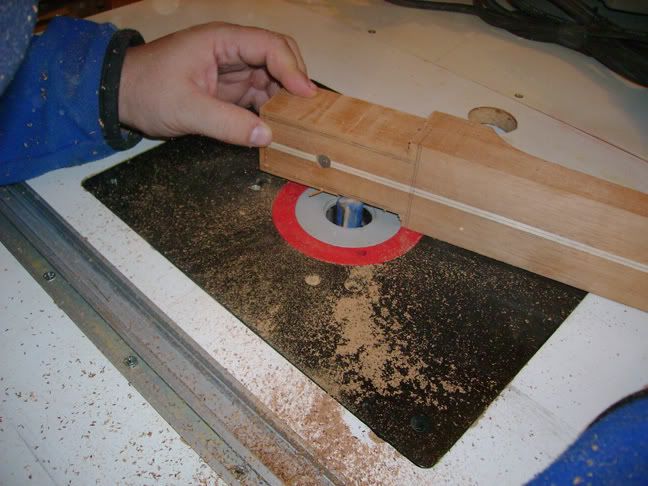
This method worked great because I hadn't yet tapered the neck and the sides of the neck were square. I was able to keep raising the cutter height until I had a perfect fit. I was also able to do the bottom end of the tenon the same way. A word of advice if you use this method: don't route the material off the tip of the tenon until the end as it helps support the neck and keep the neck.
FINALLY!!!!!!!!!!!!!!!!!!!!!!!!!!!!
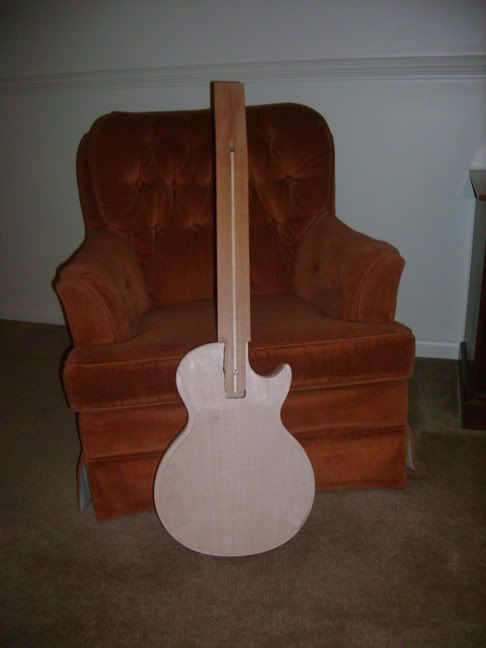
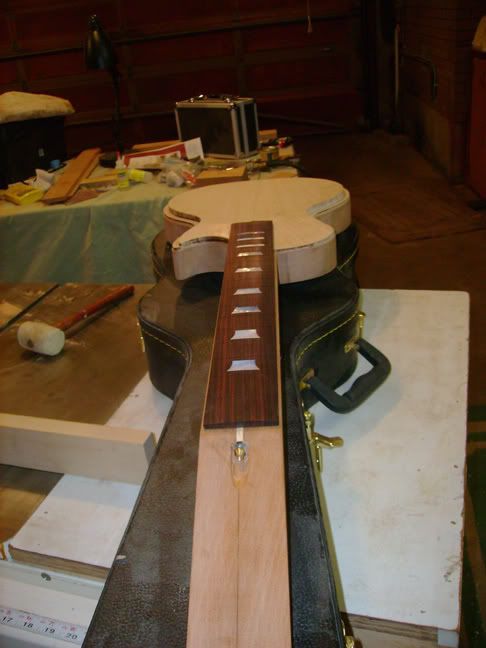
The neck fits perfectly. It was tight enough I could pick up the body while just holding the neck. The centerline matches up dead on as well.
Here are a couple of pics with the fingerboard placed on top:
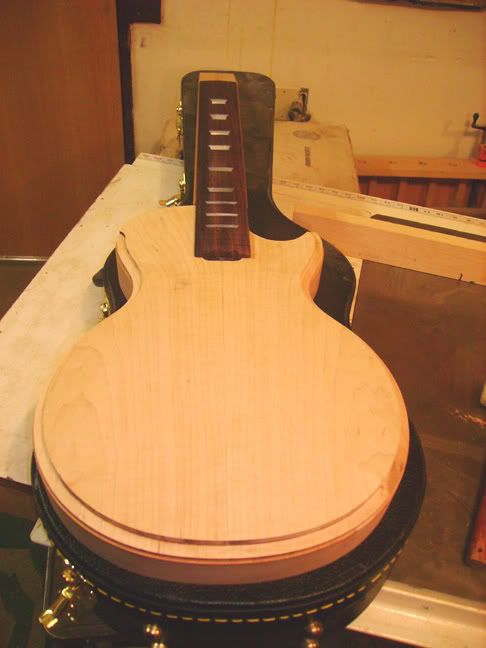
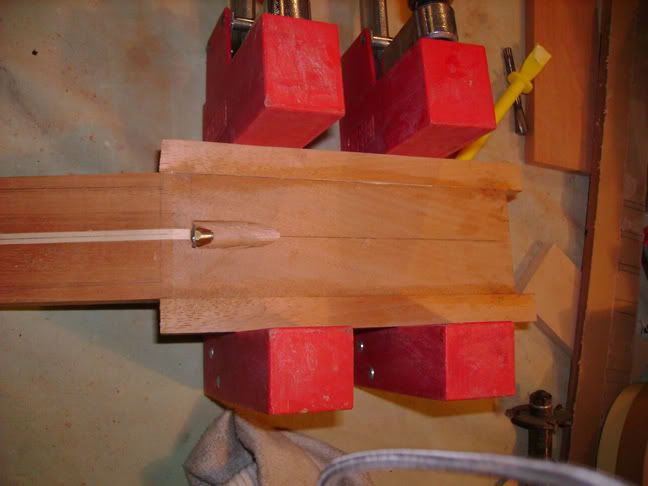
I was ambitious so I glued the wings on the headstock. I tried to match up the grain as well as I could but it wasn't perfect. I'm not really worried about it as I'll be putting an ebony or holly peghead veneer on the headstock.
Tapering
I purchased two long pieces of acrylic that were also very straight with the intention of using them to help me make a neck tapering jig. For whatever reason I dreading building another jig. While thinking about this it occured to me I could just use double sided taple and attach these boards directly and use them as router templates. I drew the taper on the neck and then placed one of the boards in line with the taper. I attached the other one as well but only to keep things level.
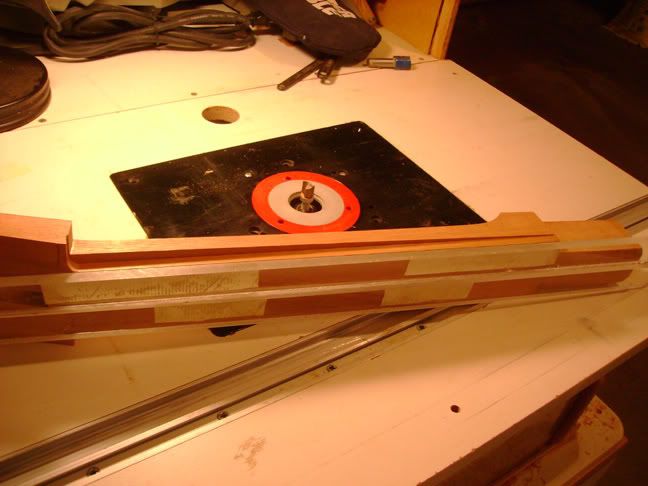
I then used my trusty Stew Mac template bit to route the taper.
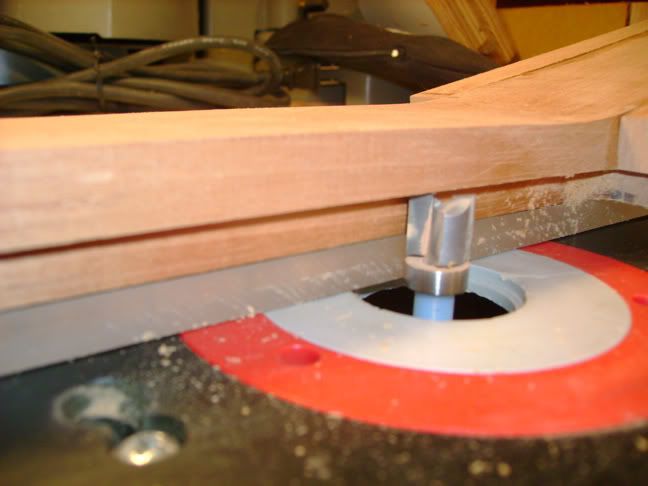
I went really slow and eventually I ended up with this:
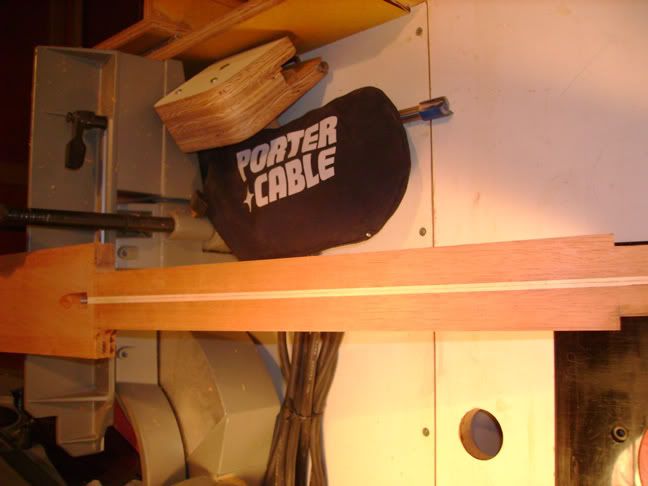
I forgot to mention that I routed the taper about 1/16" larger so I'd have a little room to carve. The process worked well. I was on such a roll I decided to use the same method for my fingerboard only this time I'd taper the exact size.
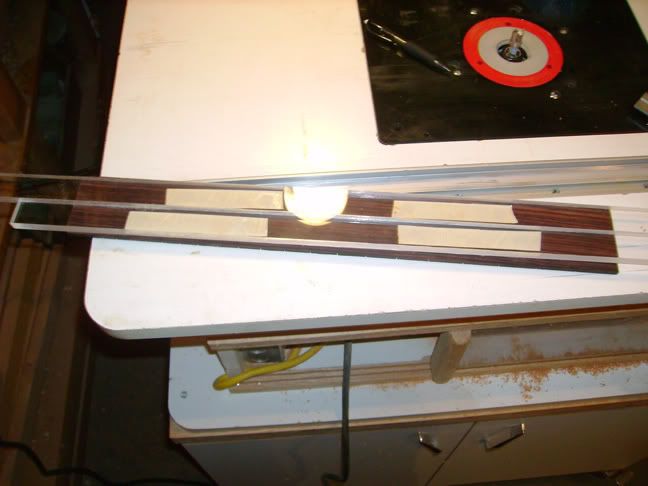
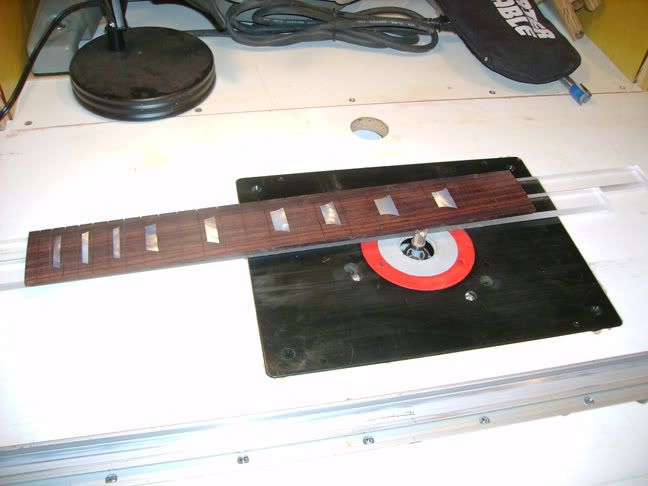
I was amazed how well this worked on the rosewood. My bit was going through the wood like a hot knife through butter. I got one side done and then reconfigured the acrylic guides to do the other side.
About five seconds prior to routing the other side of the fingerboard I reminded myself to double check that I was routing the correct side. Evidently five seconds is too long for my memory to work.........
You guessed it, I routed the first side again and since the guide was lined up with the other side I ended up with this:
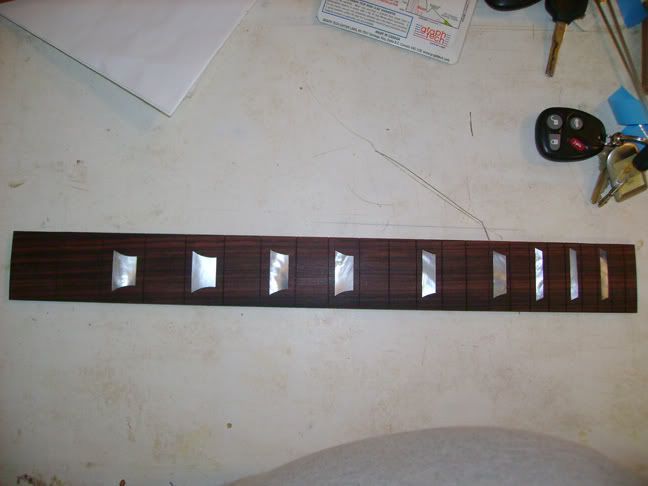
I was unvelievably angry at myself. All that time I'd spent inlaying the board has now gone to waste. This is the first unrecoverable error I've made on this guitar. It was a costly error too as the cost of a new fingerboard and the inlays is about $60.
Even after a night of sleep I was still sick about the mistake. I really needed a victory to make me feel better. I decided to get busy with the headstock so i used some acrylic to make a routing template. The template worked great and this is how it ended up:
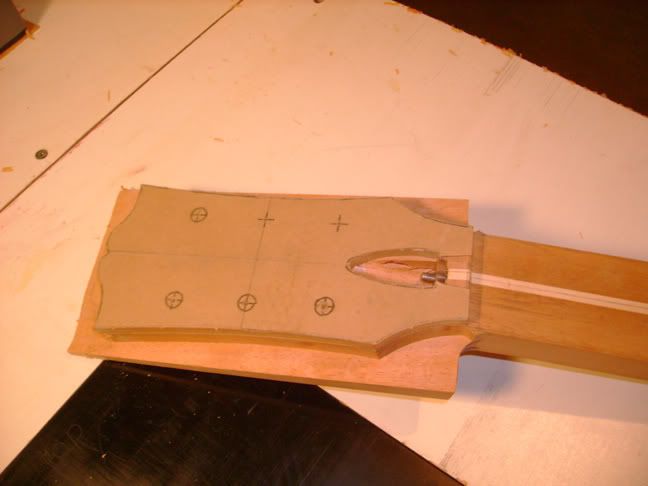
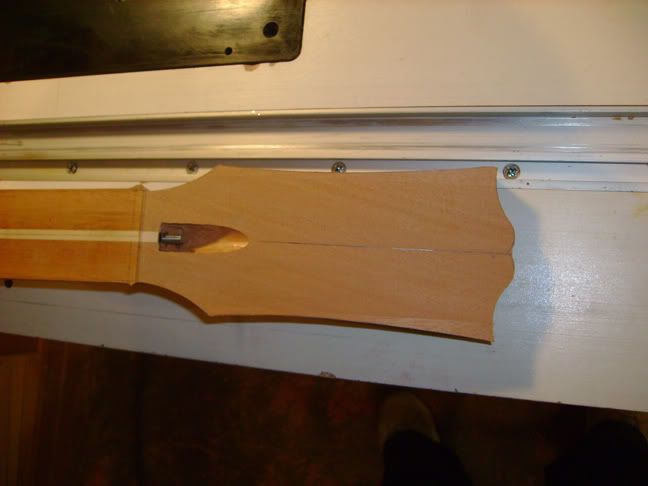
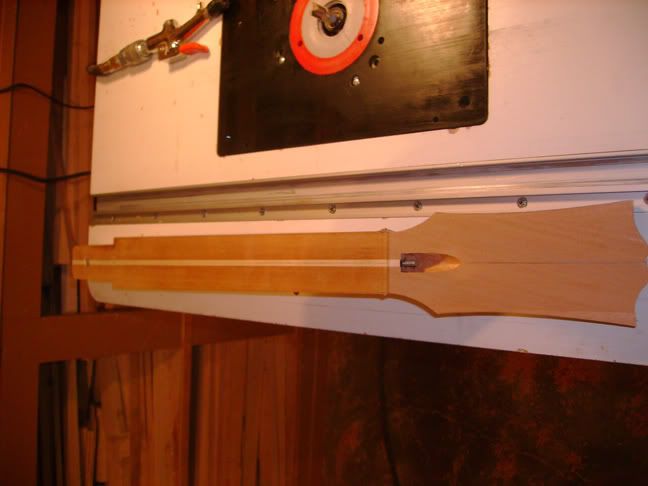
The router can't get into the top middle of the headstock where the two halves of the open book meet. I was going to use files to complete the cut but I kind of like the look how it is and may just leave it. It's softer but visually appealing. What do you guys think?
I've very happy the headstock came out so well. It took some of the sting out of wrecking my fingerboard.
As for the fingerboard I'm thinking of various things I could do with it. For sure I'm going to use it to practice fretting. After that I'm thinking about seeing if I can use a grinder and remove the inlays. If not I'll just mount it on the wall to remind me not to be stupid!
1 comment:
On the headstock, I'd go ahead and file that last little bit, just for the sake of keeping the build as close to an original '59 as possible.
Post a Comment