Yesterday I had the chance to do the inlay on my neck. I bought the neck from Stew Mac pre-radiused and pre-slotted. The Mother of Pearl inlays came from Grizzly.com
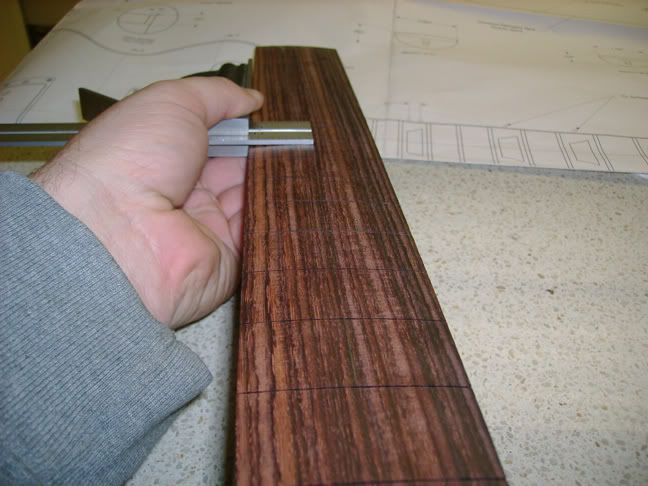
I knew the inlay had to be centered so I spent a lot of time figuring out how I needed to do this. The first thing I needed to do was mark the center of the fingerboard. I had already marked the centerline on the back of the fingerboard so it was easy to transfer the line to the top:
It was also necessary to mark the horizontal center in between each fret in which there is an inlay.
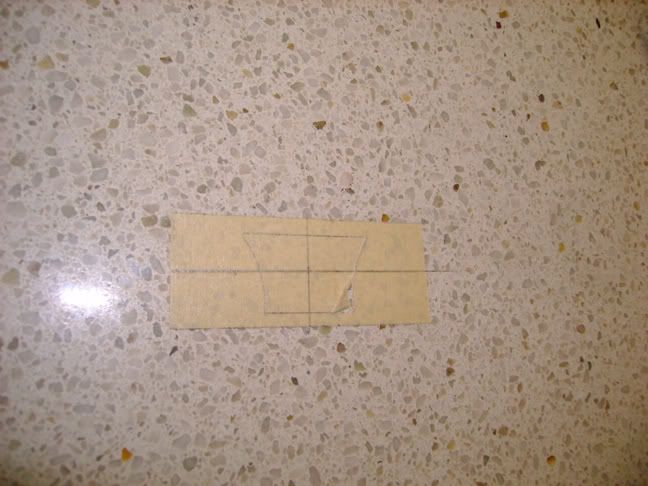
At this time it was necessary to decide How I would mark the fretboard. I decided to use masking tape. I layed out a length of the tape on my granite countertop. I then proceeded to mark the horizontal center and a vertical centerline on the tape.
I also made the same marking on each inlay:[IMG]http://i45.photobucket.com/albums/f68/shakarocks/Les%20Paul%20Build/Jan%207/DSC00856.jpg[/IMG]
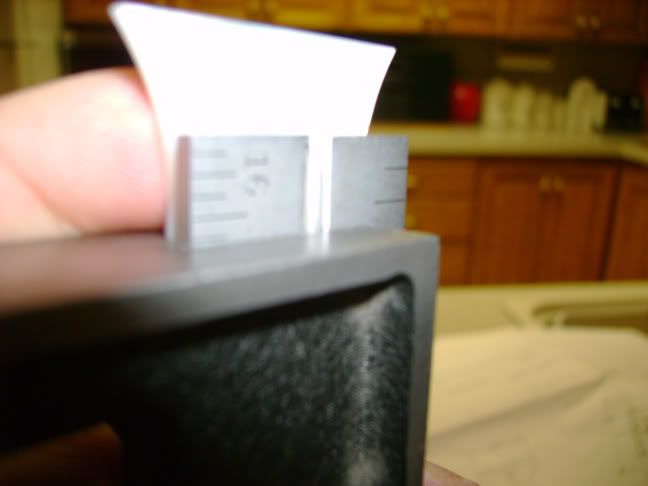
You can see on one of the above photos that I aligned the vertical and center markings on the tape with the same markings on the inlay and then traced the outline of the inlay on the tape. After the outline was traced I used an exacto knife to cut out the shape of the inlay
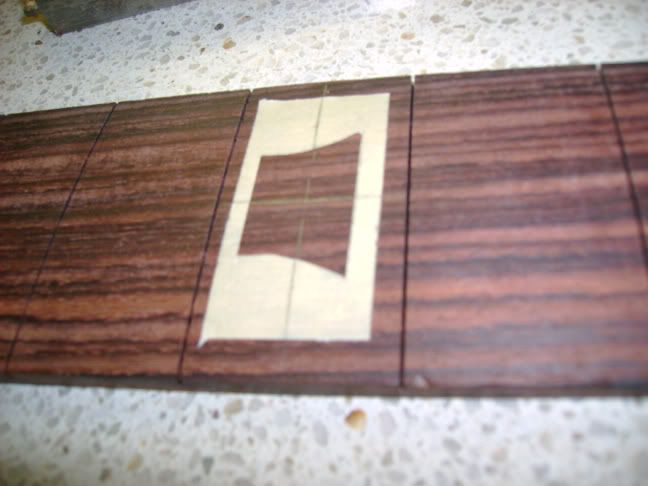
I then peeled up the tape and placed it on the fretboard. I aligned the markings on the tape with the markings on the fretboard. This ensured that the inlay would be dead center.
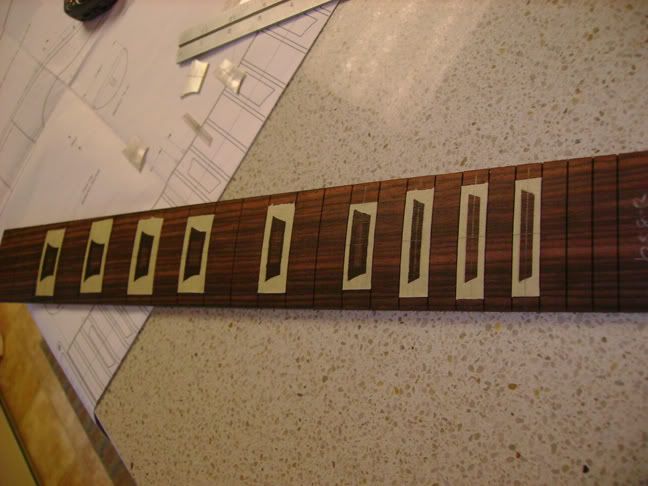
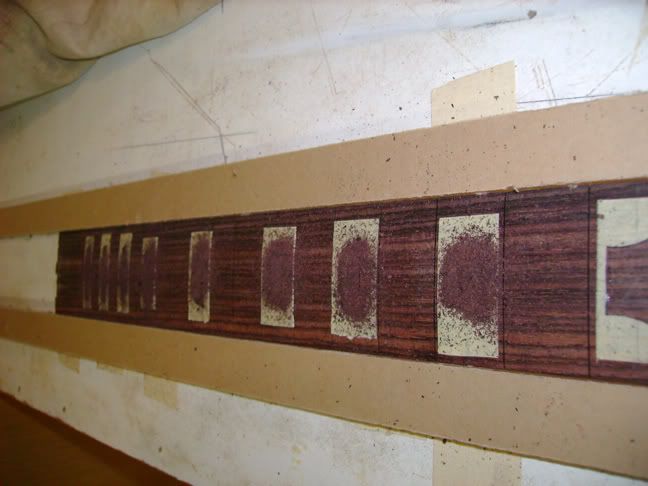
Here's the board all taped up. If you look at tape for the lower frets you can see how I took a Sharpie an colored inside the tape. At this point I hadn't decided if I would leave the tape in place or just use the outline of the Sharpie.
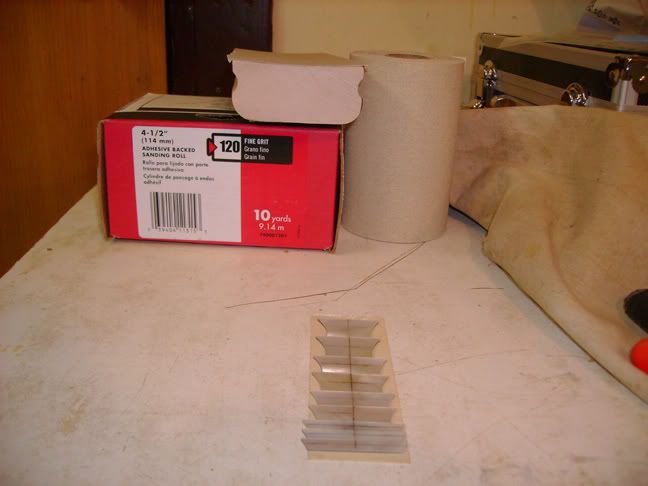
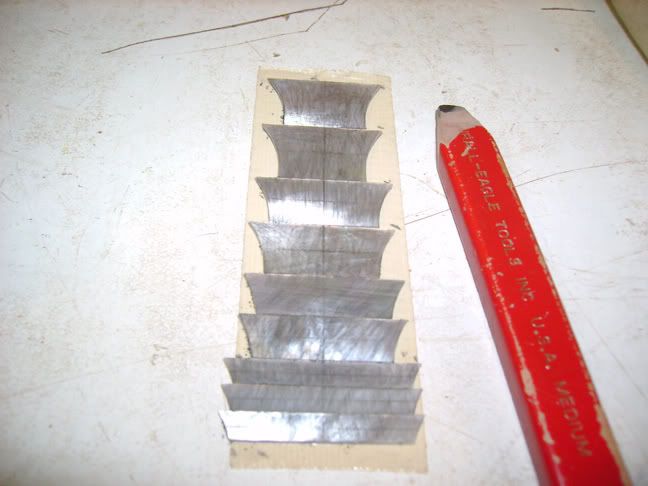
As stated before the fretboard was pre-radiused. I also needed to radius the inlays. I stuck the inlays to a flat surface using double-sided and color them entirely with a pencil. Then I stuck some sandpaper to a radiused sanding block (12 degrees in this case) and start sanding. Once the pencil markings disappear entirely the inlay is radiused. I'd like to publicly thank Greg at BCR Music in Pennsylvania for the tip.
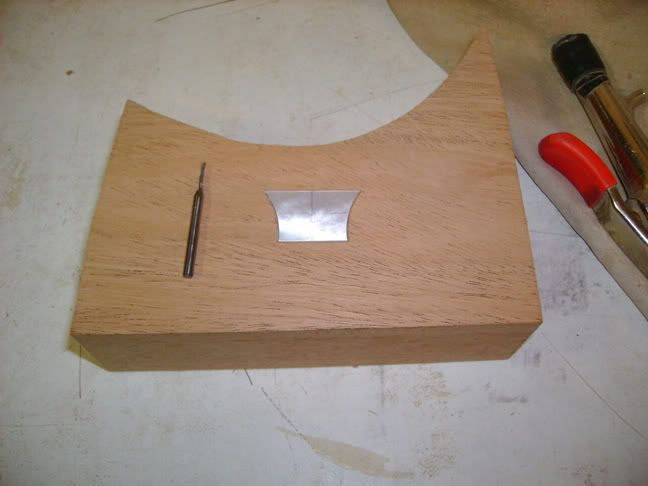
I have never attempted an inlay and really haven't used my Dremel much so I thought I'd practice on a piece of mahogany:
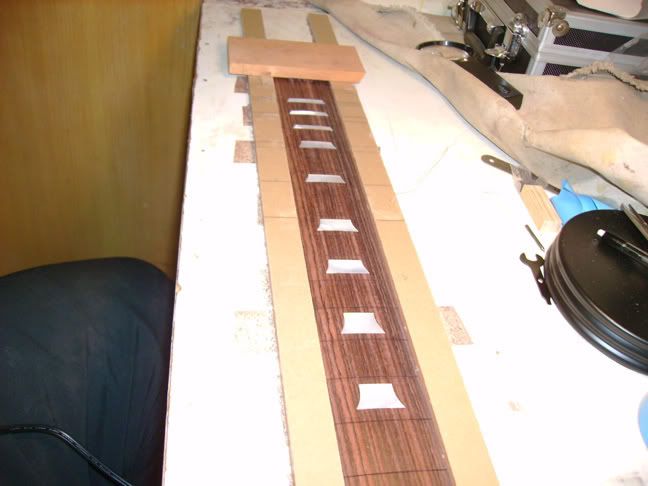
I used double-stick tape to attach the fretboard to the flat top of the table saw and then also used the tape to attach to long, straight pieces of acrylic that is used as a platform for the router base. (I left the brown protective paper backing on the acrylic.)
I had three sizes of spiral upcut buts for routing out the inlay. I chose the biggest bit and started hogging out material on each fret. When the dust got bad enough I couldn't see I would just move up the fretboard to the next inlay.
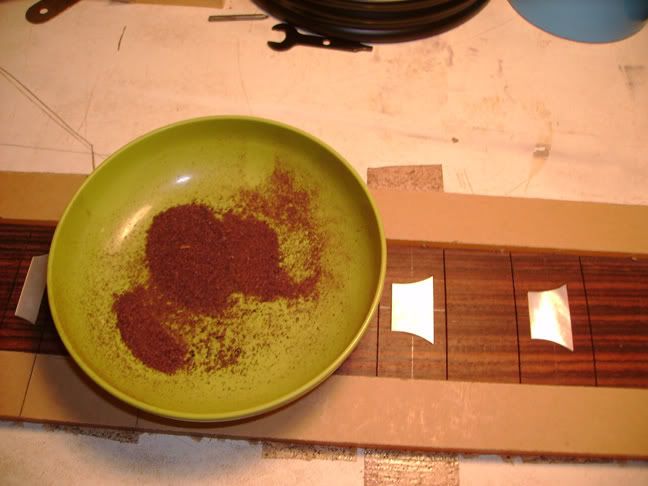
I swept up the sawdust from the inlays and placed it in a bowl. I will used it to color the epoxy I use to glue them in.
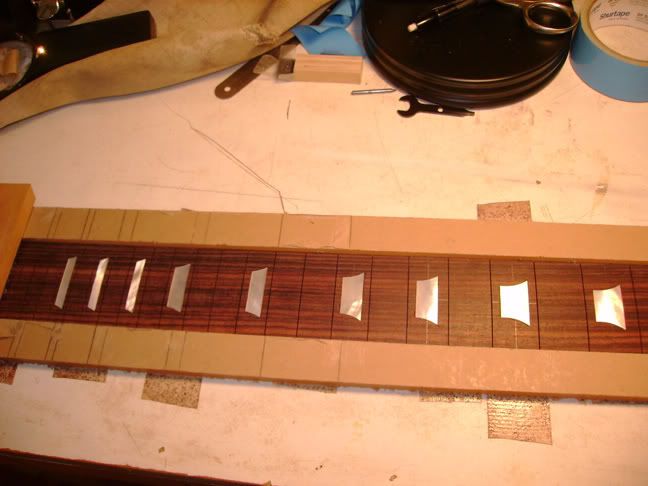
I got the cavity as close as I could and then switched to my smallest bit which is really tiny. In fact I accidently broke it working on the last cavity. Here's what the board looks like routed with the inlays fitted:
If you look at the above picture you will notice a block of wood attached to the acrylic with double-sided tape. I used this block as a fence for my Stew Mac router base so that I could at least make sure the top and bottom of each cavity is straight. Incidently the Stew Mac router base is worth every penny. My only complaint is that I wish it were a bit wider because sometimes it would fall off my acrylic platform when I got to the wider parts of the higher inlay cavities.
Here are a couple more pics. Inside the bowl is the rosewood dust I saved. I'm hoping it's plenty.
All things considered the process went very well. In fact I found using the Dremel to route the cavities to be rather enjoyable. There are a couple of small gaps that should disappear when I fill them with epoxy tinted with the rosewood dust.
I was going to wait to glue the inlays until after I'd successfully tapered the fretboard. I've since decided against this because I believe it would be better to sand the inlays flush with the fretboard having parallel edges. I'll glue the inlays in tomorrow. I also want to taper the fretboard. I've purchased a long piece of acrylic to make a tapering template.
No comments:
Post a Comment