For those of you who aren't familiar with the construction of a Les Paul guitar I'd like to explain a bit about the neck angle. On a Les Paul the neck glues into the body on an angle somewhere between 3.5 and 4.5 degrees. The reason for the angle is the strings need a little height so they can properly align with the bridge of the guitar. I also suspect that playing comfort might figure in to the equation although I have had a number of guitars that use a straight angle that are comfortable to play. In fact most electric and almost all acoustic guitars have zero neck angle.
I can't remember exactly the angle that my plans specified but I decided to stick to a whole number and chose 4 degrees. I'm pretty sure this will work out fine.
In my past submission I showed some pics of my neck angle jig. While the jig is my own design I was heavily influenced by the jigs others have made for performing this task. Some of you are probably wondering what a jig is. The word has many meanings but in this case a jig is defined as:
Jig - A device used to maintain mechanically the correct positional relationship between a piece of work and the tool or between parts of work during assembly.
Thanks Websters...
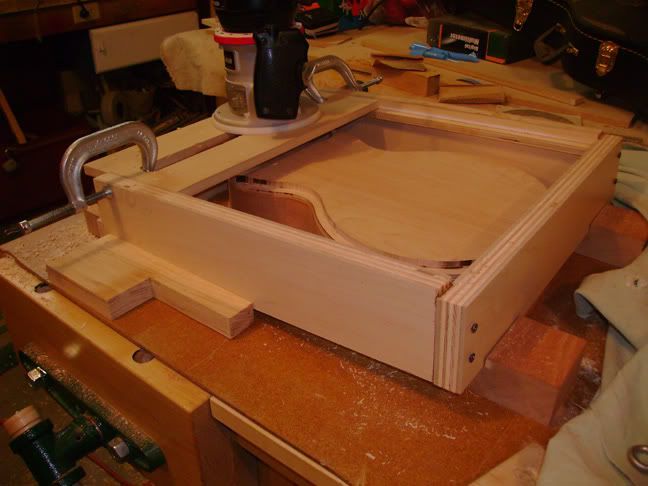
My jig works by placing the guitar body inside being careful that the body sits square with the front of the jig. The back of the jig is elevated using blocks until the jig is sitting at the desired angle. The routing guide is placed on railes that run along the inside edge of the jig. The routing guide has a hole running most of its length that the router bit sticks through. If everything goes according to plan the angle of the box will be the angle of the cut in whatever material you are routing. The cool thing about my jig is it will also function as a thicknessing jig (poor mans planer) if you just use it laying flat.
Time for some pics
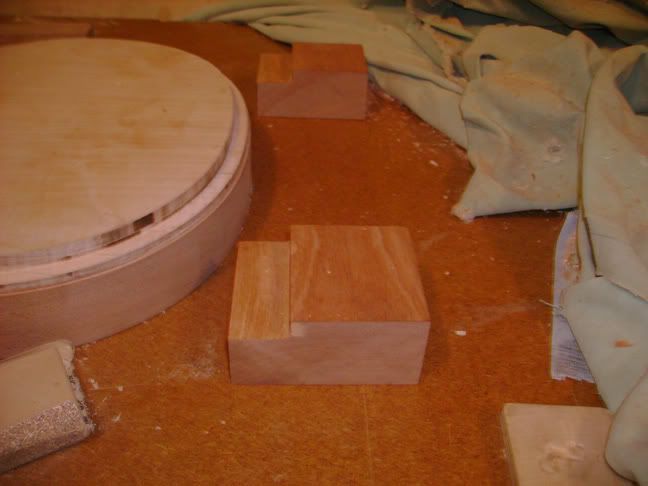
These are the blocks that I cut to hold up the back of the jig. The notch in these blocks is cut slightly over 1 1/4" high which, when considering the length of the bearing edges of the jig, put the box at an angle of exactly 4 degrees. I never thought I'd need trigonometry after my freshman year of college but it's necessary to figure out the heighth of these blocks. To keep things steady I used double stick tape to hold the blocks on the workbench.
This next pic shows how the box sits on the blocks. Also note that I also put some scrap wood along the each side and the front of the jig to keep it from moving. This scrap wood was also affixed to the workbench with double stick tape. These blocks did the trick and the jig didn't move.
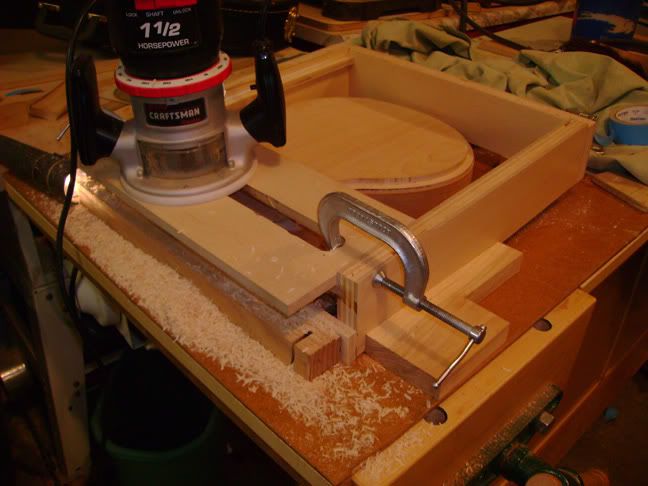
This pic shows the front of the jig. You can see how I've used scrap wood with double stick tape to secure the front of the jig. It also shows why I made the front edge of the jig lower than the back. I do this so the router guide and the router bit can slide past the front edge of the jig to get in front of the material being cut. I guess I could have done the same with the back but I didn't. The guide the router sits on is made of MDF. I cut the slot in the guide using a table router with a fence. The place on the guitar body where the neck meets the body is the only straight part of the guitar body and is exactly 90 degrees in relation to the centerline of the guitar. I have to use this spot to align the guitar body with the front of the jig so everything is square. I had the bright idea to put the body as far to the left as I could in the jig while still keeping the body square in relation to the jig. The idea turned out not to be so bright. I'll explain later.
I decided to test the jig on some scrap wood before I began cutting into my guitar. I rigged a small piece of scrap mahogany into the jig and proceeded to cut. The jig worked ok but there were small marks from the router bit left in the wood. There are several reasons for this. The first was I was going to fast when trying to make the cut. Second was I didn't sand the rails on the jig well enough which made the router guide change height a bit as I moved it backand forth on the rails. Third was my MDF router guide was flexing a little bit under the weight of the router.
I couldn't make a new router guide but I did work on my routing technique and sanded the rails so they were perfectly flat. I then tested the jig again with a piece of scrap maple and while there were still router bit marks they were much more faint than the last test.
I then decided the jig was working well enough to put my guitar body inside and give cutting the neck angle a whirl. I got the body aligned, the router guide clamped, and placed the router in the jig only to find out that my router bit wasn't long enough. Grrrrrr. The nearest place that sold router bits is Sears so I went there and found a bit that was a half inch longer. Buying the router bit from Sears was a leap of faith. I've used enough different router bits on this project to know that not all bits are created equal. Sears tools are great for your average home mechanic or hobby woodworker but they aren't what most professionals use. As it turns out the Sears router bit was about eight bucks cheaper than its equivalent at my favorite industrial tooling store and performed just as well. To give Sears its due the hand router I've used for most of this project is an old Craftsman which is a Sears brand. I have two DeWalt routers available to me as well but chose the Craftsman for this project.(The others were set up for some other projects.) The Craftsman router has peformed like a champ and in my opinion is plenty good enough for a hobby builder. If I were to become a professional luthier I would probably go with a Porter Cable or a DeWalt simply because they are industrial grade which means they will last longer under heavy use.
So I set the height of the router bit, (The same height as the top of the binding channel) took a deep breath, and started cutting. I lucked out, the jig works! I took this pic looking down through the hole in the router guide.
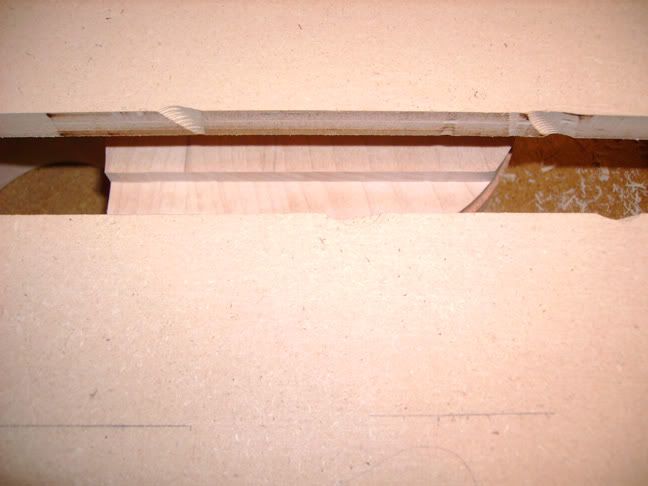
Those marks in the hole of the router guide were made when I attempted to lift the router out of the guide before it stopped spinning. Oh well, I'd already decided to make a better router guide when I finished this operation.
I proceeded to slowly work my way down the guitar body by moving the router guide an inch or so and then cutting again. In this way I slowly cut the angle in the body. However, as I mentioned above there was one problem: By placing the guitar body in the jig as far left as I could I ended up not being able to cut all the way across the body because the router ran out of room. If you look at the top of the next pic you can see where I ran out of room to finish the cut. You can also see slight marks left by the router.
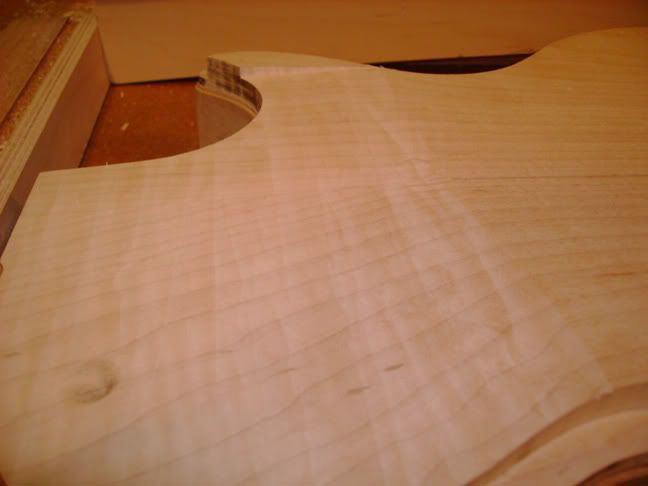
To correct the problem of not going far enough over I had to realign the body in the jig and then make the same cut out to the side. For whatever reason the bit cut at a slightly lower depth when I took routed the material on the side of the body. It really doesn't matter because this wood will be removed when the top is carved.
When I took the body out of the jig here's what it looked like:
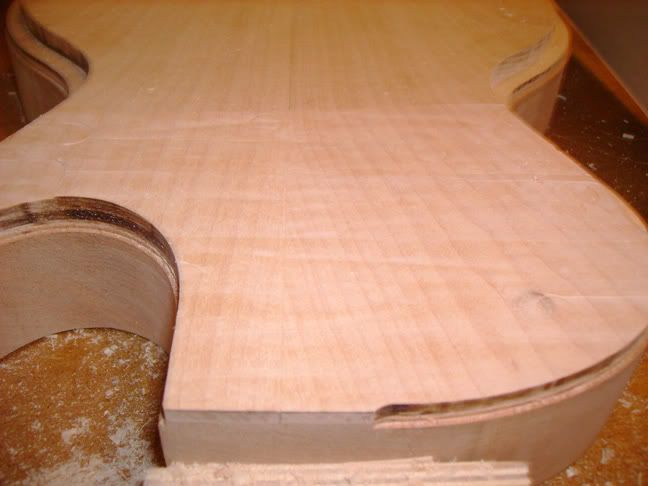
In the above photo you can see some of the marks from the router guide flexing. This is nothing that couldn't be cured by two minutes of sanding. If you look at the left you can also see where the depth changed when I realigned the body in the jig.

There you have it. For the most part the jig worked as intended. I plan to rebuild the router guide using something that will not flex with the hope that the cut will be a little more accurate. I'm just happy things went as well as they did. Here are things ended up after a few minutes of sanding: (The body is discolored a bit because I rubbed naptha on it before taking these pics and it had partially evaporated by the time I took the pic.)
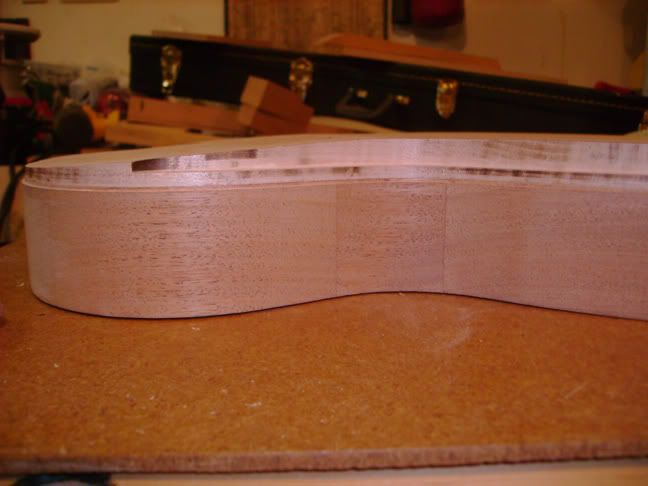
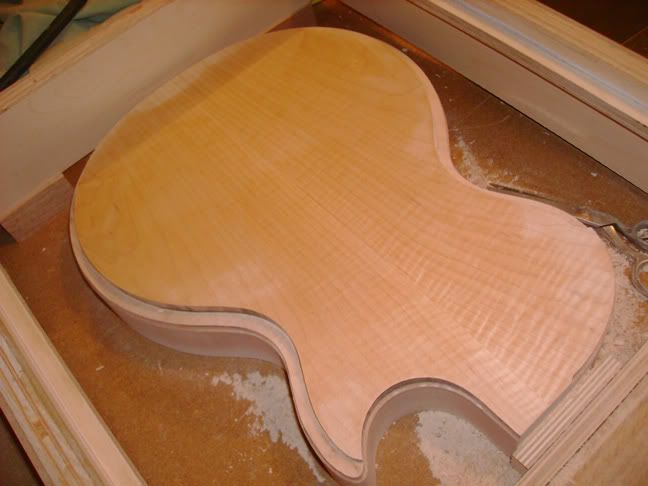
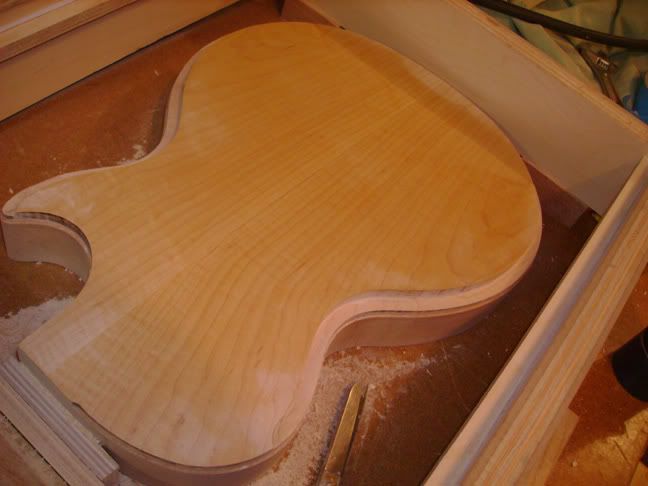
I will now breathe a huge sigh of relief.
Next up? Routing the neck pocket.
2 comments:
Is it possible to explain the proper dimensions of your jig? I would like to build one myself but am having a hard time trying to visualize it. I don't have enough posts to pm you on the MLP. Thanks and sorry to be a bother.
It's simply a box. As long as you leave some room around the body you can make any size. Make sure that you have enough room in the front of the box for your router to reach the front of the guitar. That's why the board that goes across my jig is shorter than the board across the back.
Post a Comment