A truss rod is a guitar part used to stabilize and adjust the lengthwise forward curvature (also called relief), of the neck. Usually it is a steel rod that runs inside the neck and has a bolt that can be used to adjust its tension. The first truss rod patent was applied for by Thaddeus McHugh, an employee of the Gibson company, in 1921, although the idea of "truss rod" can be encountered in patents as early as 1908.
If you didn't understand that I'll explain a bit more. When a guitar is strung up and tuned to pitch the strings exert quite a bit of pressure on the neck. Most of the time the pressure is so great the neck will bend forward. This forward bend must be corrected in order for the guitar to play properly. The truss rod is designed to correct the forward curvature cause by string tension. When the truss rod is tightened the neck straightens out. The truss rod is placed in a slot cut down the middle of the neck. The type of rod determines how deep the slot must be cut.
There are two types of truss rods I've considered for this build. The first is a vintage truss rod originally designed by Gibson. It consists of a long, round piece of 3/8" (approx) steel with an anchor on one end and a nut on the other. The nut is used to tighten the rod and straighten the neck. The other kind of rod is a dual action truss rod that consists of two round pieces of steel attached at both ends.
For this build I chose the vintage rod because that is what they used in old Les Pauls. Actually they still use them in current models. A vintage truss rod is a type of spring. When you tighten the nut the rod tries to straighten itself out. The straighter the rod gets the less effect tightening it will have. For this reason the channel the rod sits in must be cut with a curve in the bottom of the channel. The curve ensures that even if the neck is straight the truss rod still has a bit of tension in it. This tension allows the rod to put the neck in a backbow if necessary. This graphic (I believe drawn by John Catto) illustrates how a curved truss rod fits inside the neck:

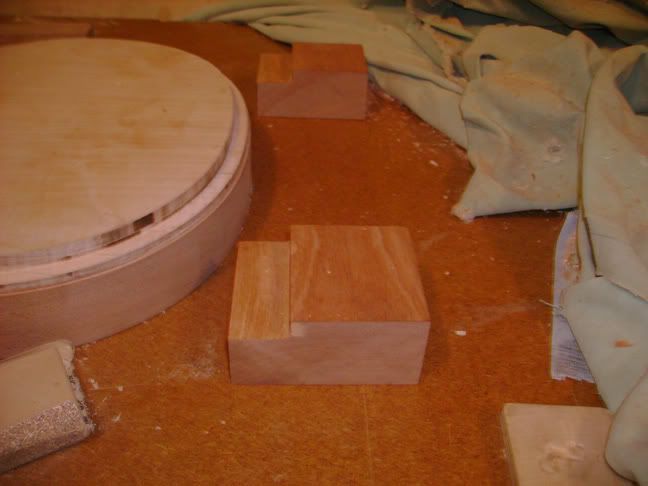
After the slot is cut for the rod and the rod is placed inside the rod is covered by a strip of wood called a filet. In this case the filet will be maple. The bottom of the filet has the same curve as the bottom of the truss rod channel.
OK, so the big problem is how to cut the curved channel. There has to be some kind of jig to perform this function. Thinking about how to carve the curved channel almost led me to use the dual action truss rod instead of the vintage. The reason is the dual action rod requires a straight channel which can be easily cut with a table saw.
Finally after a ton of research I ran across this thread at the TGP forum. That thread is full of great jigs and advice offered by some of the best luthiers in the business including Roman Rist, Jack Briggs, Terry McInturff and Scott Lentz. In page five of the thread Scott Lentz has a jig that he uses for cutting a curved truss rod channel. One look at his jig convinced me that I could easily build something similar.
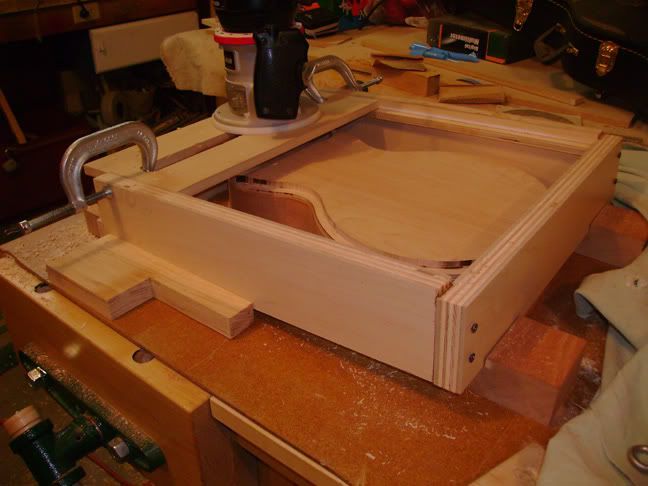
Now I had to build the jig for cutting the curved truss rod channel. Here's what the finished jig looks like with the neck mounted on it:
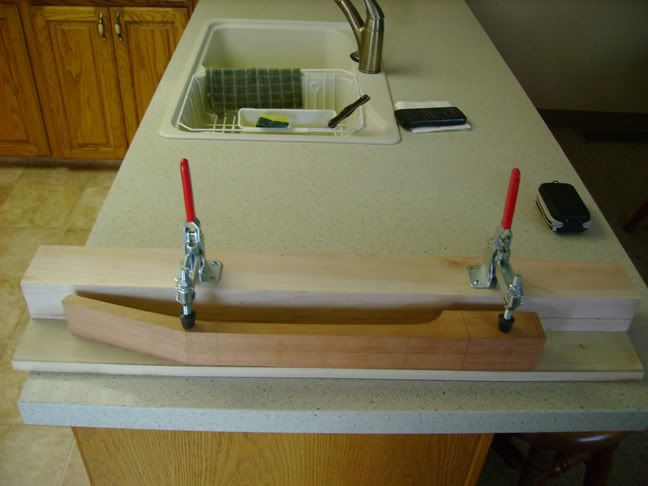
The construction is simple. You need a planed board about 30" long, 8-10" wide, and about 3/4" thick. I found some poplar at my local hardwoods store that fit the bill nicely. You mark where a few frets are for reference points. Then you take your truss rod and bend it a bit while you trace the shape of the bent rod into one side of the wood. I got the idea of tracing a bent rod from Roman Rist who I communicate with on another forum.
To shape the curve of the rod into the board you could use a band saw but I chose to use my oscillating spindle sander. It took me about ten minutes to rough out the curve with the spindle sander. I then finished it off sanding by hand.
I put the neck on the jig and used it to help place the clamps. I made it so the clamps touch the neck on parts that will eventually be cut away. I screwed the clamps into the maple and the jig was done.Here's a good top view where you can see the curve in the board in relation to the neck:The other piece of wood you need is something to mount the hold-down clamps. In this case I found some scrap maple at the wood store. It's perfect for the job. I got the clamps for five bucks each from Harbor Freight. I'm not a fan of Harbor Freight but for things like the clamps it's good. I screwed the maple onto the poplar like this:
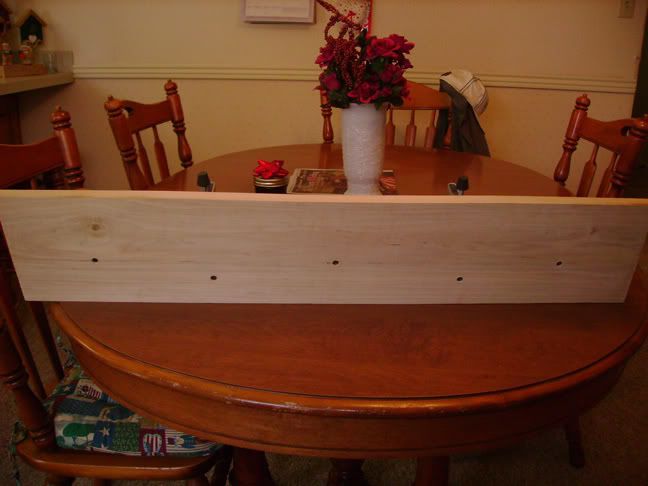
I put the neck on the jig and used it to help place the clamps. I made it so the clamps touch the neck on parts that will eventually be cut away. I screwed the clamps into the maple and the jig was done.
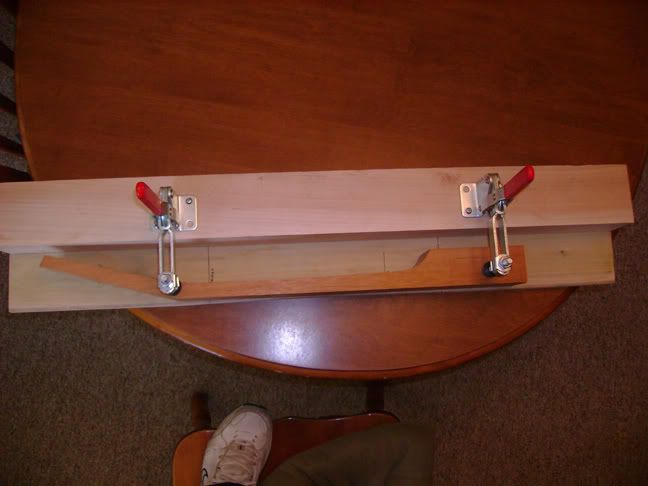
If you look closely at the above picture you will be able to see the curve in the jig. By looking at the relation of the jig to the top of the neck you can see that the board is wider at the ends of the neck and virtually even with the neck in the middle.
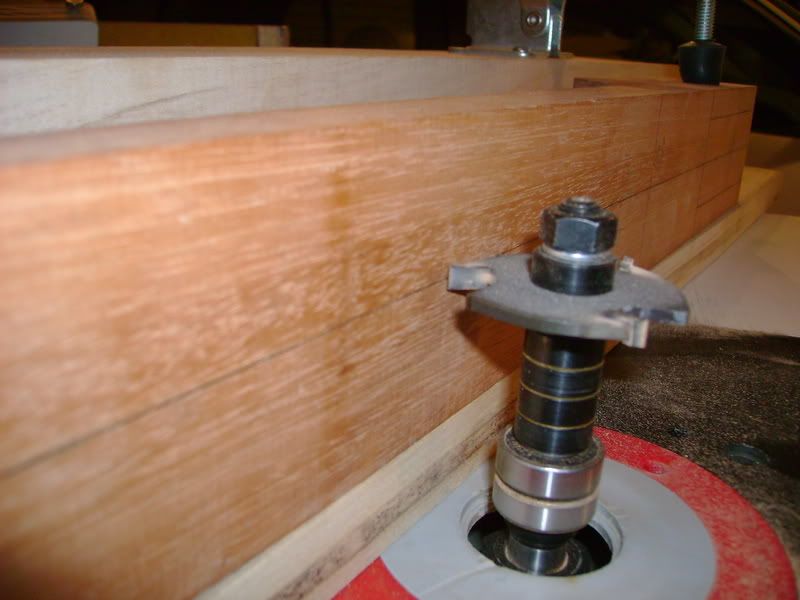
One of the biggest pains of this project was finding an arbor long enough to mount a 3/16" slot cutter at the proper height. Most arbors are 3" long which isn't long enough. While I was at the tool store I eyeballed a router bit that was a little over four inches long and had room for two cutters separated by a bunch of spacers. I think these types of bits are used on moldings or something like that. I asked the salesperson the price of the bit and he told me it ran around $160. Yeeeech. It turns out I was able to buy the just the arbor and a bunch of spacers for around $30.
I bought a 3/16" slot cutter with the arbor and used the 7/8" bearing that came with it for the new arbor. When I set up the new arbor I found I didn't have enough spacers to reach the threads at the top of the arbor. Without more spacers there would be no way to tighten the locking nut of the cutter. I ended up buying another 7/8" bearing as a cheap way to add another spacer. Here's what the cutter looked like when I finished putting it together:
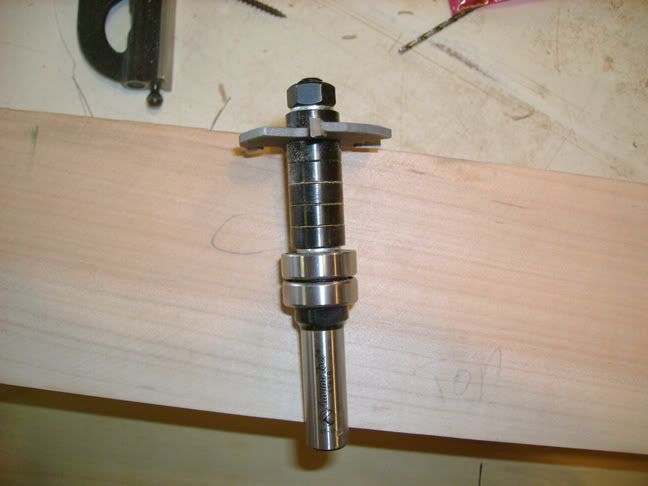
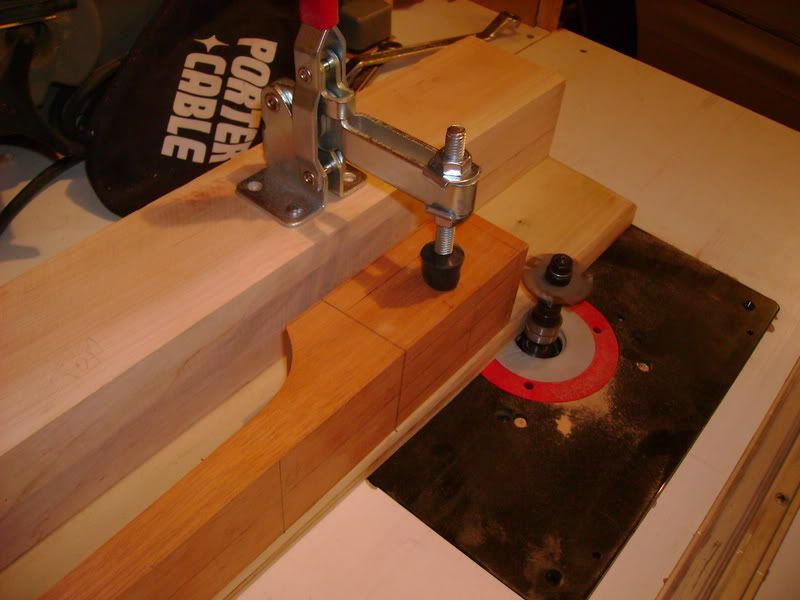
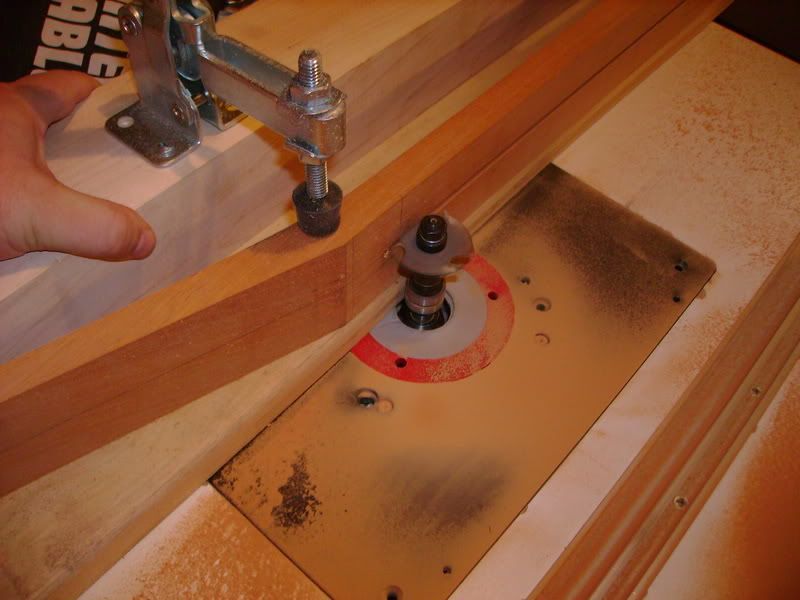
Here's how the whole thing works. The 3/16" slot cutter/arbor is mounted in the router table. The bearings follow along the edge of the jig that has the curve of the rod. As I get into the middle of the jig the curve of the jig gets deeper. At it's deepest point this setup should cut a channel of 1/2". I can manipulate the depth a bit by pulling the neck closer to the edge of the jig or pushing it back. you set the height of the cutter so that it hits the centerline of the neck.
I did some preliminary testing on this setup and found that the bit struggled when cutting the slot and burned the wood. Seriously as I was cutting the garage filled with smoke. Not long after I found I had mounted the cutter backwards and it was cutting the slot with the blade going backwards. DUH!!!!!!!!!!!!!!!!!!!!!!!!!!!!!!!!!!! I turned the cutter over and the blade cut perfectly. In fact it cut a perfect channel.
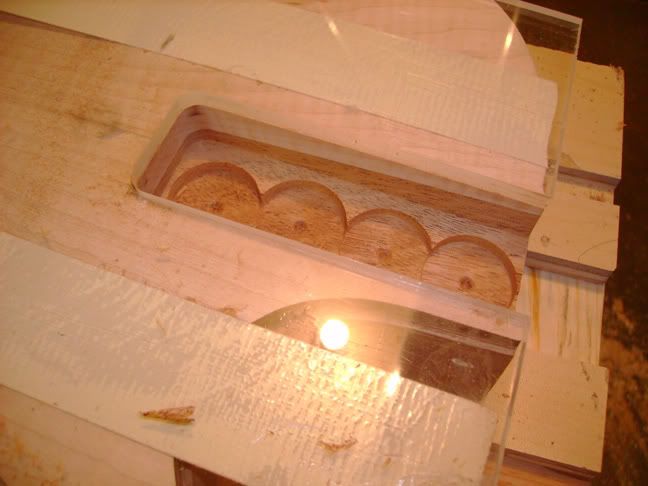
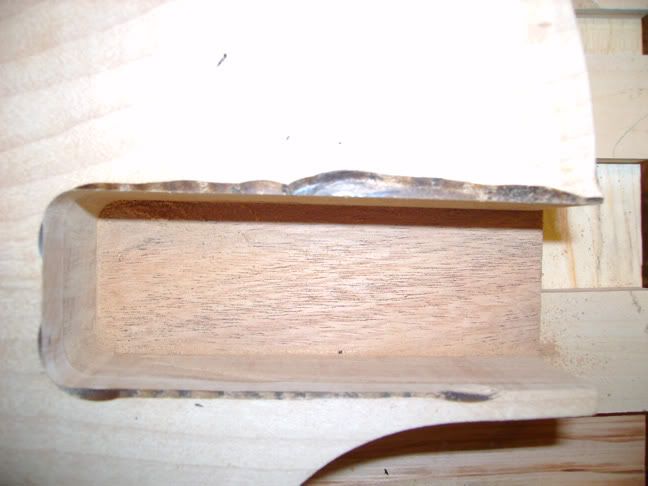
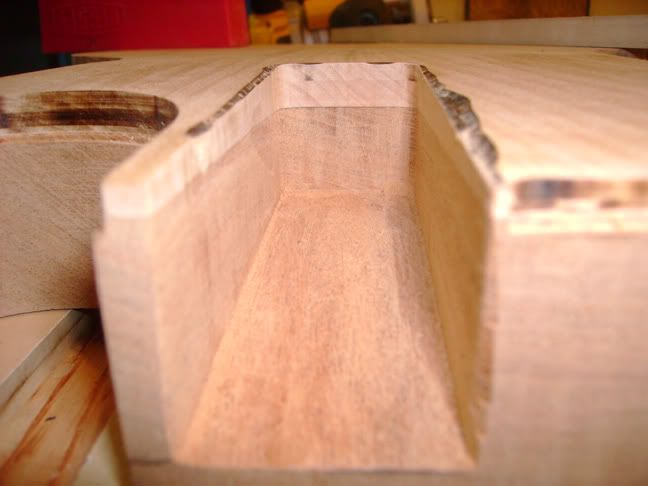
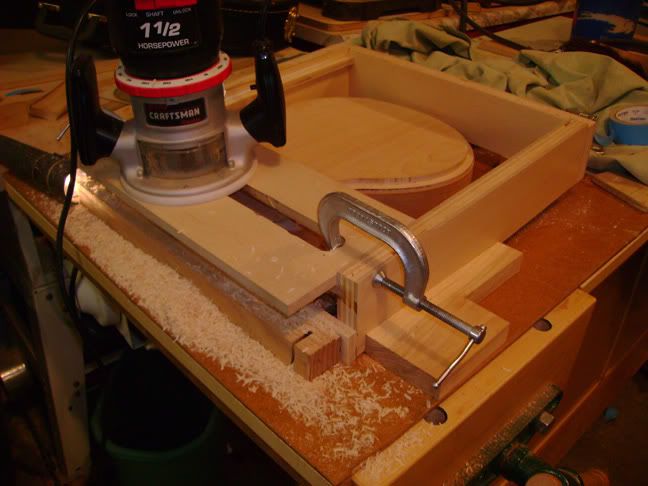
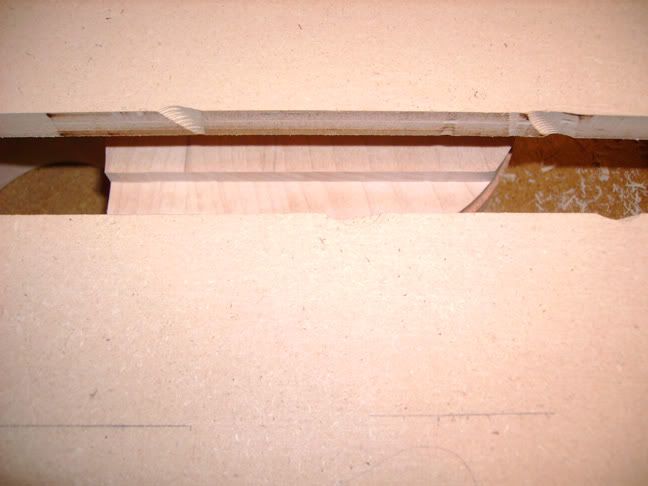
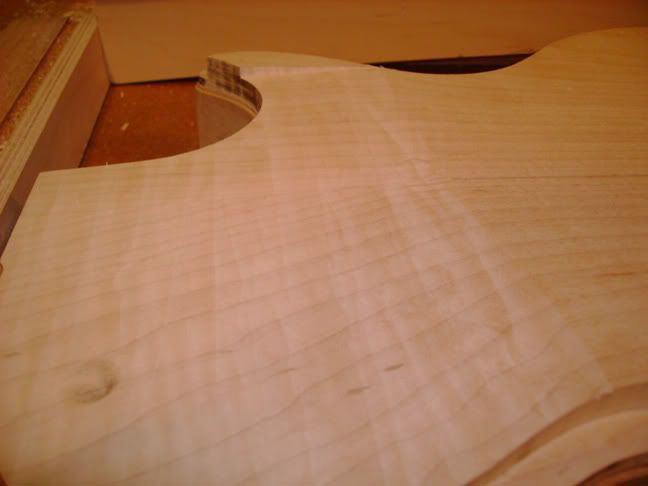
Here are some pics:
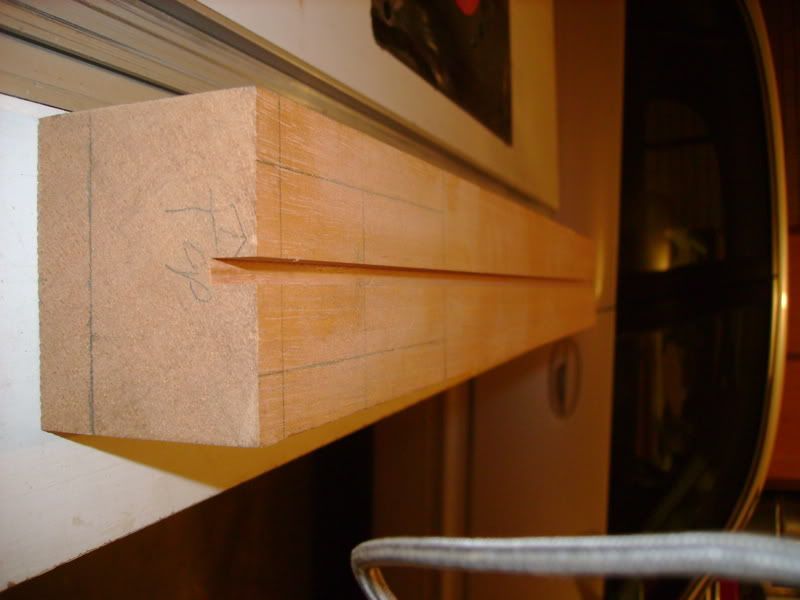
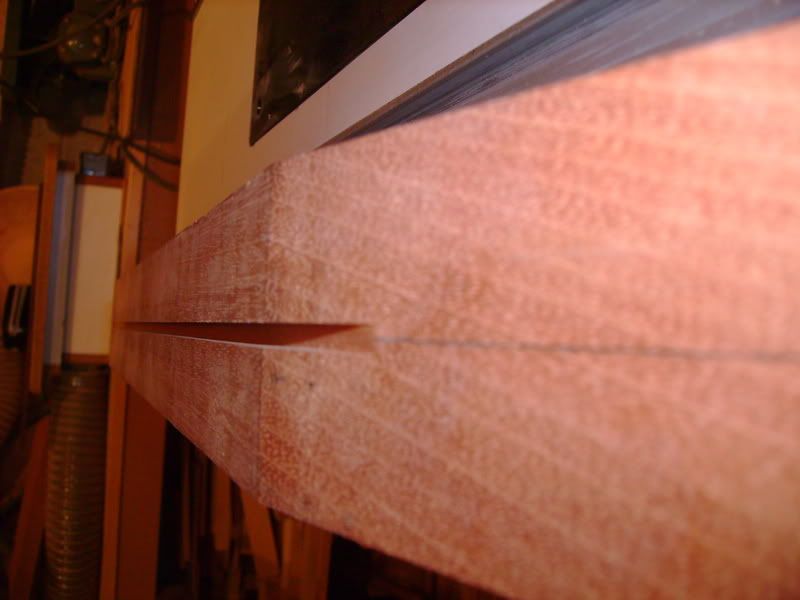
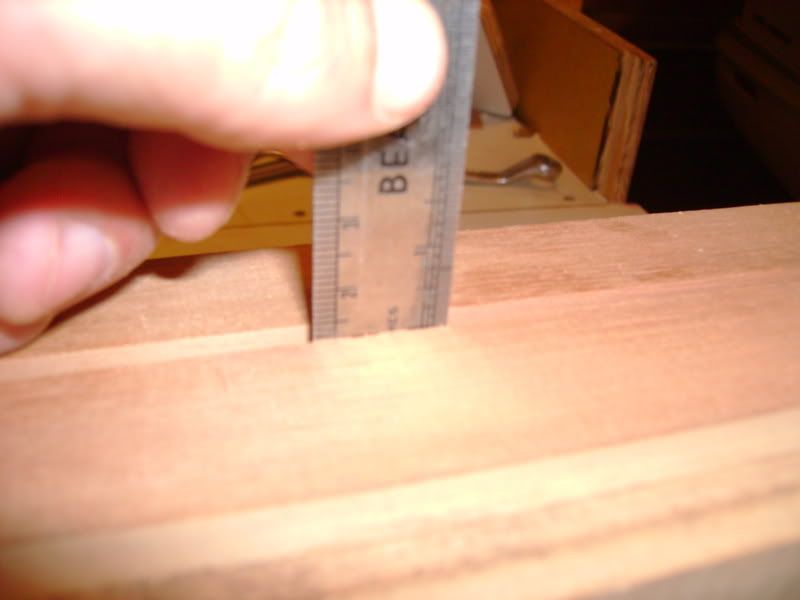
At it's deepest the channel is exactly 1/2" deep:
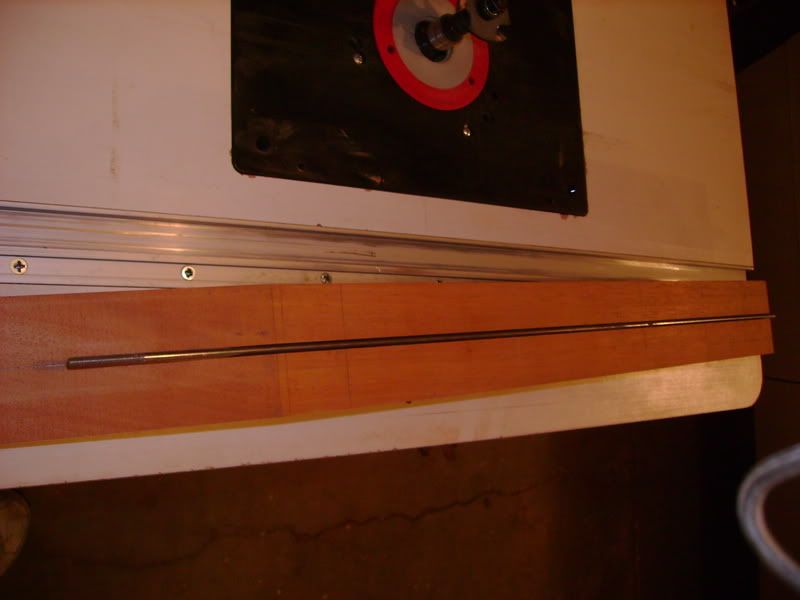
The rod fit perfectly in the channel:
Now I have to cut the maple filet that goes above the truss rod. I'll do that tomorrow and maybe even install the rod!
It goes without saying that I'm very relieved this went so well. I'm very happy that I now have a great way to carve a curved truss rod channel.
