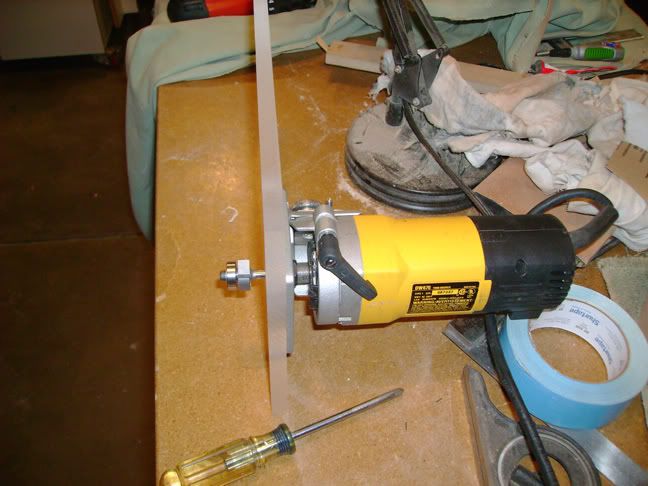
I cut some strips of some really crappy 1" plywood with cabinet grade facing and glued them together. They provide the base for the acrylic plate. I then attached the acrylic plate to the glued together boards. I secured my new jig to the worktable with a couple of clamps and this is what I ended up with:
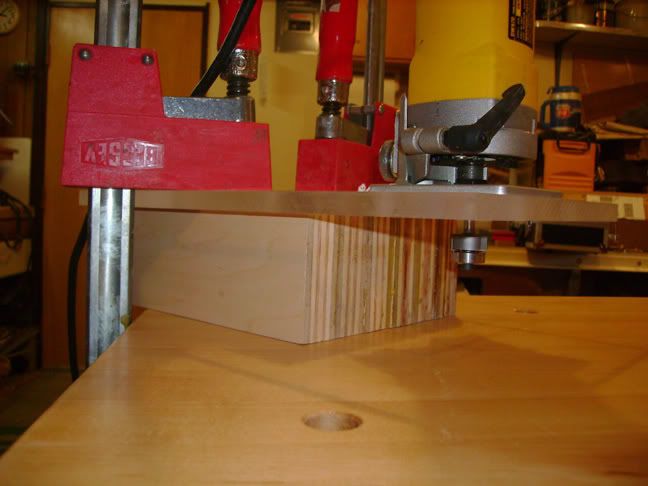
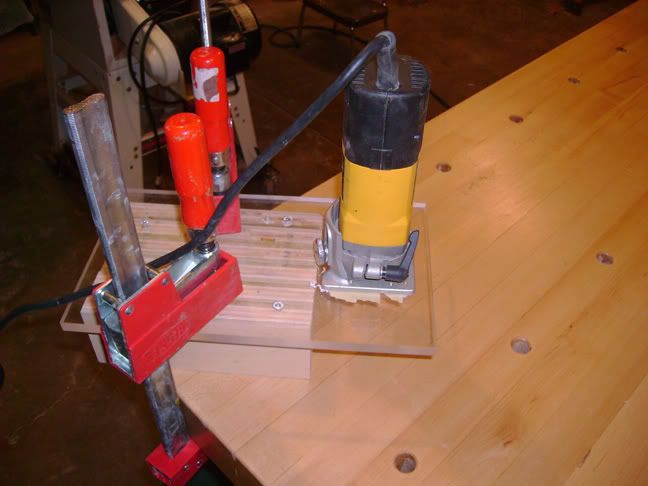
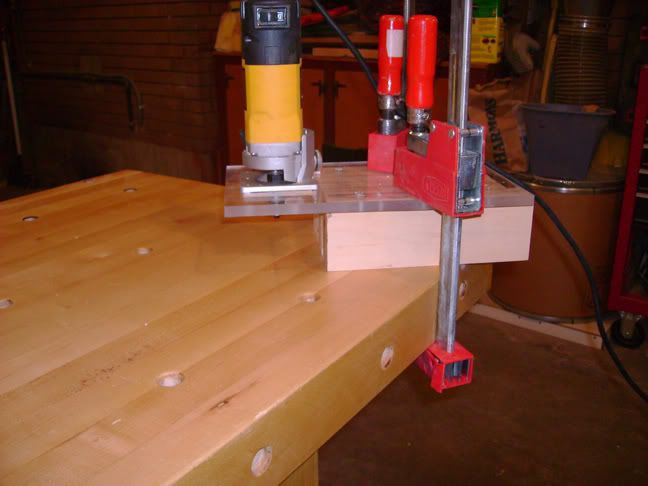
The only problem is that the laminate trimmer wouldn't let the router bit go low enough. I solved the problem by placing the body on one of my router templates which added 1/2". I checked the height of the bit against the body and noticed that things weren't entirely even. The problem was that the bottom of my guitar wasn't perfectly flat. To fix this I took three strips of 120 grit sandpaper with adhesive backing and stuck it to the table.
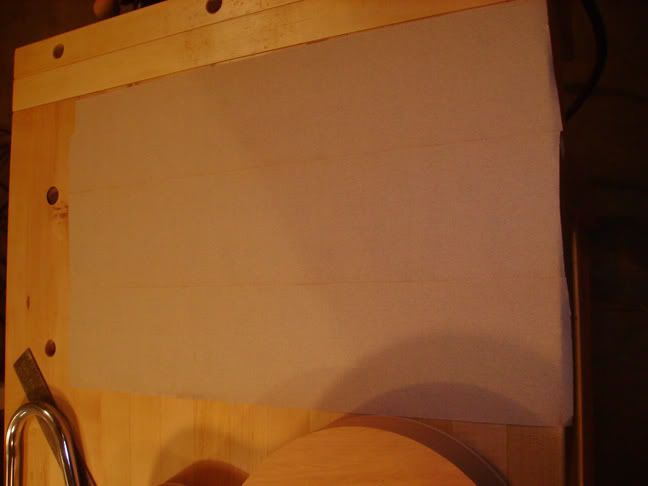
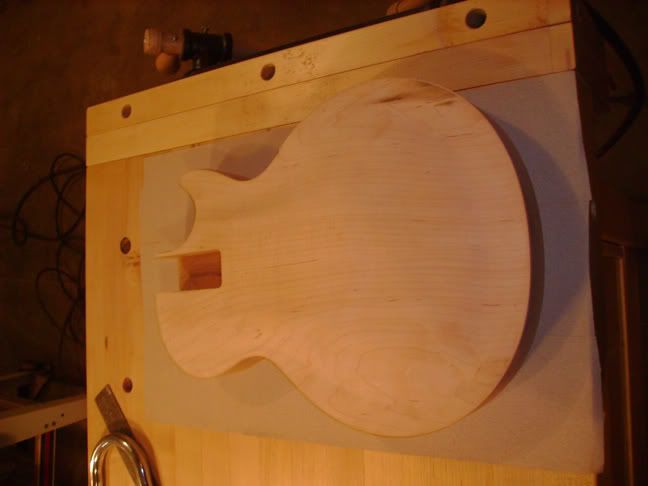
I then used a pencil and drew a bunch of squiggly lines across the back. This will help me know when the job is done because the pencil lines will disappear as the body is sanded flat. Finally I placed the body on the sandpaper and moved it back and forth across the sandpaper.
A vid to give you a better idea:
This worked great and soon the bottom was flat. I rechecked the body against the router bit for any height problems and everything checked out.I made a few test cuts on scrap and noticed that the StewMac binding router bit with a .060 bit cut the channel right around .0705. The catalog says the bit adds .012 to compensate for glue and wood expansion. When I held the .060 binding (which is slightly larger than .060) in the channel I noticed it was smaller than the channel. I'm sceptical that the glue and wood expansion will take up the extra room but we shall see.
It was time to see if my new binding routing jig worked. Instead of photos lets try another video. Remember I was routing the old binding away while creating a new channel.
I felt I needed to explain a few more things so here's another vid:
No comments:
Post a Comment