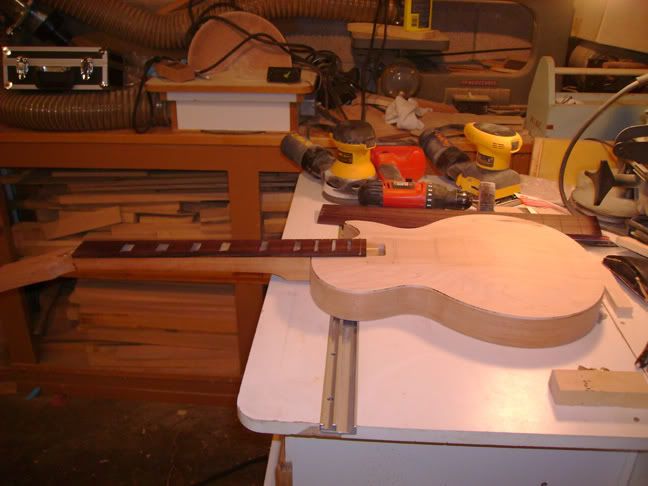
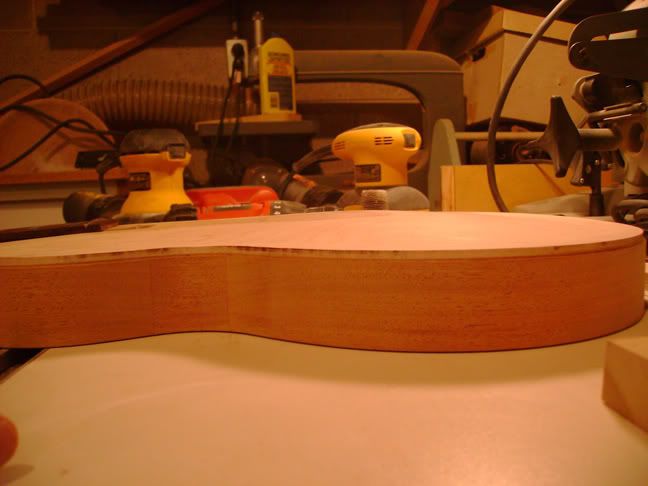
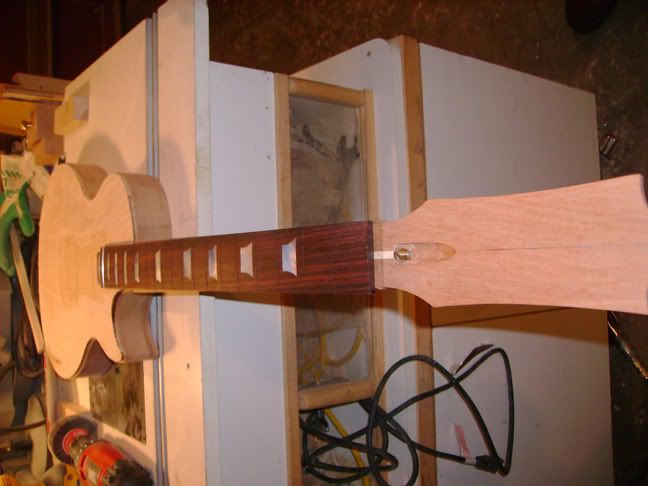
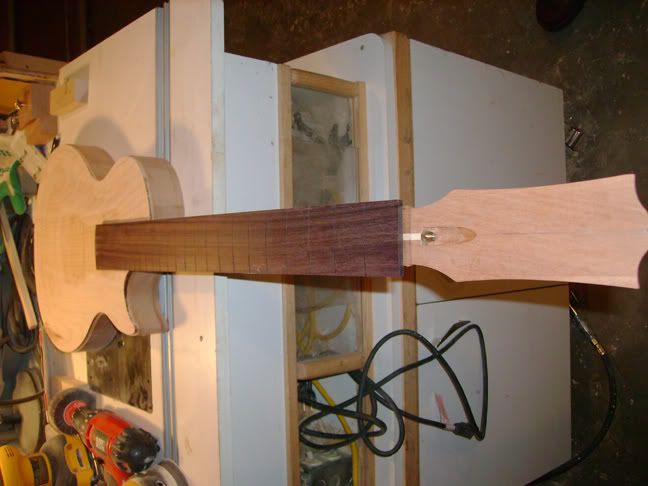
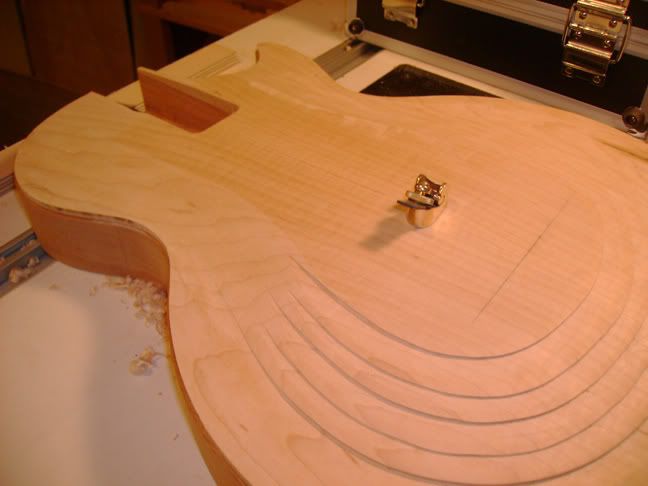
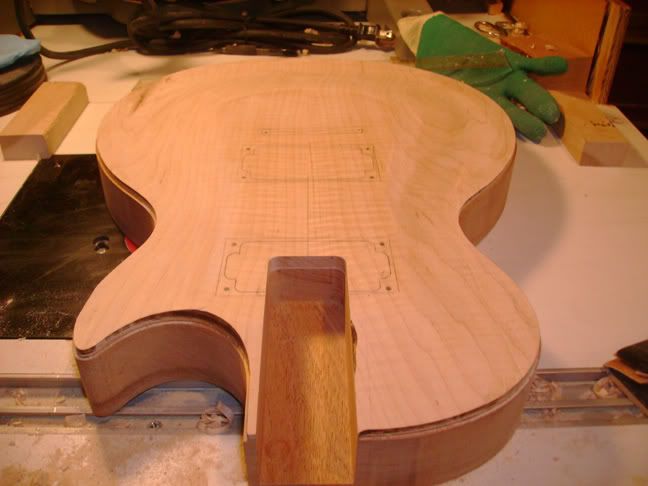
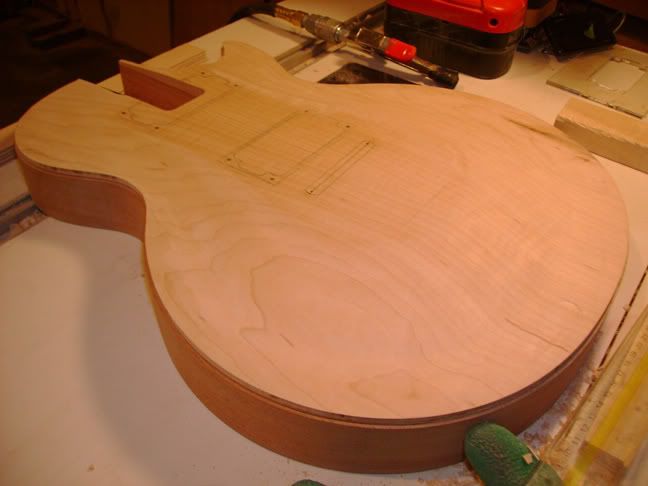
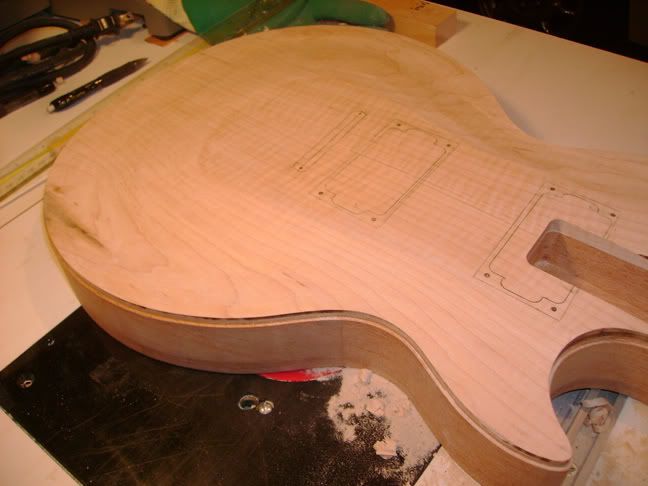
So what is binding? Binding is a trim that goes around the outer edge of the guitar. It serves an asthetic purpose but also helps protect the edge of the guitar. Binding can be made from all kinds of different things ranging from cellulose to plastic. Not all guitars have binding. The '59 Gibson Les Paul has binding around the top of the guitar body and the sides of the fingerboard.
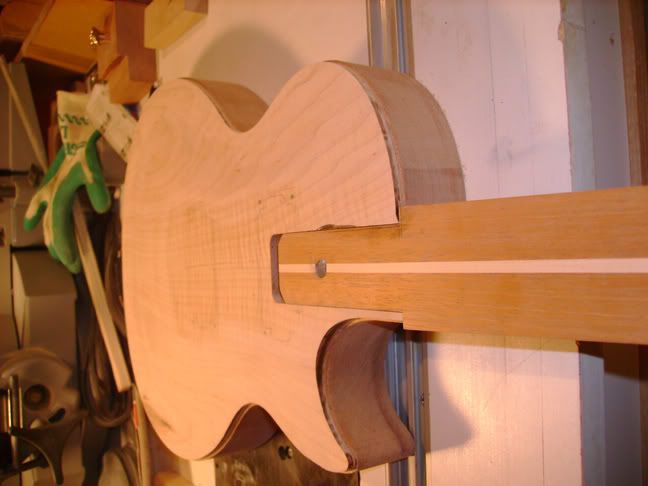
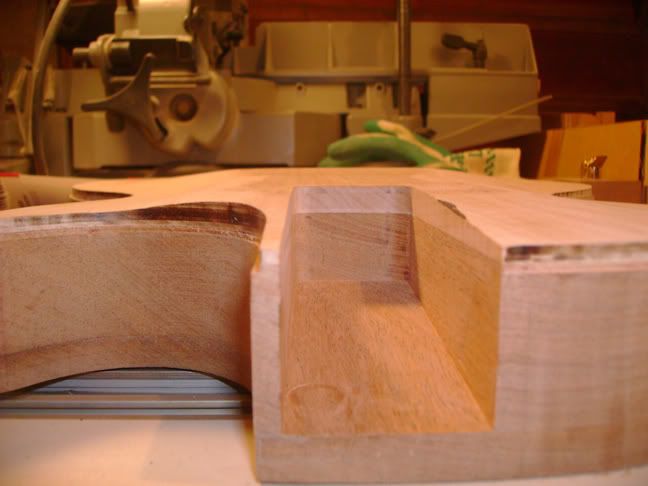
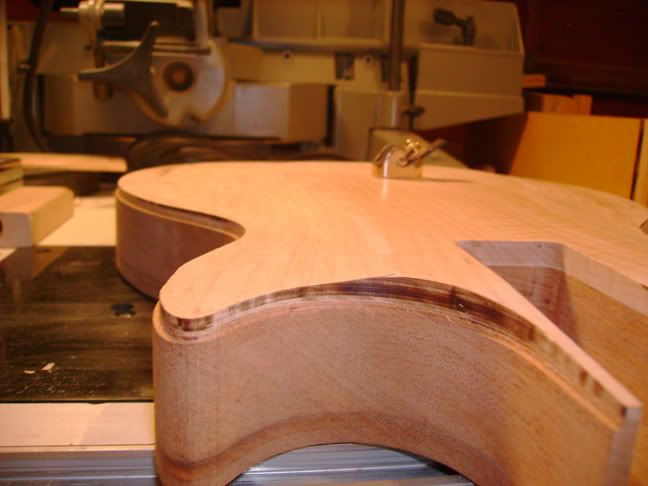
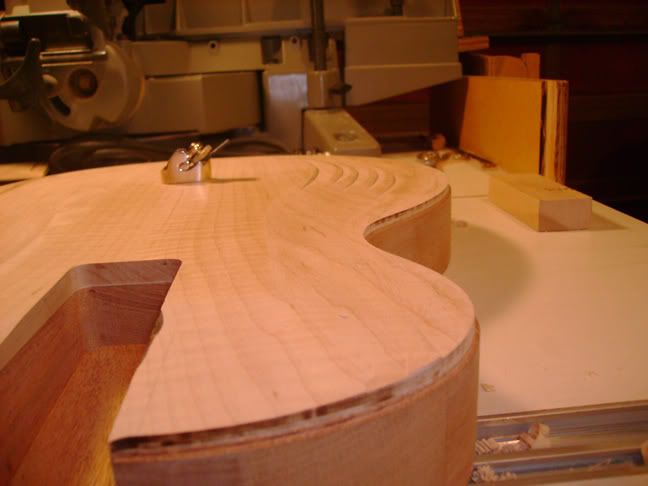
I had alread routed the binding channel using a 1/2" flush trim bit with a 3/8" bearing. This produced a channel that was supposed to be about 1/16" or .060" if you prefer decimals.
I purchased cream .090" binding from Stew Mac. The binding is made of ABS plastic.
I started by trimming the binding so that it was about 1/8" taller than the top of the channel. It was necessary to leave the binding a little taller on the inside of the horn because of the transition of the carve in that area.
I started by using Weld On brand glue that is supposed to be the best choice for gluing the binding in the channel. My method was to spread glue on about three inches of the channel and then seat the binding in the channel. I held the binding flush with my fingers until the glue started to tack up. I then used special tape to hold the binding tightly against the body while the glue dried. I used a ten dollar Harbor Freight heat gun to bend the binding around the curves of the guitar. The heat gun is really cheap and is really just a blow dryer on steroids.
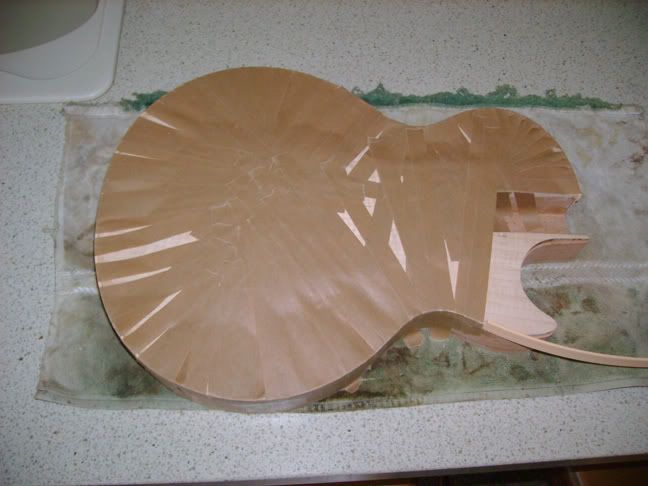
My plan was to glue the binding up to the horn and then leave it and do the horn the next day. This is a prefered method of many luthiers because the horn is the most difficult area to bind.
The process was sloppy and I had glue all over my fingers. Even worse it got all over the sleeves of my new hoody. Nope the glue didn't come out so now the hoody is only worn when I'm puttering around the garage.
Gluing the binding is difficult. I was fortunate that my dad came out and gave me a hand. Once he joined in the job went pretty fast.
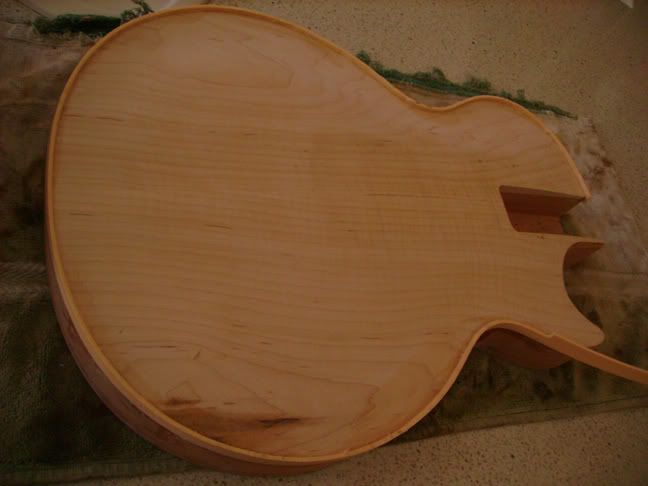
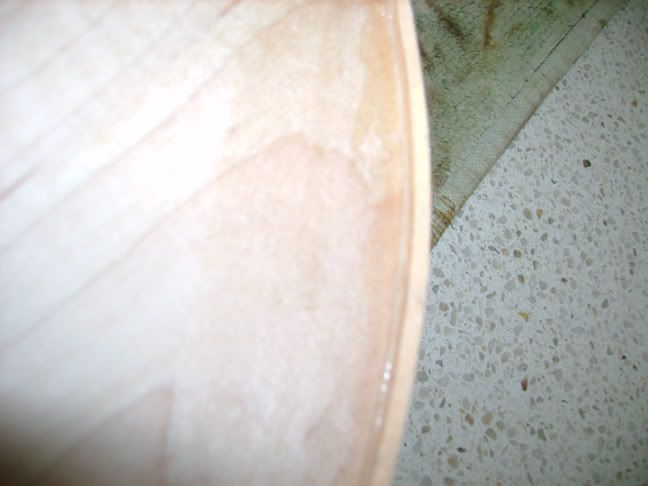
As I stated above the binding is .090" wide while the channel is .060" wide. This means that the binding must be scraped flush with the body. I also stated that the binding is taller than the channel so the top portion must be scraped down as well. Even though I hadn't yet glued the binding around the horn I decided to sand and scrape some of the binding I had done flush with the guitar just to see how things looked. I proceeded to sand the binding flush on the outside and then scraped it flush on the top. as I looked things over I noticed that in many areas the binding had been sanded too thin and wasn't conisistent all the way around the guitar. This really bugged me and I couldn't understand why there was a discrepency. I pulled out my digital caliper that has a depth gauge and measured the channel in various places on the part of the guitar that hadn't yet been bound. It turns out that the channel ranged from .060" to .073" thick depending on where you took the measurement.
It was very difficult to photograph the flaw. This pic came out ok and you can see how the width of the binding fluctuates as it bends around the waist of the guitar.
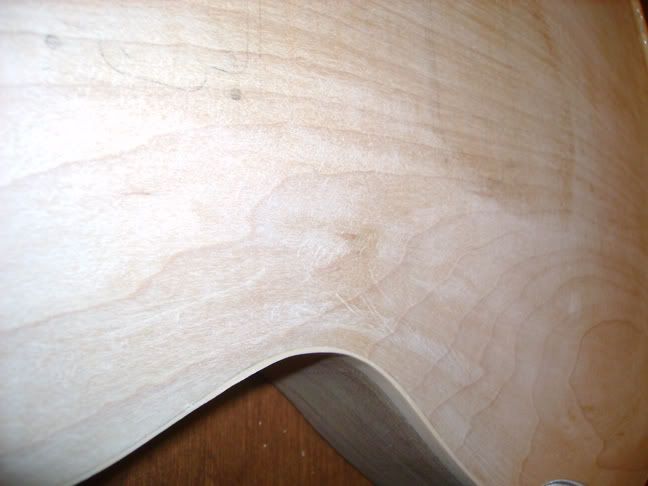
To be honest the inconsistency bugged me. I had spent all this time working and making everything as nice as I could only to botch the binding job. I think the channel became inconsistent because I routed it prior to carving the top. Over time I think it changed as I lightly sanded around the guitar.
I'm not going to lie, this flaw will probably drive me nuts. My options are the following:
1. Don't worry about it and this guitar becomes a "players guitar".
2. Route out the old binding and start again.
I chose number two.
To be continued........
