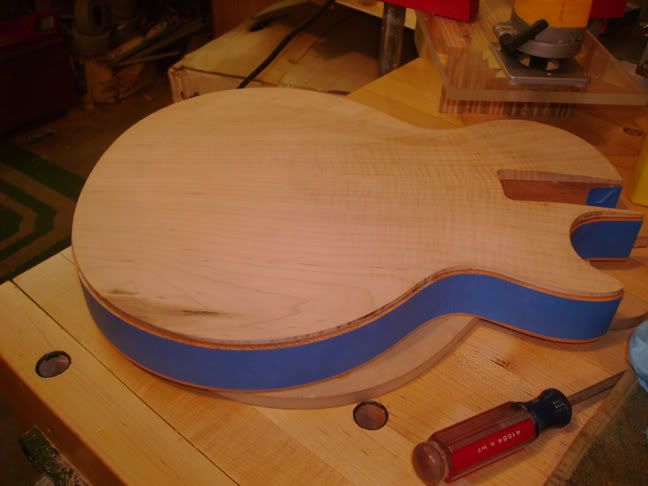
Sorry I haven't been around for a while. My job schedule has changed leaving me less time to work on the project. Also this is my twentieth year as a baseball umpire and since the season is here...... Last time we left I'd successfully corrected my binding channel issues. With that done it was time to redo the binding. Here's how I did it: I cleaned up the body with naphtha and then masked most of the mahogany on the side so I could protect it from the glue. This technique worked well and I recommend it.
In my last attempt at gluing on the binding I used some glue that's designed for the task. I later learned that there is another way. One of the two ingredients in my new binding glue is acetone. For those who don't know acetone is the primary ingredient in fingernail polish remover. In fact, most fingernail polish remover is 100% acetone. You can buy acetone at Home Depot in a industrial looking container but I chose to go down to the drugstore and get the same fingernail polish remover the hot chicks use. I figured that this choice might add some mojo to the finished instrument.
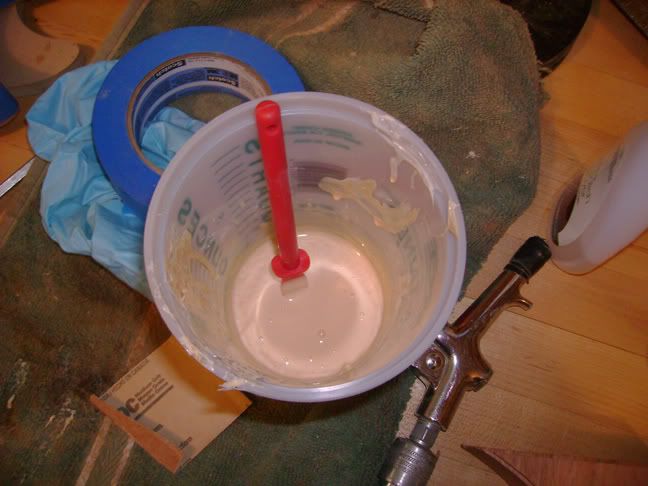
The other ingredient in my new binding glue is the binding itself. Actually it is pieces of binding cut up very small. The tiny pieces of binding are added to the acetone and melt. It's the combination of the acetone and binding that make the glue. The reason this acetone/binding glue is so good is that it is literally liquid binding. If there are gaps it will fill them with the same ABS plastic from which the binding is made. This glue also sets much more quickly than the stuff I'd previously used. I used two ounces of acetone and a bunch of bits of binding. I left the mixture for a couple of hours and then started stiring. Sure enough the binding pieces were beginning to melt in the acetone. I knew that the melting process was going to take far longer than a few hours so I let the mixture sit overnight and until four pm the next day. When I came back and stirred the mixture was the consistency of Elmers glue. This worked out perfectly for my purpose. The ratio of acetone to binding bits is a little bit of a guess. I just kept adding binding bits until it looked like the glue would come out ok.
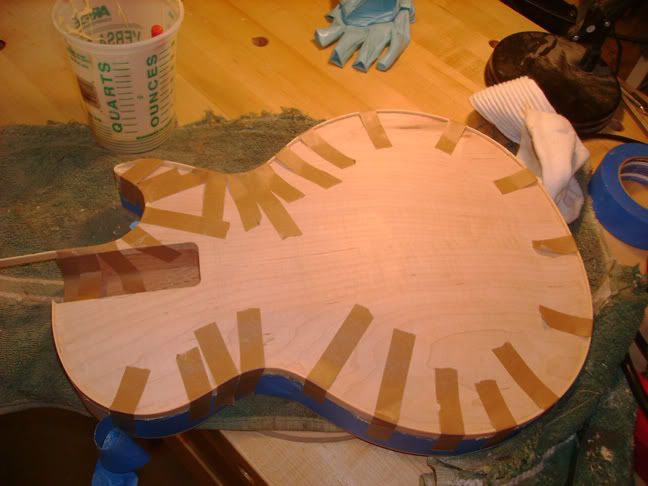
I used a plastic glue stick to spread in the channel. I tried to work from the top and really worked to try and only have minimal squeezout. I failed because I had plenty of squeezout. After I spread the glue on roughly three inches of the channel, I held the binding with my fingers. After about two minutes it would set enough that I could let go. I did put some binding tape on the edge of where I spread the glue just to make sure things stayed nice and tight but I probably didn't need it. After the binding tape I'd use a small metal ruler like a spatula and scooped up a lot of the squeezout. I used my el cheapo heat gun (three cheers for Harbor Freight) to mold the binding into the waist and the horn. You really need to be careful not to apply to much heat. My method was to tape the binding in place and then heat it up using the low setting. I removed the tape only when the binding had cooled. The tip of the horn was the toughest. It was the only place where the binding actually stuck out farther than the mahogany. I'm not sure if I pressed it in tight enough or just goofed up routing the channel.
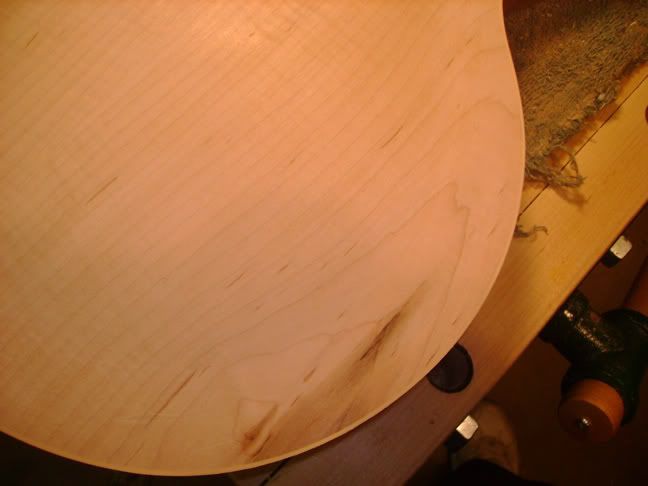
This time the mahogany was just a little wider than the binding. One the side I used my scraper and scraped down the mahogany to match the binding. It wasn't very hard as the mahogany was pretty close to being even with the binding. I was most concerned about the tip of the horn. I pulled the tape off and couldn't tell what was happening because of the squeezout. as I sanded the tip into shape I found that I was saved by the acetone glue as I didn't quite get the very tip in as tight as a could have but the glue filled things in nicely. When I finished sanding the tip it appeared to be the same width as everything else. That made me quite happy. There was one tiny gap in the horn about a quarter of the size of a pinhead. It wasn't because the binding wasn't tight it was because there was just a tiny bit of glue missing in that spot. I filled it with the acetone glue and left it. Two hours later I went back and sanded it and this is what was left:
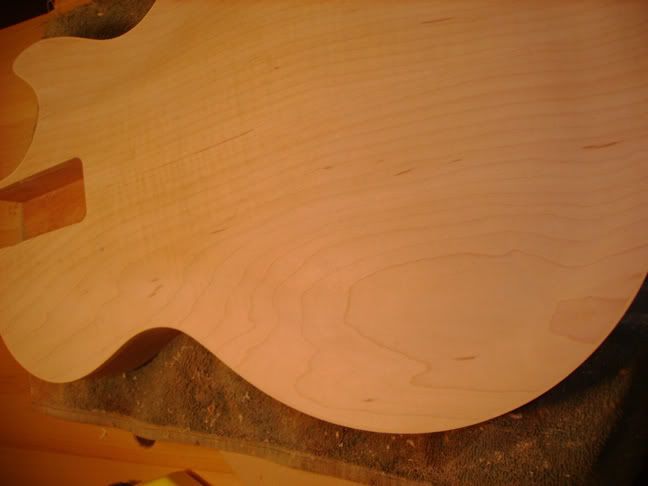
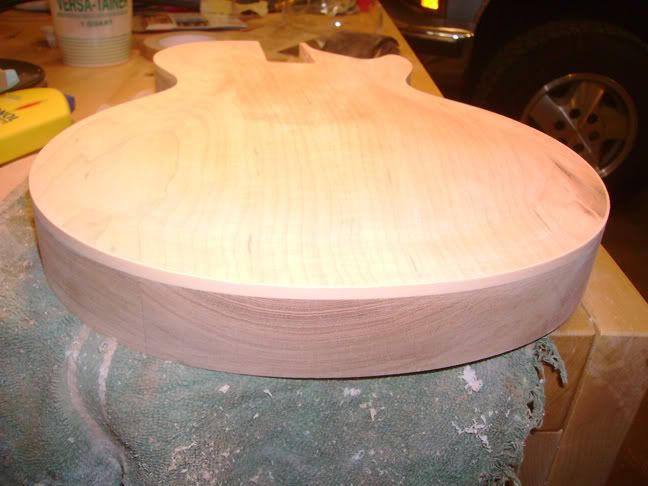
Here are a few more pics:
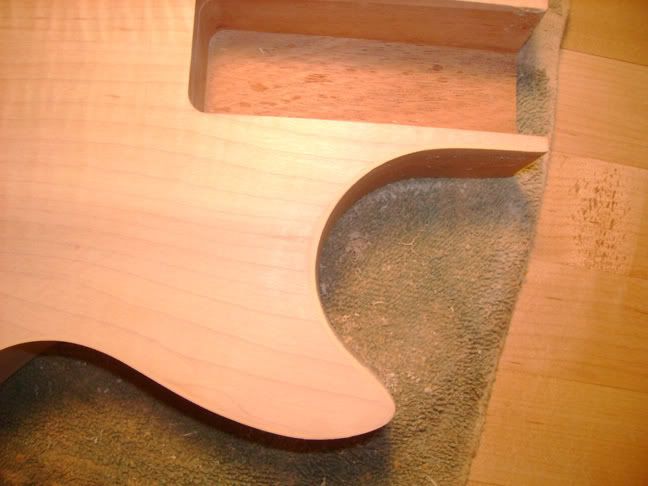
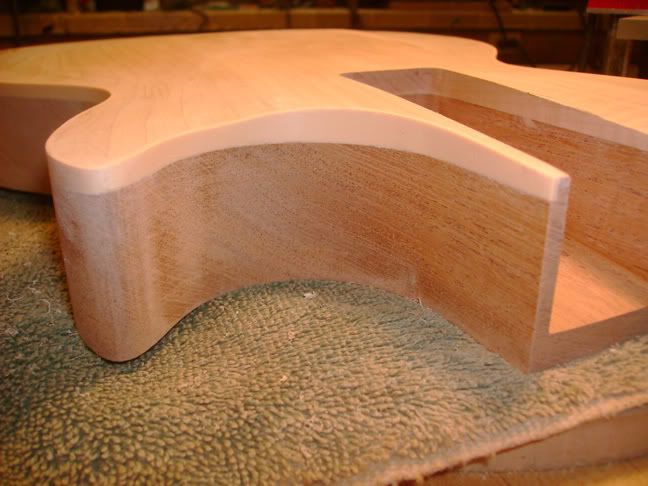
Here is a better shot of the horn. Inside the tip of the horn a couple of inches it looks like there's a high spot. It's actually an optical illusion.
All said I'm extremely happy. The binding is tight and there are no gaps. It looks really good up close. I'm excited to finish it off with some 320 grit and then finish sanding the recurve. Here's another video:


